Let me know if you want me to try some modifications like making this thicker (if this is where it broke). As long as someone is willing to do test prints I’m willing to work on mods.
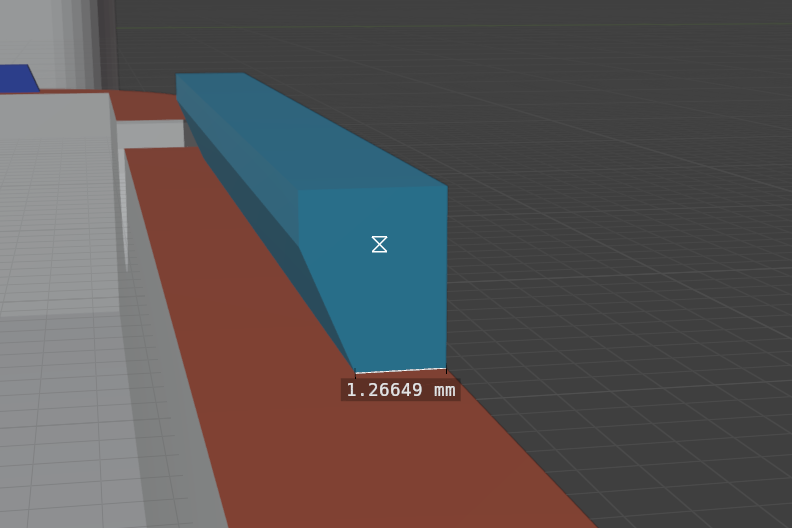
I tried breaking this tab off of one of the tests and there’s noooo way I’m going to break that off without a tool and some good force.
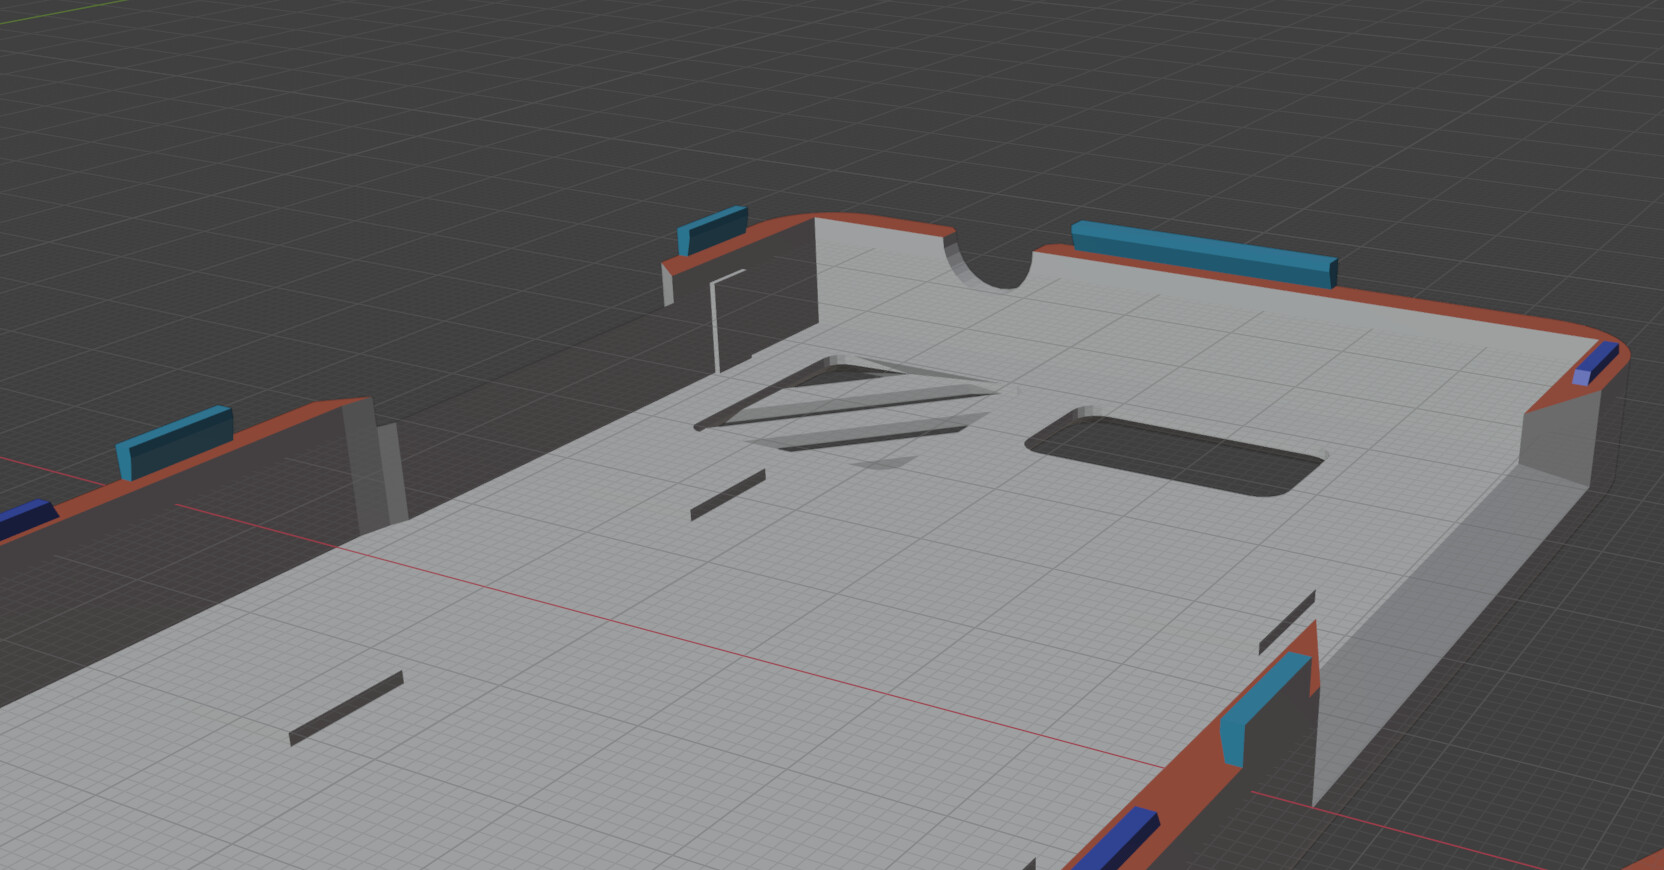
The side tabs might be a different story. The last test print I did had them fairly small, so I can break them off easily. It looks like the last change I did was make them larger to fix that very problem. But it’s possible I didn’t go far enough.
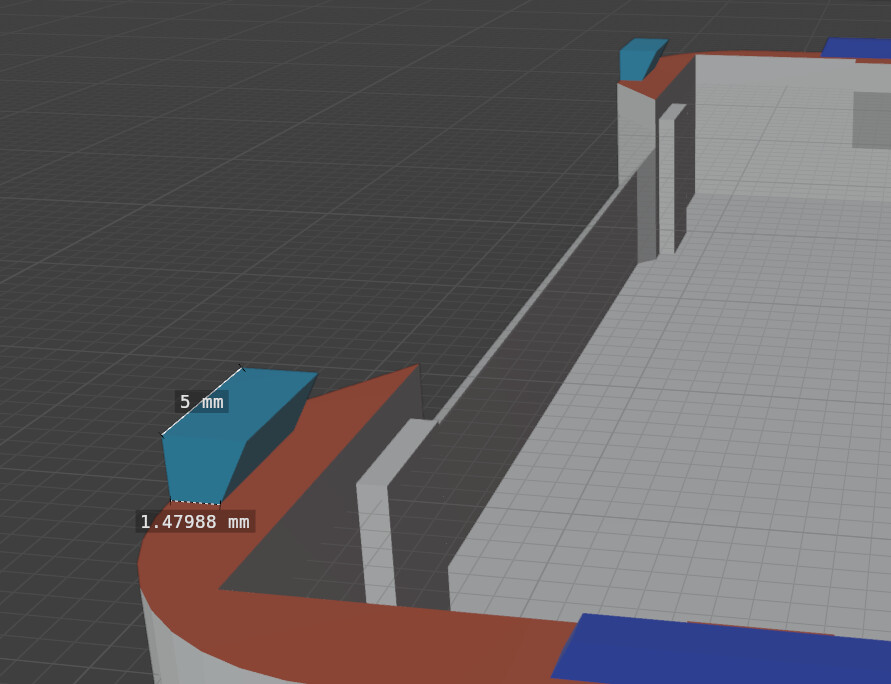
They are definitely thinner than the top tab because I was worried about having enough flexibility to pull the case off. But they might benefit from being wider or thicker (or both):
I have noticed when carrying the phone that those side tabs do allow a little bit of flexing of the side of the case. Not so much that it was concerning me, but this could be an area for improvement.
So if you meant the side tabs, I could see those being an issue. Top wide tab… that sounds like maybe some difference between printers or slicer to work out…
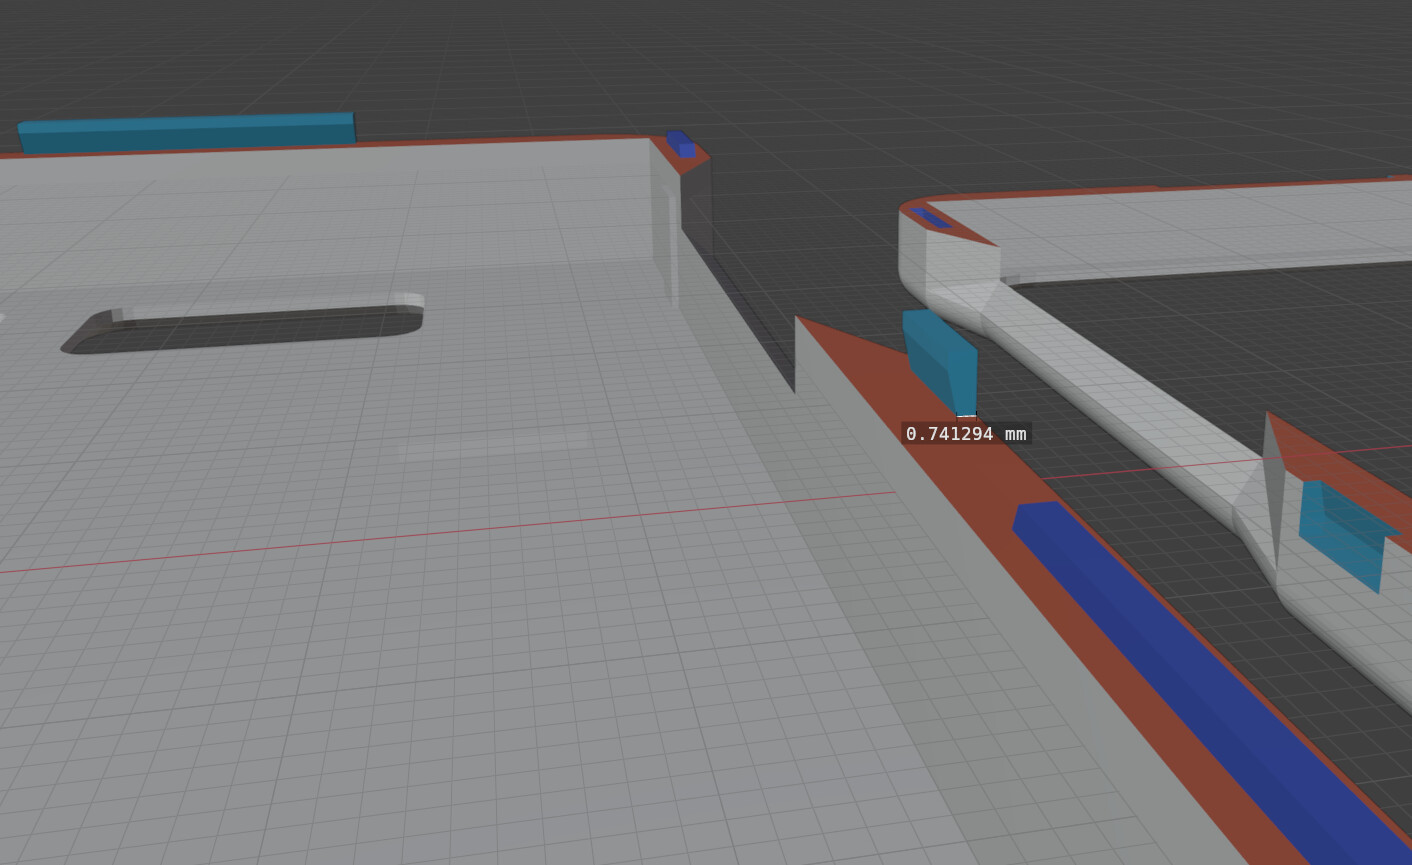
These could be made much larger, since they aren’t meant to “snap” together.
Oh I wonder if that was the problem. Maybe I didn’t explain how to assemble well enough.
When you place the top of the case on, you should start with those two bottom tabs. Then it’s meant to close like a “clam shell” as you lower the top half. Those bottom tabs are meant to act more like hinges. If you tried to force the case down on those last, I could see them breaking because they’re so stiff.
I felt like messing around in Blender and had some time, so I made an oversized bottom tab version - Revision 7 (R7). Those tabs are much wider, and a little bit thicker too. I’m on the fence about whether I should make the two side tabs any larger but that is also an option. They do need to be able to flex to snap together so they can’t be too solid like these bottom tabs.
I’ll upload the R7 version to Codeberg once I’ve done the steps below.
I also realized that I didn’t explain the post-modelling process so I’m going to add that in case others wanted to “fork” this design. And also so I don’t forget in the future. But if anyone does try it, be prepared to become expert in Blender Geometry Nodes.
During every step of the process you need to watch for things you’ve changed messing up the geometry and creating degenerate mesh stuff which a slicer won’t like. I use Blender’s 3D modeling plugin to check for issues (the main issue to watch out for is non-manifold edges on the Case mesh).
Starting point is the .blend file which does NOT have “Final” at the end of the name. I always increment the R revision number before making major changes.
Make any changes needed to the case itself
Make any changes (or fix an issues) to the modifiers, if needed. Select the checkbox next to “Case Split” Collection, to temporarily include those in the scene. Then deselect when done.
The bevel modifiers can be particularly problematic with major changes to the case because they rely on specific vertices inside Vertex Groups for the Case object (see the Case object’s Data tab). But also you need to check the tab connector cutouts on the top half, which are done via Geometry Nodes (Geometry Nodes or Geometry Nodes Focus work spaces).
Ensure that ONLY the Case Collection with the “Case” object is included in the view (It should be the only one with the checkbox checked in the Outliner.
Export to STL format with the same name as the .blend file
Open another instance of Blender, load the STL file, and delete the part of the model which is one part.
Do another check for mesh issues with the Blender 3D Printing plugin with the two halves of the case selected. Some minor issues like Overhang Face and Non-Flat Faces should be acceptable. But definitely not Non Manifold Edges.
Save this file with a new name adding “Final” to the end. Export the two halves as an STL, which should also be named the same but with “Final” at the end of the filename.
Open the previous revision 3mf, immediately re-save it with a higher R number. Then delete the old model and re-import the new R version STL. Hopefully no mesh errors or warnings, and from here on out it’s just your standard 3D printing workflow.
Inside the slicer, select the imported STL object and use “Split → To Objects”. Drag the top half of the phone case to the 2nd “smooth” plate (optional).
Added R7 to Codeberg to an R7 folder… I didn’t test it though since R6 is working fine for me. Maybe I will later if I try making the side tabs larger or something.
@muon Thank you a lot for your effort! I just ordered a 3d print of your R7 variant using polycarbonate from a professional printing service after doing some research about the materials. I hope I will have some experience to share on this, soon.
Oh cool! Pros should be able to print this successfully. If they can’t then apparently I need to revisit some things. I guess one bad side of having a newer printer means some of the older ones can’t always do some of the trickier tricks.
Don’t forget that simply 3D printing a case without regard to the materials used, is likely to not work out well. If you use the correct materials in the printer, there is a chance that you might be happy with the results. The last thing you want is for the case to shatter and the phone being damaged in the process, the first time you drop the phone while it’s in its case. The Otter boxes are injection molded, hardened plastic.
@SteveR Definitely. Not being an expert here, I still hope that a print that works with PLA should also work with polycarbonate.
And yes, I would have loved to get an Otterbox for it, but obviously there is none available. Yet, the case by @muon seems to be the best option I saw so far - and yes, I did lower my expectations regarding performance…
The other option I thought of was what I once tried for my Pinephone: Taking an existing Otterbox for another device and modifying it, e.g. by inserting a spacer. One could also make some cutouts and/or keep the outer rubber part but design a new "inner"part and print this one. However, this would be a lot of work. One the things that prevented me from daily driving the L5 was in fact the missing case. But with the recent GTK 4.18 issue and other unresolved issues, it remains unclear how long I would profit from a better L5 case. Hence, I wanted just a case that somehow works, and I hope this will do it.
Yeah I’ve always been a little skeptical that a hard case does much to protect a phone from a drop. But I pretty much never drop phones so I wouldn’t really know. If that’s the main thing people are concerned with I don’t know why these things aren’t thick bouncy rubber or whatever.
But that design I did is pretty damn thicc and heavy duty. I think you’d have to work hard to break the thing… and if it does, there’s a physical gap between much of the case and the phone. Very little of the phone even touches that case because of the “standoff” parts. If the case did break from a fall, maybe the case itself would have the only damage? Not a drop test expert so this is all just wild speculation!
If someone was up for a bit of DIY and drop protection is the main focus (as opposed to heat control like my main goal), I suppose in theory you could try putting some soft material into the air gaps at the bottom and the edges before the case is closed.
Where does damage typically happen on a dropped phone? If it’s the corners - the corners of the phone are actually not in contact with the case at all. If it’s the screen, the front bezel is raised much more than an injection molded case.
If I had to guess what might happen, the main risk is that it’d fall off the phone (not broken, just unsnapping like when you remove it yourself). But at that point the phone’s already at ground level.
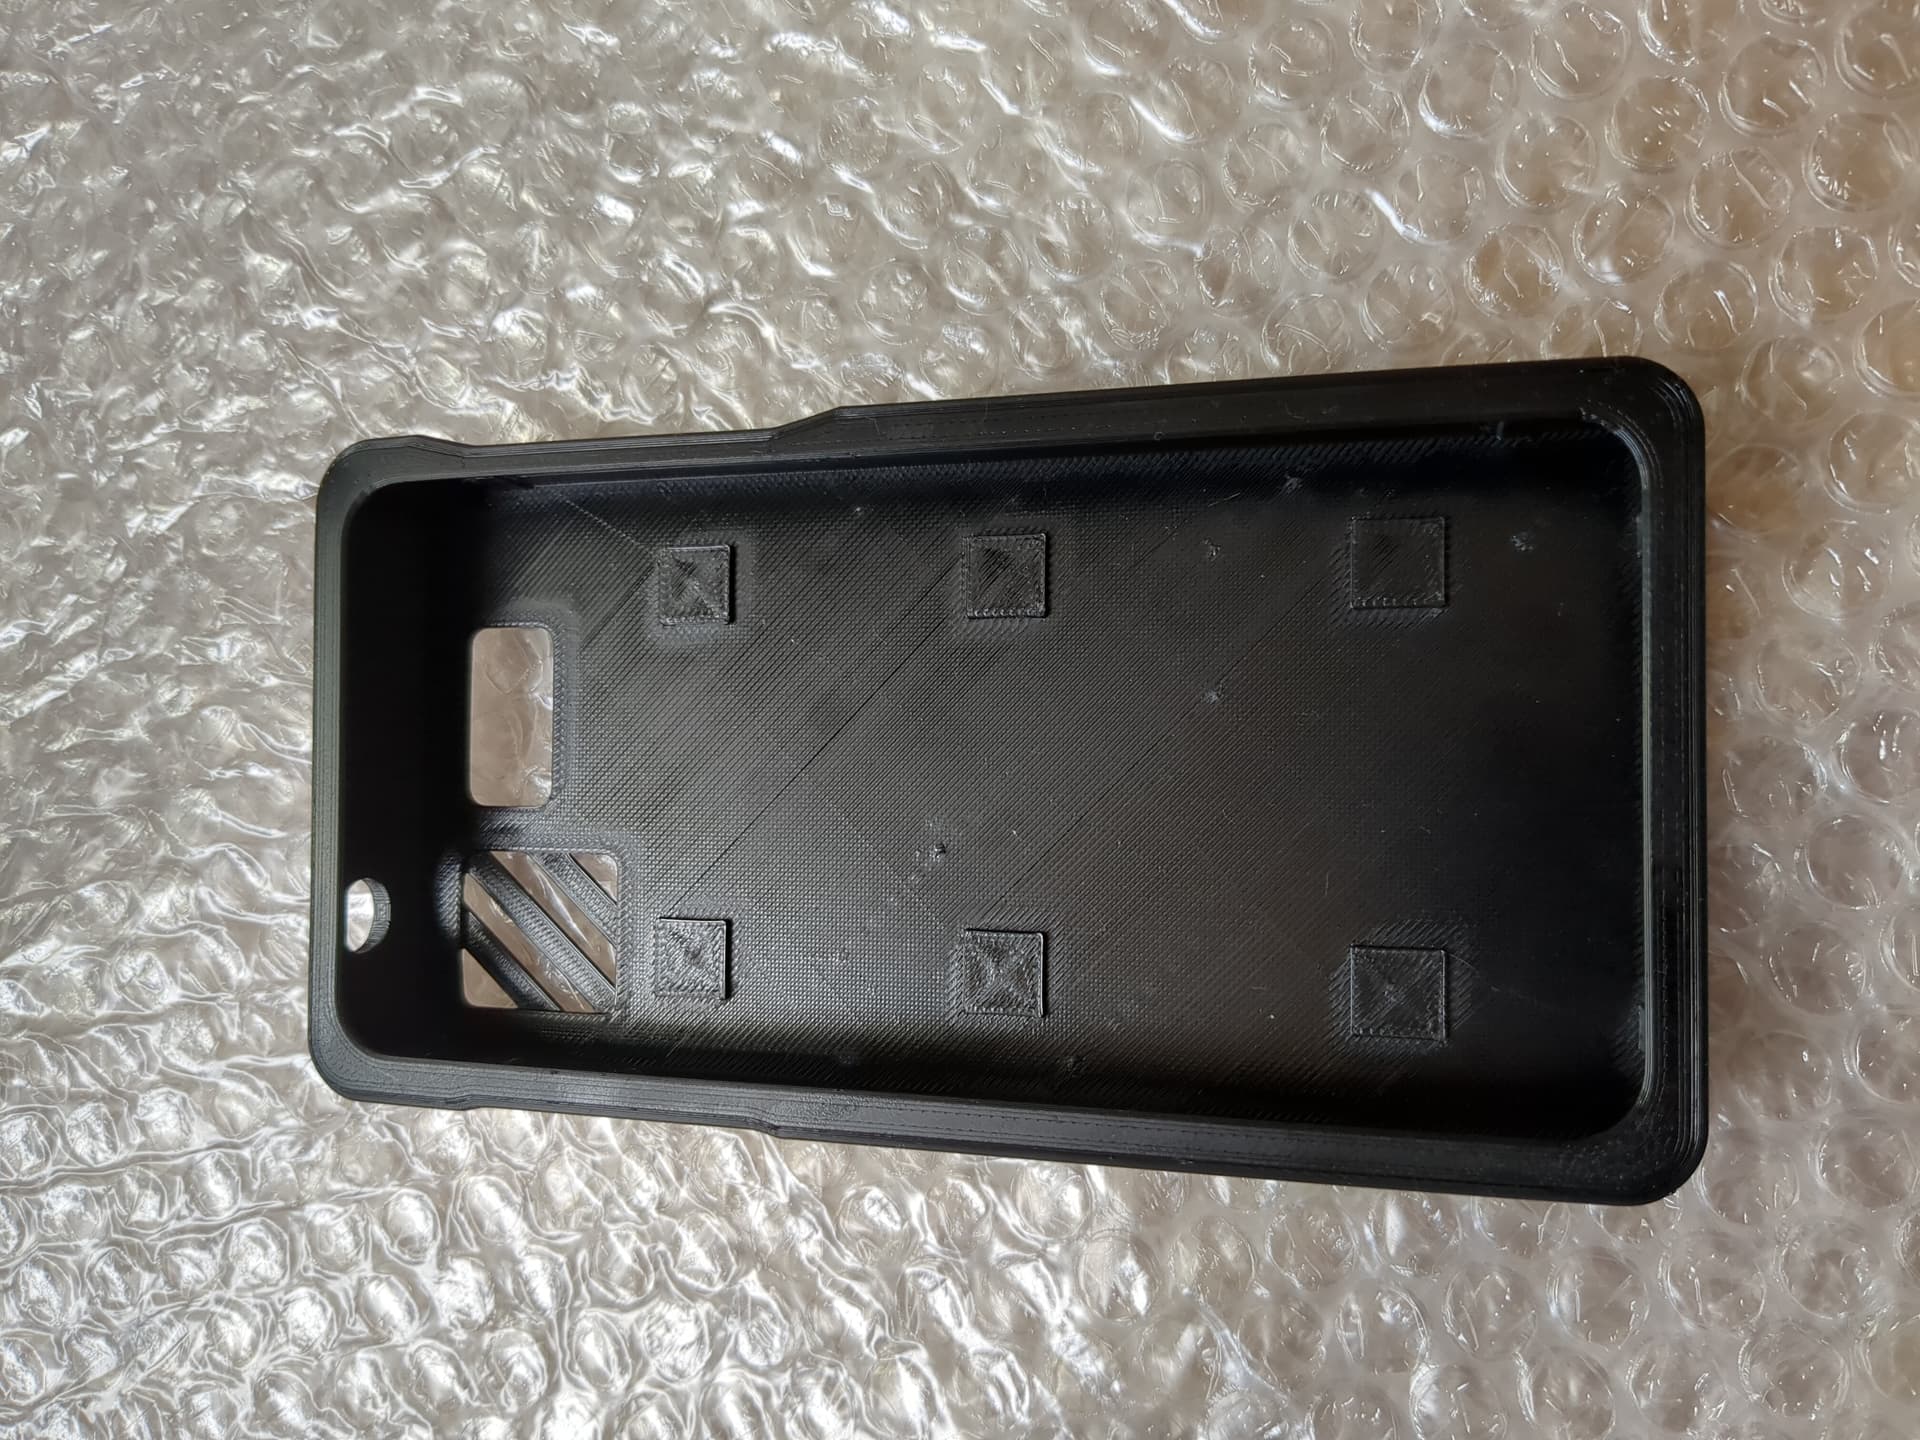
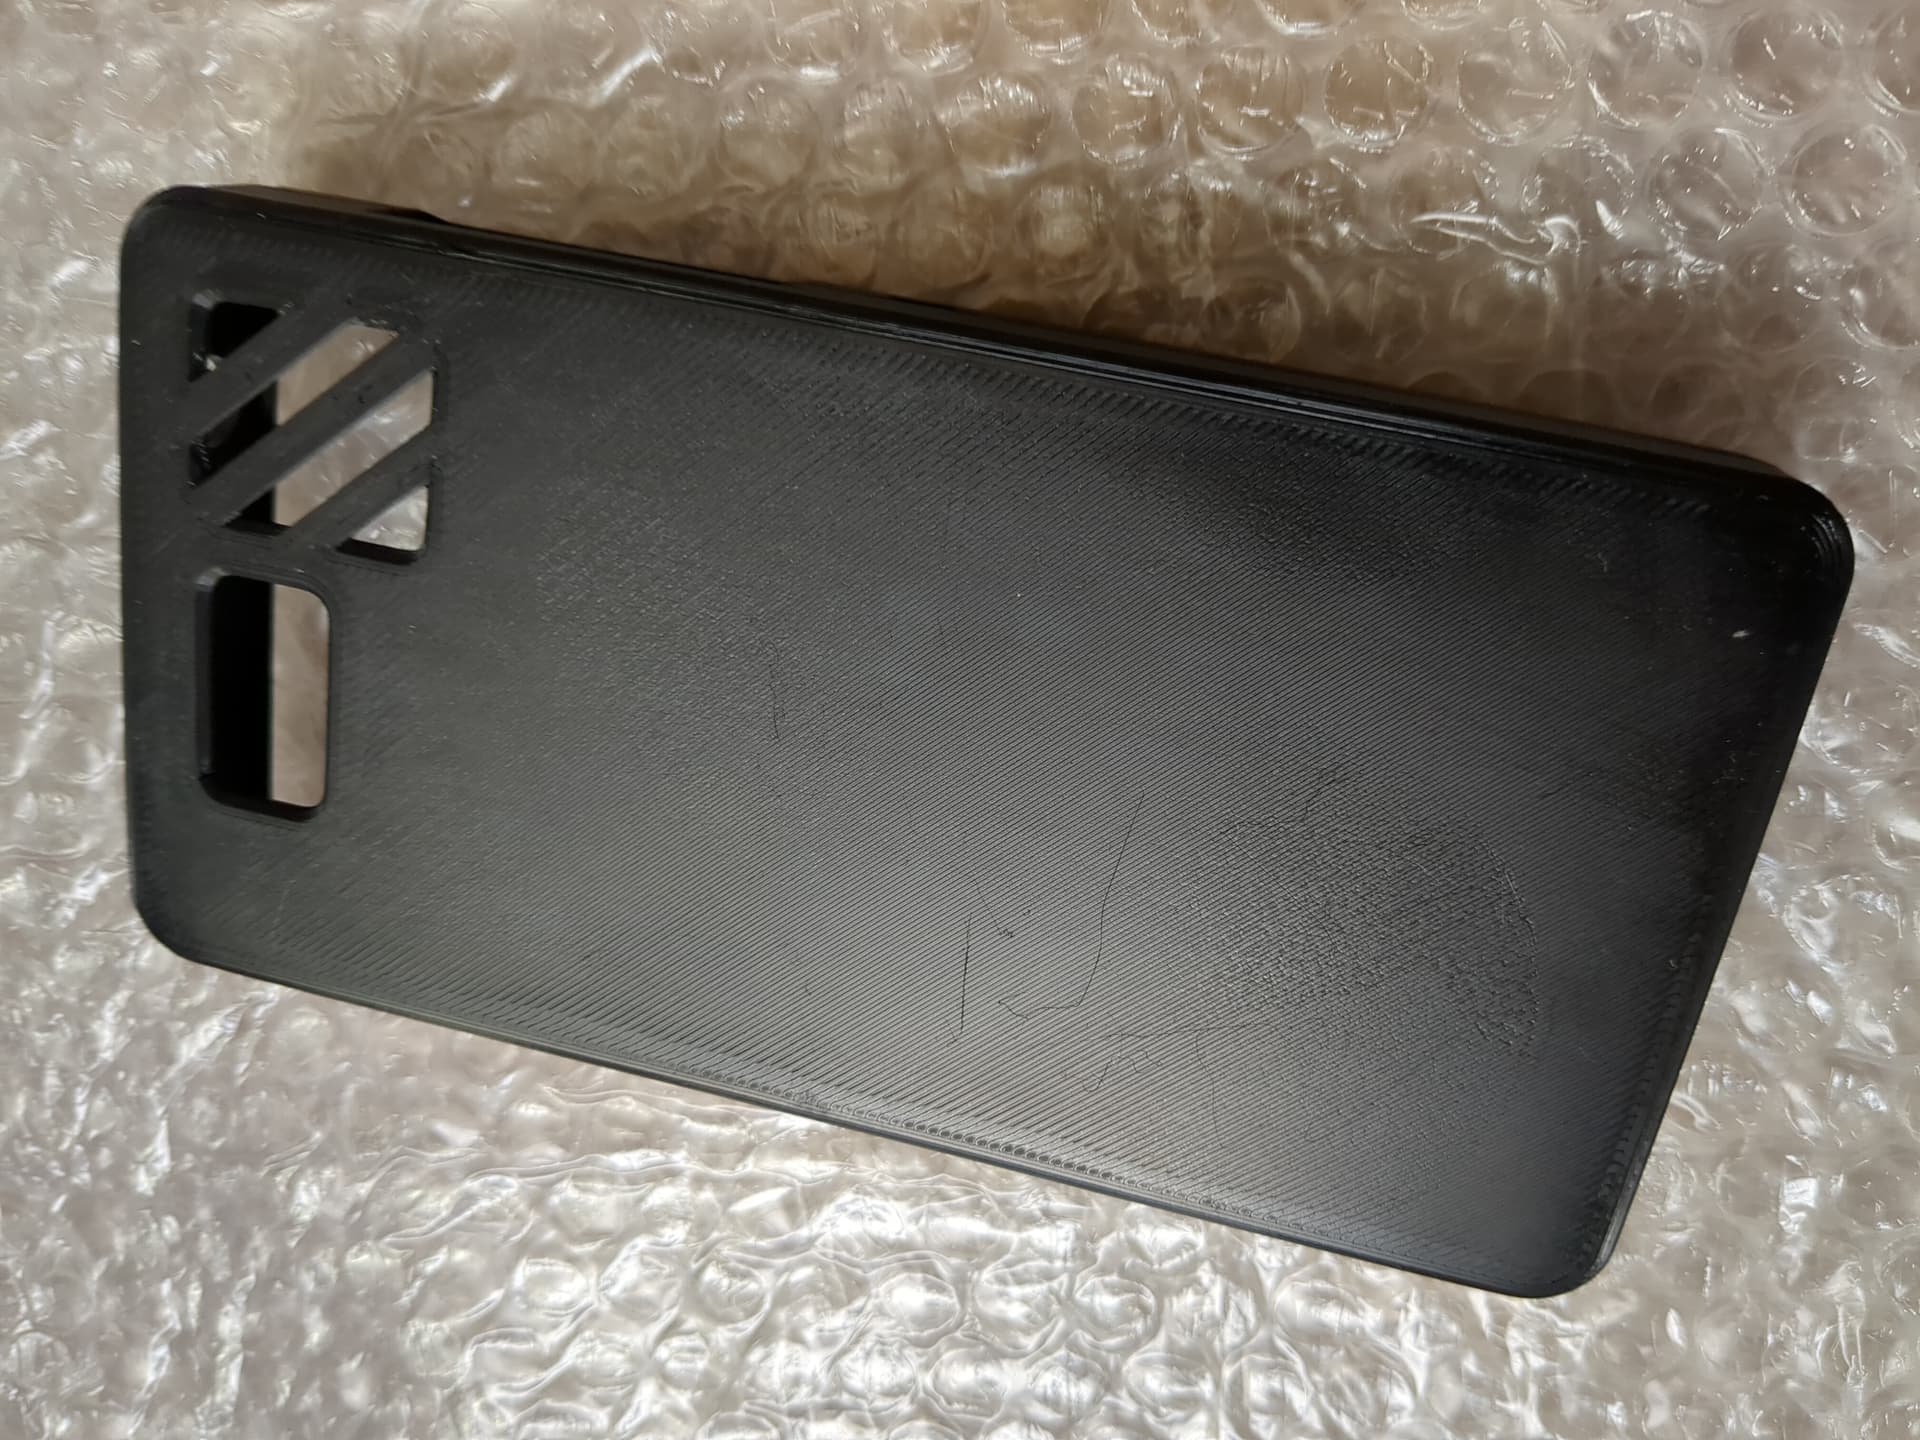
The polycarbonate prints (20% FDM fill) of the v7-final model by @muon have arrived today. First impressions:
overall, feels very sturdy
grip could be improved a lot; not a big issue for me as I have some grip stickers at hand, but having knurled side parts might help as well - although with knurled sides, it would not be possible to attach the grip stickers anymore I guess.
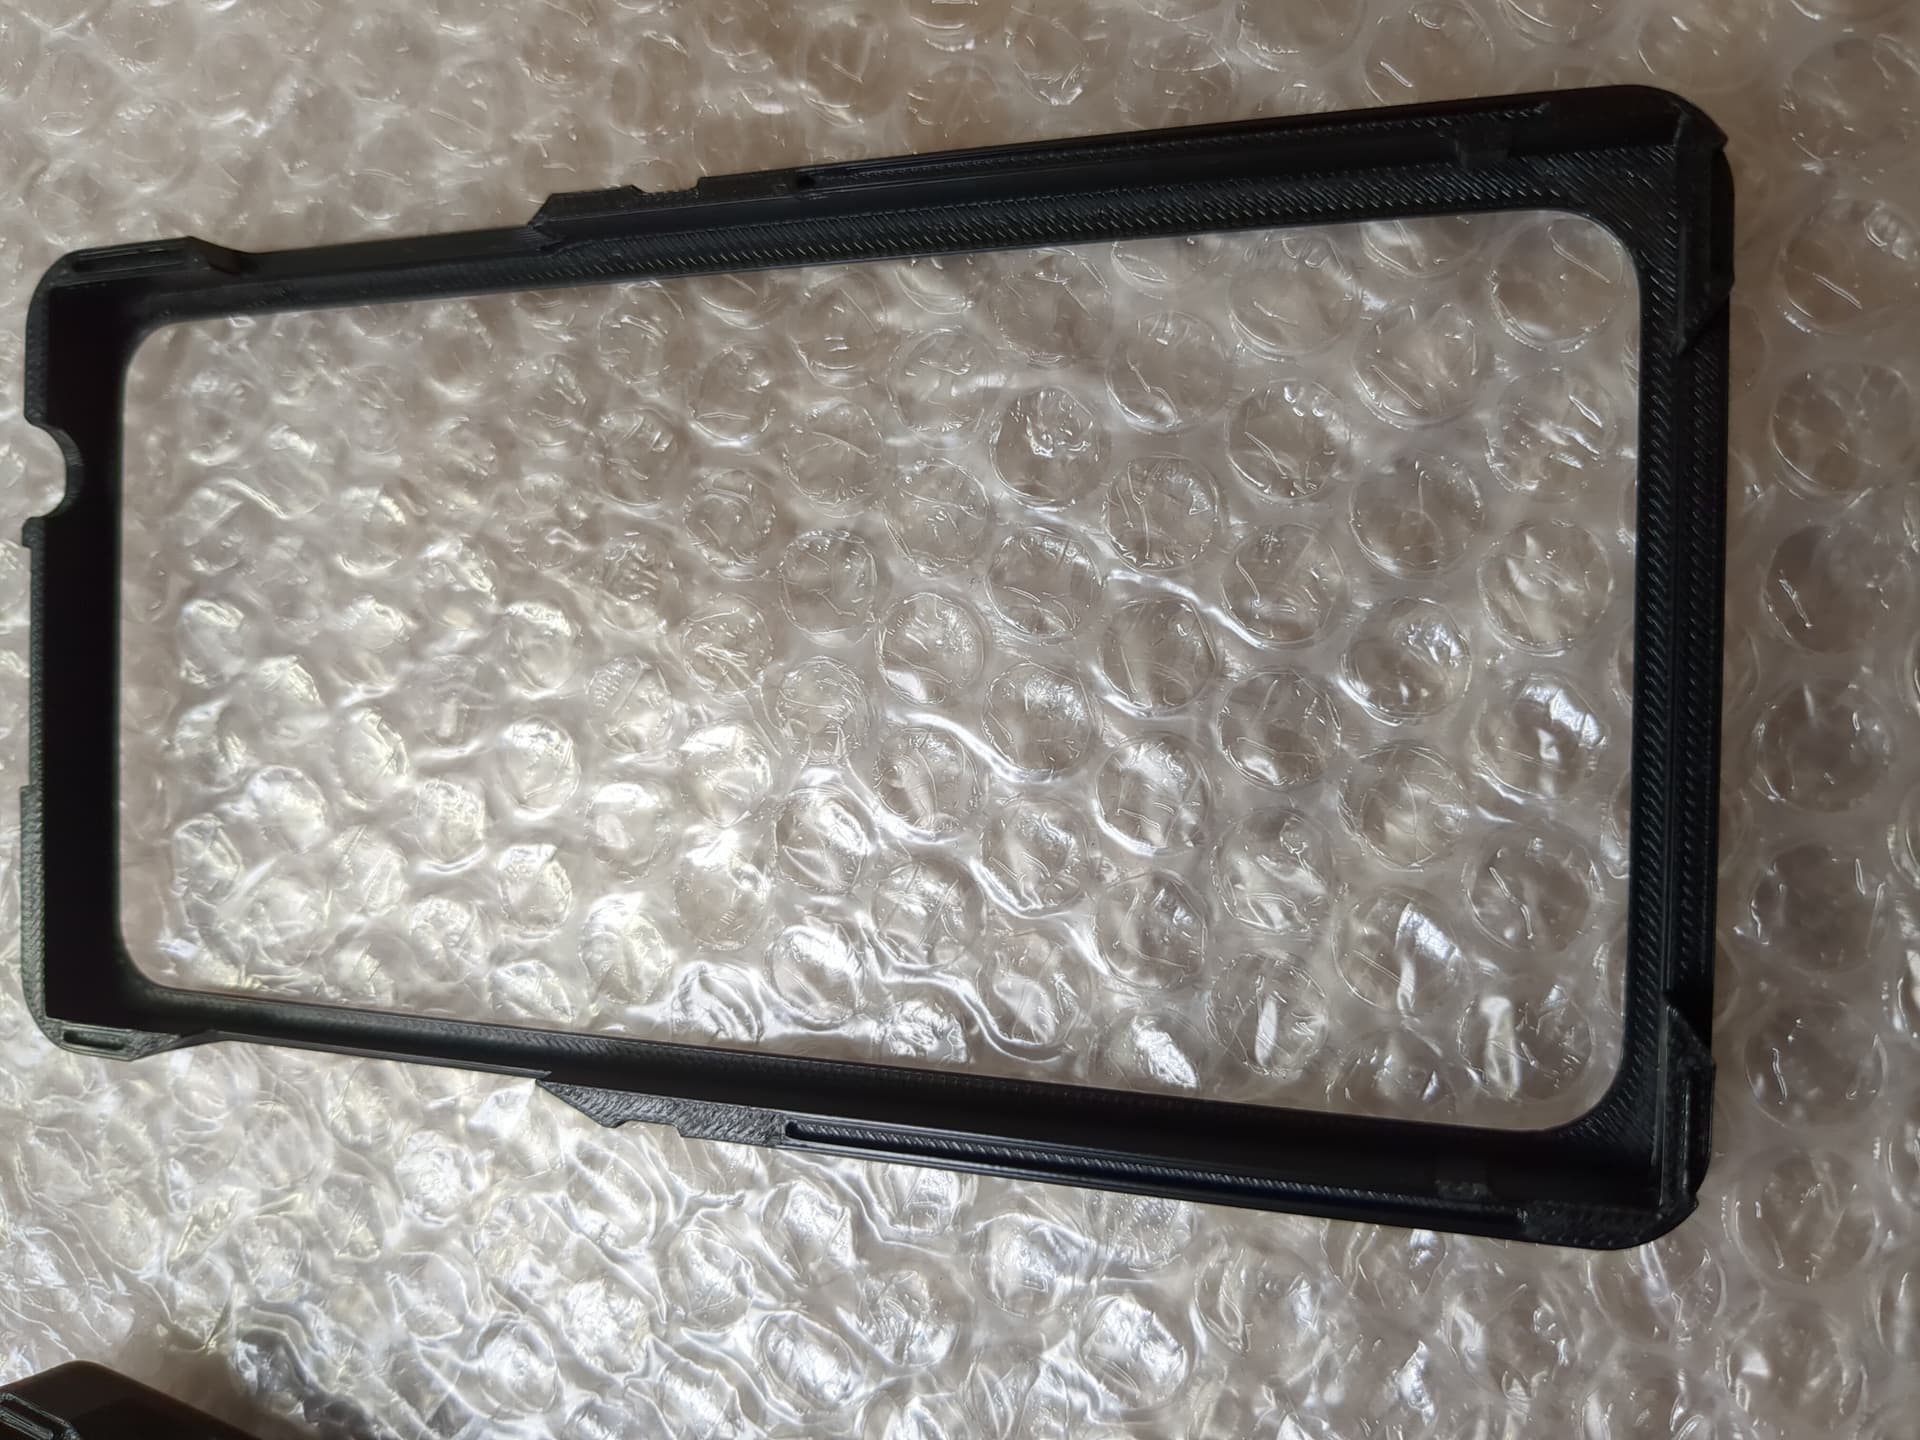
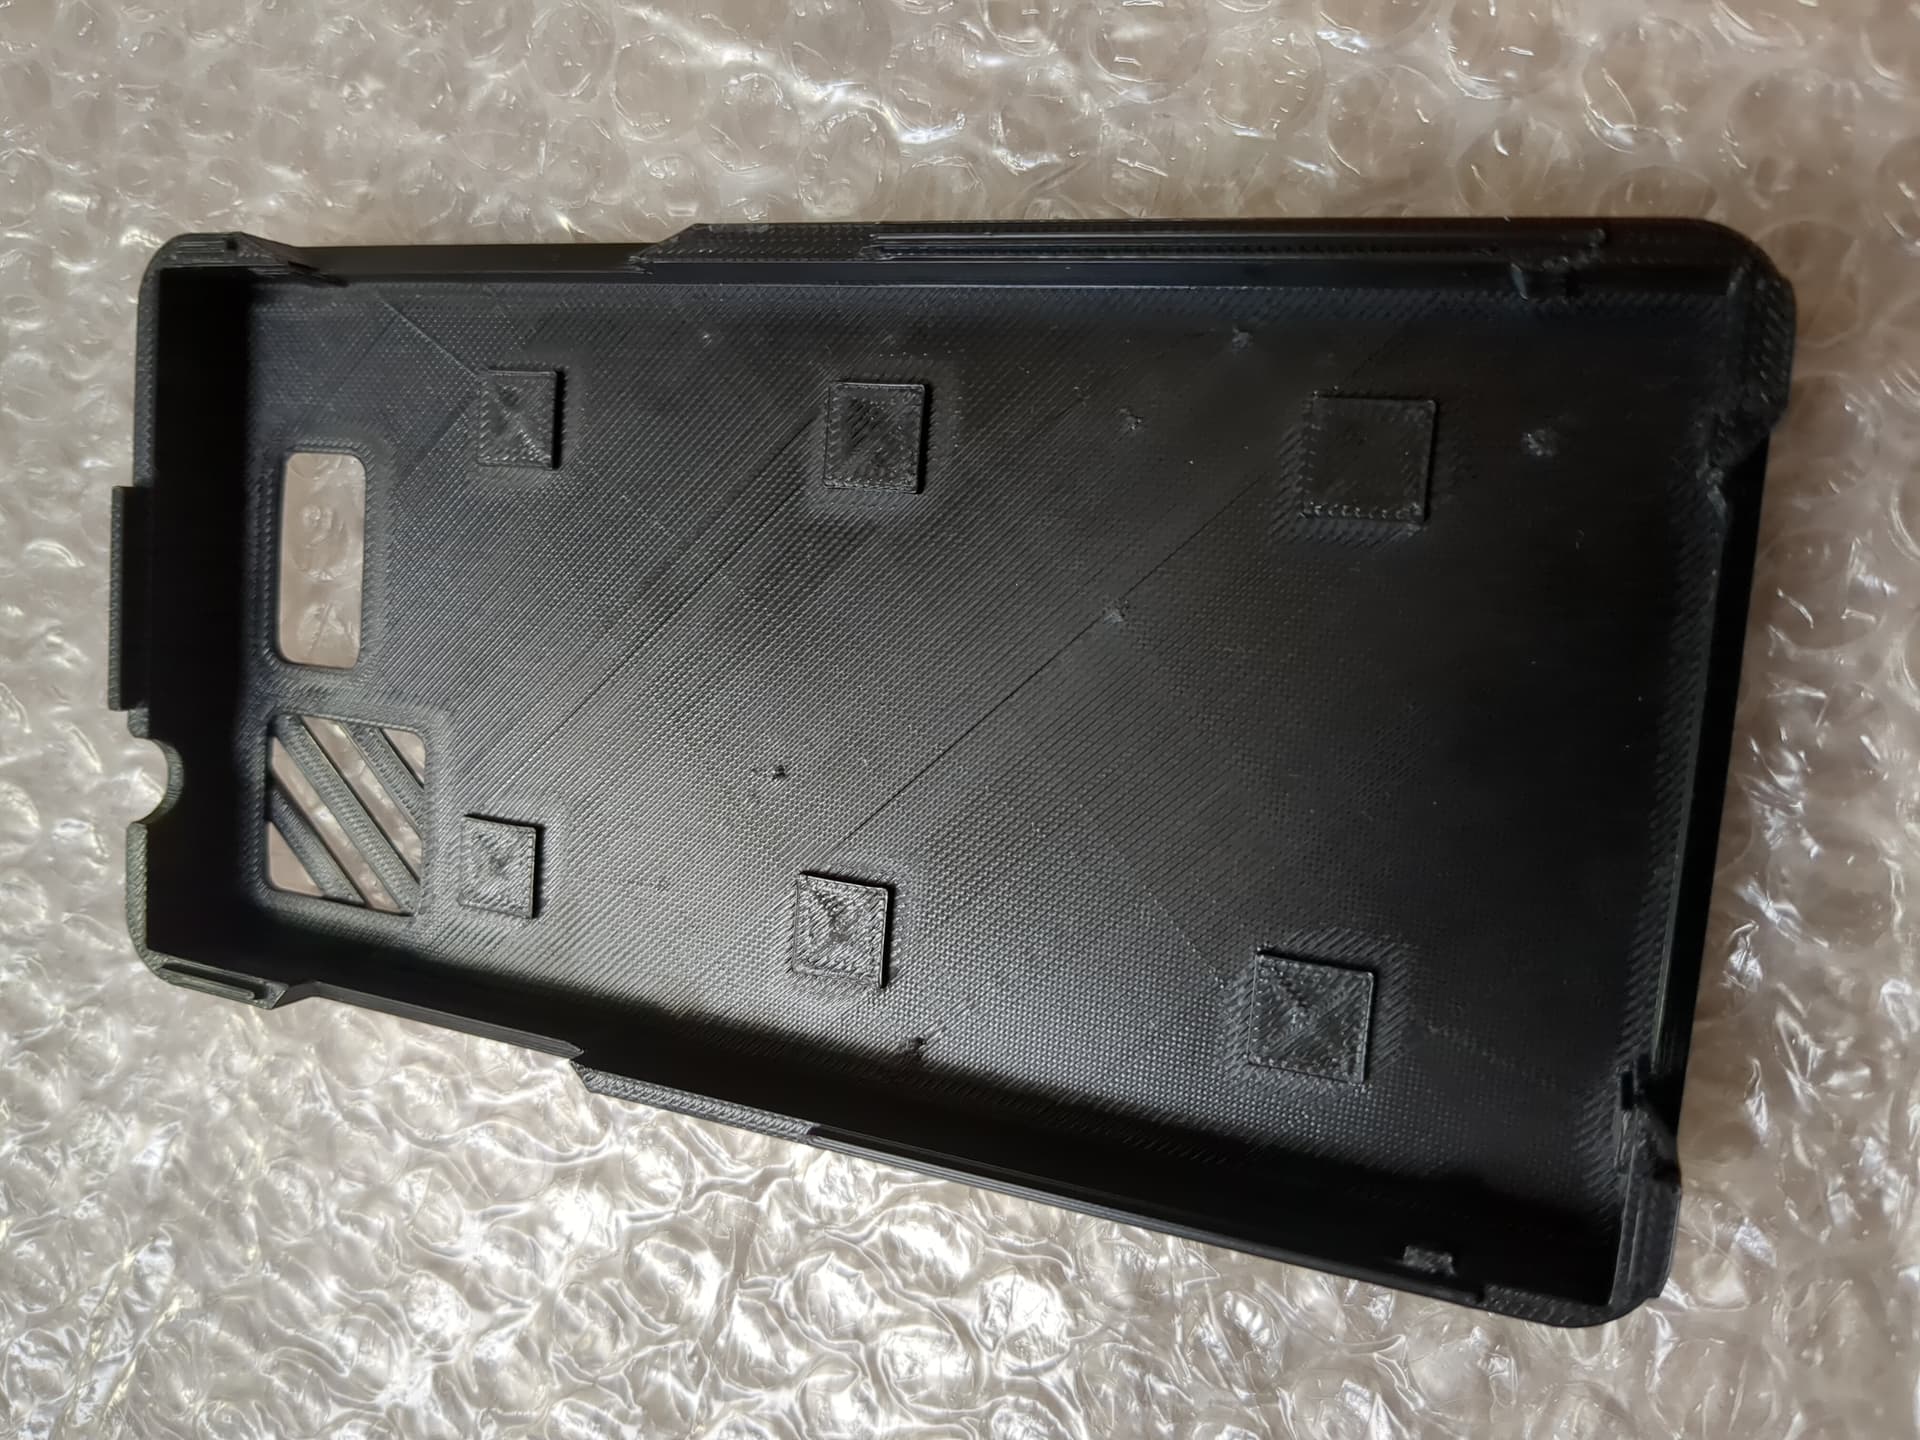
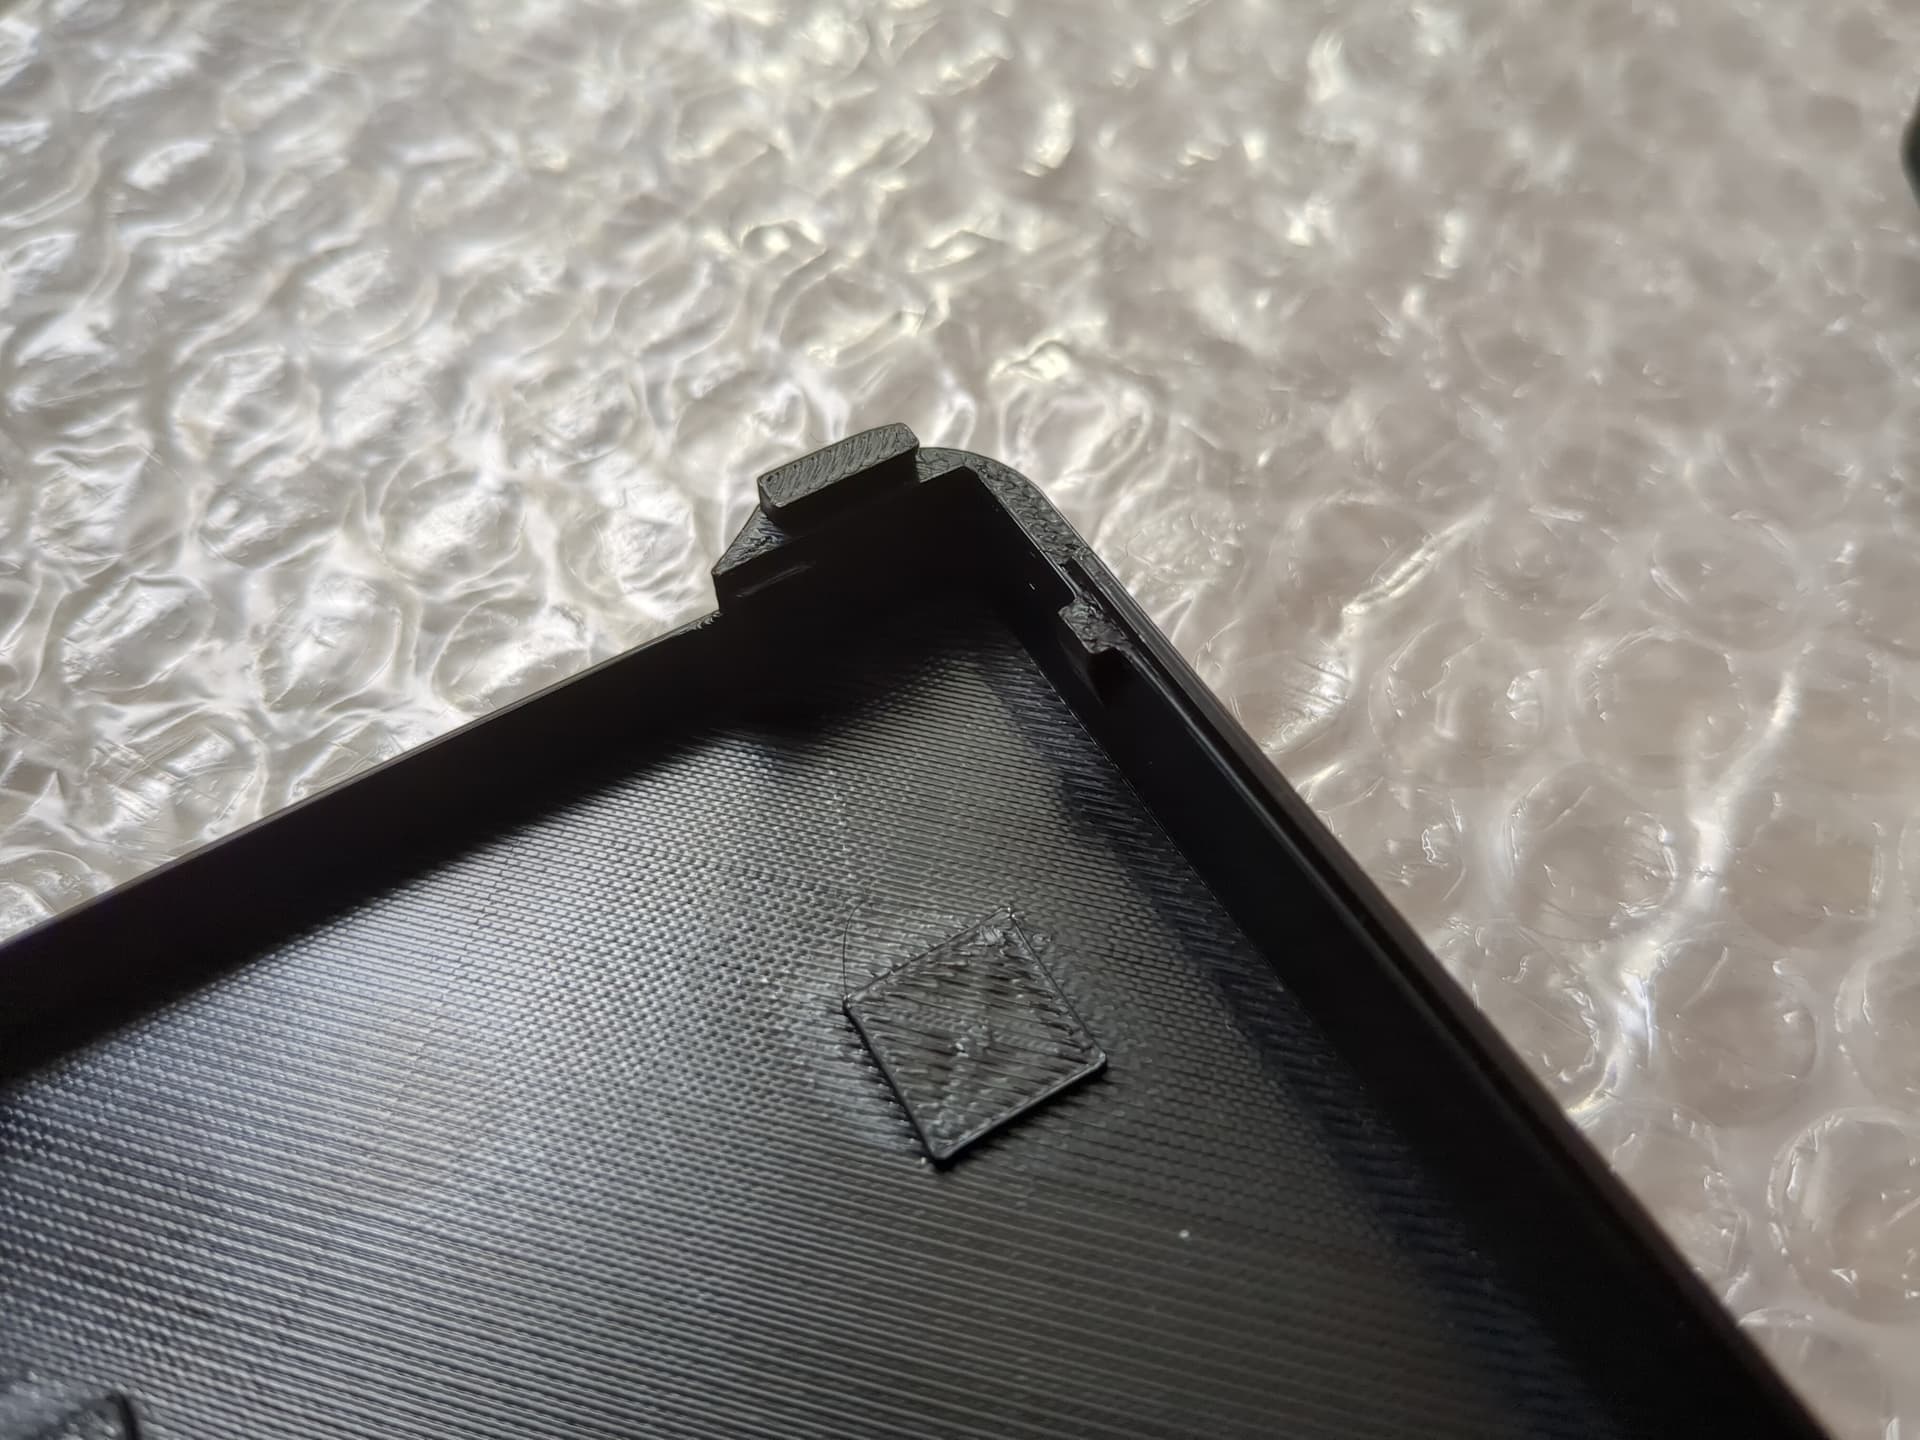
the small noses in the side parts have broken off very fast, others seem fine.
just the big top+bottom noses keep the case together quite well, so just fixing the sides with some tape might be better than having these fragile noses.
the print is too tight so you can’t get in the L5 in without applying some force, and even then it’s hardly doable. I will probably have to carve off some of the inner side parts.
the material is a fingerprint magnet
It’s a bit what I was expecting. Otherwise I would have been severely disappointed after paying over 70 EUR for this print. But I see this rather as an experiment for learning and improving the model.
Before I try any mods, I plan to make some pictures first.
Yet, I think finding a volume case such as an otterbox defender for a device with similar shape and replacing the otterbox’s inner plastic part by a 3d model for the L5 could be a much better longterm result.
Interesting, yeah I haven’t seen any of those issues at all! Not sure if it’s related to the material or what.
Yeah I should definitely increase the size of the side tabs. I was initially worried they might make it too hard to remove, but obviously that’s not working out for others. Mine haven’t broken… maybe PLA is a bit more flexible and that helps?
Fingerprints can’t be a problem on mine with the textured plate surface for the back. Not really sure how to solve that kind of issue otherwise.
I’m glad it seems like it’ll at least work out for a while. I’ll probably do an update some day so this will give me some ideas for enhancements to try out!
Yeah that flat back cover would looks a LOT better when a textured plate is used. I’m actually a little shocked at the quality difference… maybe it’s due to the material used, but wow.
I’ve decided I dislike the company that made the printer I used (Bambu Lab X1 Carbon) due to their seemingly hostile approach to people who prefer privacy, etc etc… but they made some pretty good hardware.
Either that or that 3D print company seriously needs to clean their plates better… or get some new ones!
By the way, can you tell if the phone’s tight fit was in both directions, or just one? I’ll probably make a version with a bit more tolerance. It’s intentionally a tighter fit, but it shouldn’t be so much that it requires much force.
I doubt you can do polycarbonate prints like mine with a 200-300€ printer…
Regarding the fit: I was unable to actually put the L5 in the case so far. It “almost” fit but I didn’t want to apply too much force as I was afraik to break the screen or scratch the L5 itself. Once I have the proper tools, I will try to remove some parts of the inner noses and see if it helps.
But as far as I can tell the issues are on the sides (left and right) not top or bottom.
Edit: No, it actually seems top and bottom are issues as well, will have to look closer into that.
Okay, wow I definitely didn’t have that issue… hmm.
Apparently these things can! They sell PC filament, which I think means what it sounds like it means.
But I don’t think this printer is that cheap. If the “AI” did the conversion correctly an X1 Carbon goes for €1,269.99 to €1,349.00. Just to caution readers though - still not a recommendation. Bambu Lab’s lack of respect for privacy and ownership doesn’t meet the standards that most people here would want. Some day I’ll replace this with a Prusa so I don’t need to quarantine my printer.
Looks like I forgot that I made those side tabs much larger, and added some extra near the top too. But I’m pretty sure I never published it because it was untested.
I think I wanted to add some small screwdriver insert slots somewhere so that you can use a tool to open it back up. Because I was getting concerned it might be too hard to pull apart with these changes. Technically you could use the holes that expose the phone but then you risk damaging the thing that matters.