Do you have an URL to buy it? Thanks
1 Like
I ordered it from a guy which, I suspect, is smuggling them from Austria to here, so I don’t think that would be useful for anyone living outside Serbia.
I can tell you that it’s a Creality Ender 3D v2, and that I paid 270€ for it + about 100€ (I think) for the upgrades that I’ve done in the past six months, which I’ve ordered from AliExpress. Price may vary depending on where you live, and where you purchase it, this is the best price I found here.
If you’re from USA, your best bet is to buy it from the official Creality store. At least, that’s what I saw on reddit. For other parts of the world, I really can’t tell.
If anyone is interested to hear my experience with it, I can create a new topic later during the day, so we don’t stray too much here.
1 Like
For me, fixing the short cable was quite simple and I didn’t use any special tools. I unscrewed the screws following the images of the guide and I used my fingernail to detach the 2 terminals. I routed the outer cable a different way and reassembled everything.
I used pliers to hold the wires and with a little pressure I reinserted them.
The important thing is to be very very calm and patient. I had never done such a job.
Greetings
4 Likes
So basically YMMV. Thank you for the info.
I already printed the tools for removing/inserting the connectors, so I’ll use them.

6 Likes
Caution: some technology may be able to harvest your fingerprints or palm print from a photo. 
5 Likes
Next time I’ll wear my Mickey Mouse gloves 
4 Likes
Nice pinecone collection!
2 Likes
Thank you! As a poor pinecone farmer, it means so much to me.
2 Likes
You should also see my collection of bad jokes.
1 Like
Dad jokes I hope!
1 Like
Dad jokes, mom jokes, fat jokes, skinny jokes, nice jokes, ugly jokes, funny jokes, scary jokes. If I don’t have 'em, you dont want 'em.
4 Likes
You could sell them for $15 and it would still be cheaper than the metal tools! Maybe Purism can add tools to their website??
2 Likes
I have to dissapoint you guys, the tools are too big for the connectors. I opened the phone to take a look this morning.
I think that these are for the bigger connectors found on desktop pc wifi cards.
I can scale them down, but it’ll take few tries to nail it down, and I’m not sure if my 0.4mm nozzle can print it out precise enough.
I’ll see tonight if I can improvise using other tools I have at home.
1 Like
@Captain_Morgan that sounds nice and all, but the thing is that my printer is a hobby one, and it’s not very fast. It took about 30 min to print these two out. Injection molding would be much better for making these at scale.
Also, there is always problem of distribution, as exporting goods requires a certain amount of logistics, money, and paperwork, which I’m not really keen to get involved in.
2 Likes
I usually just use a small flat screwdriver to gently pry on the connector from the bottom and it works well in my experience. Connecting it back is much more annoying though, as it’s very easy to bend the inside of the connector if too much force is applied…
5 Likes
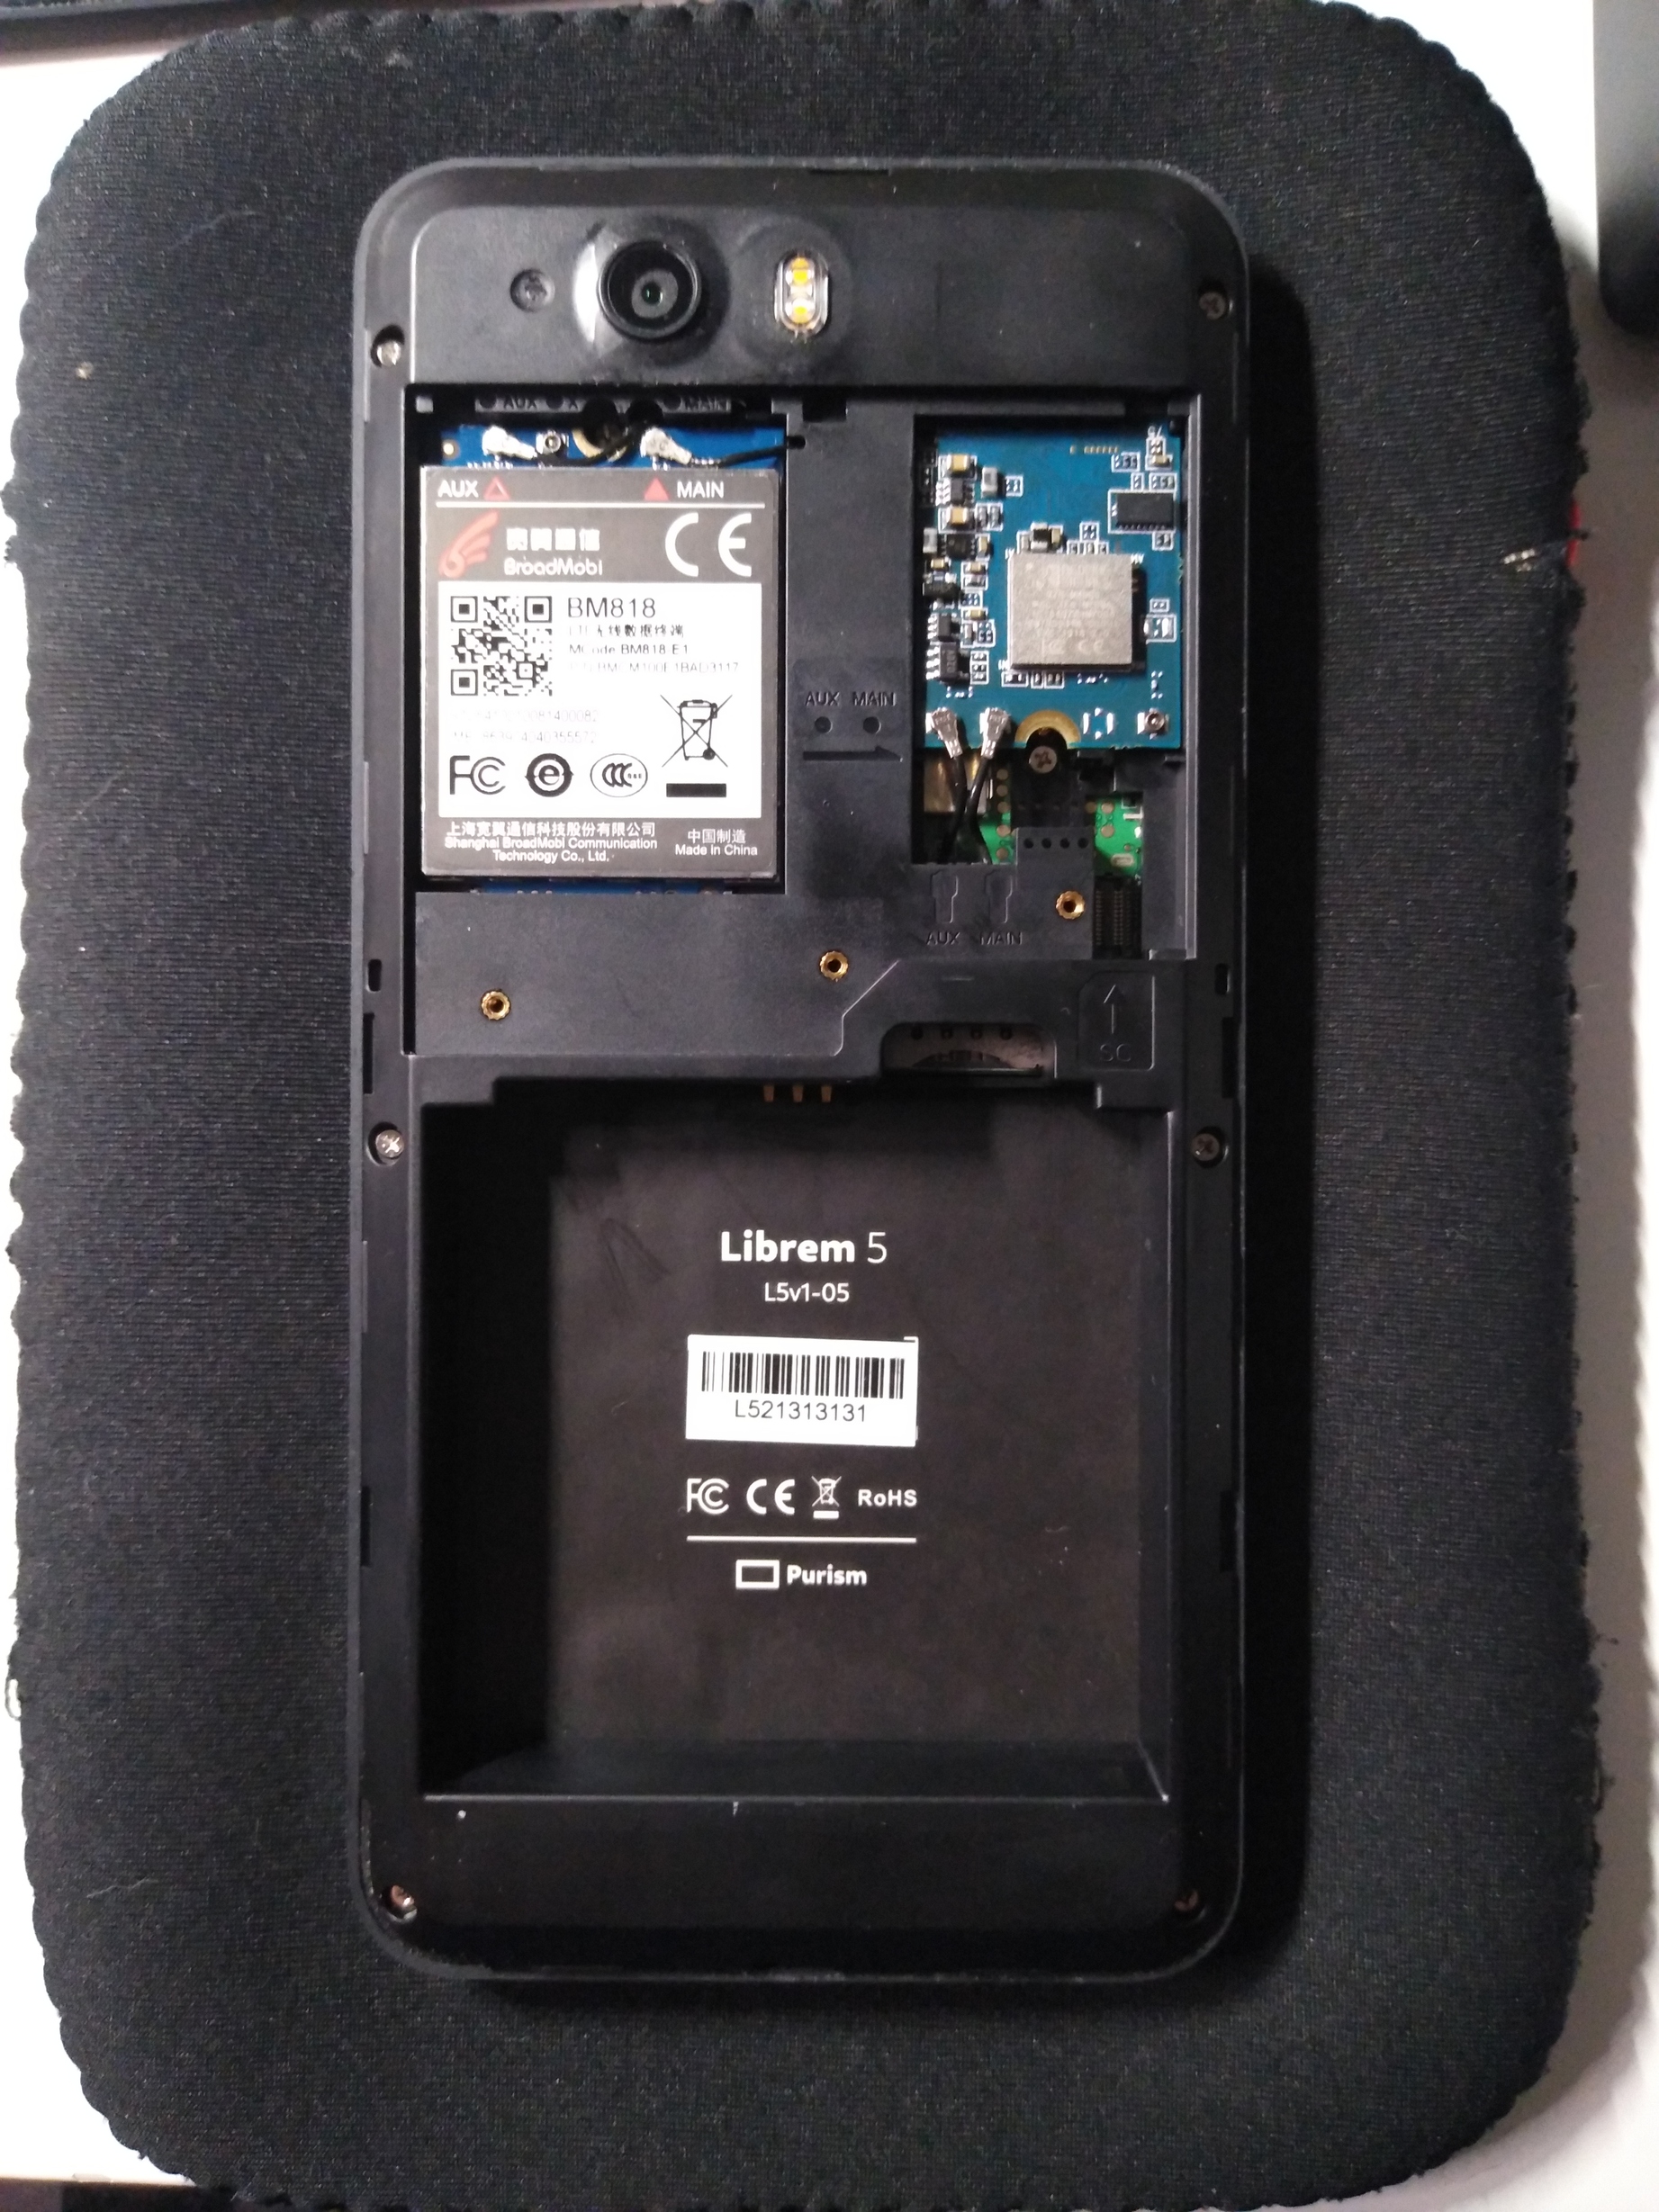
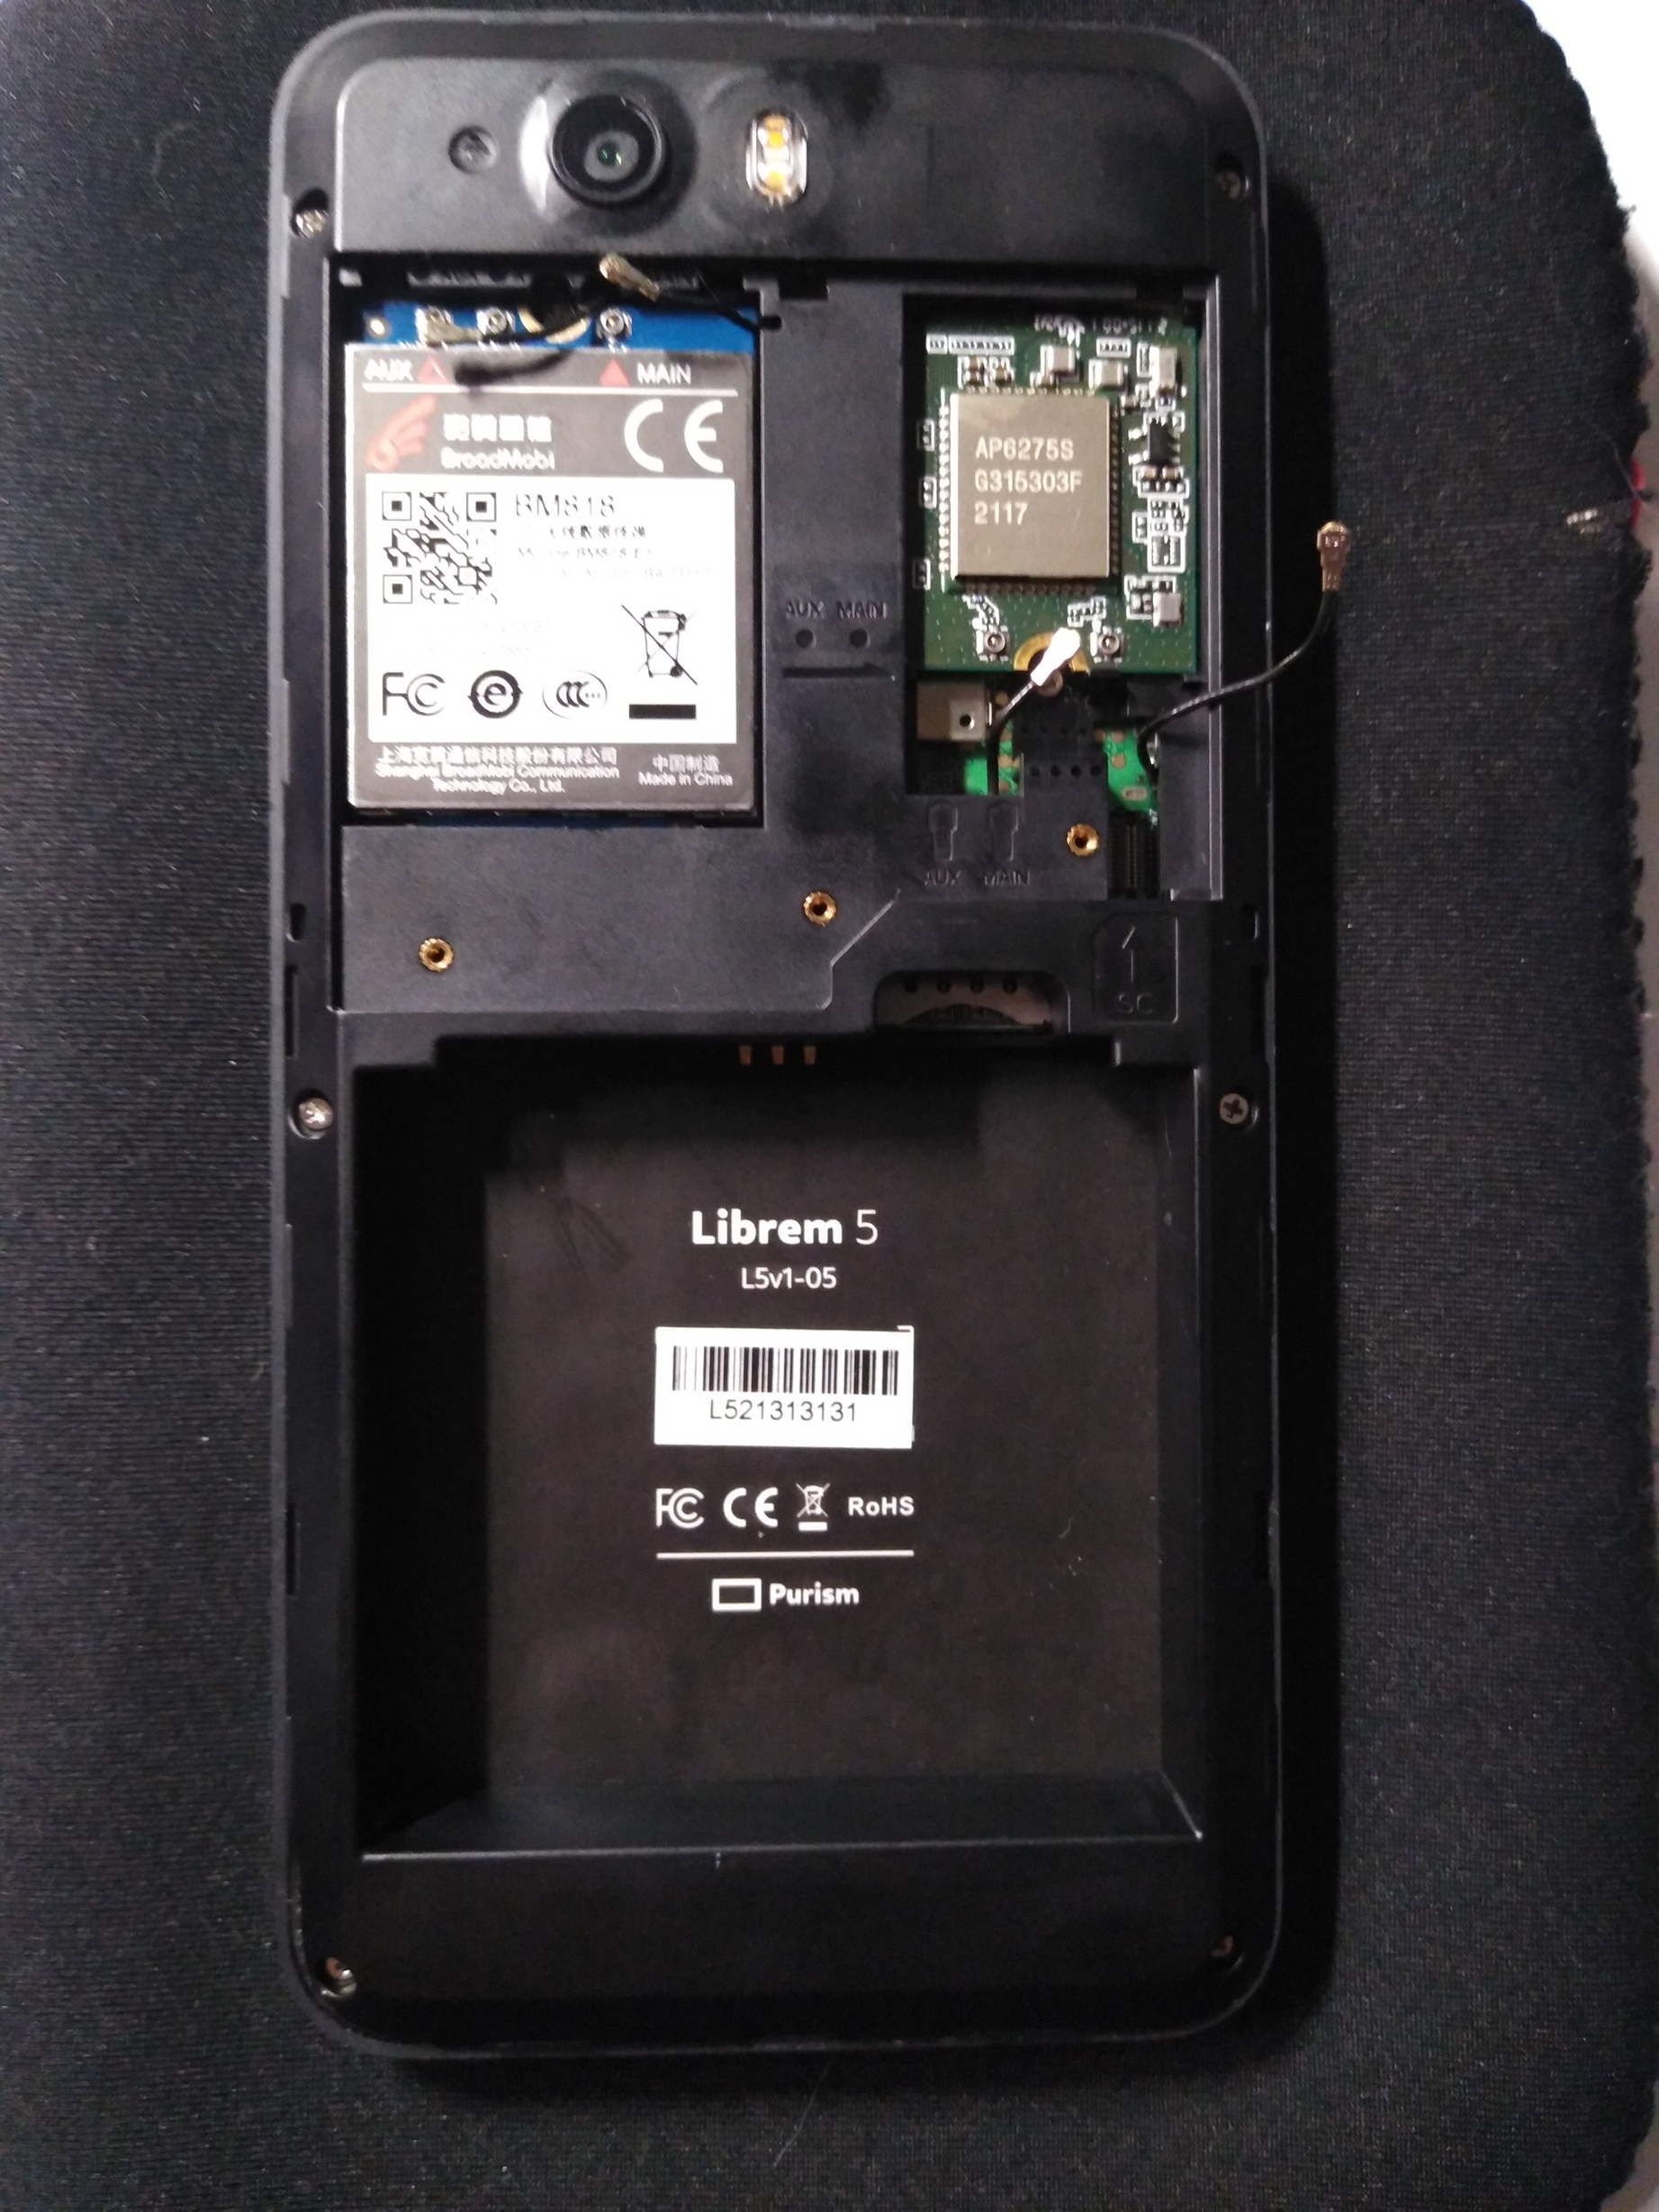
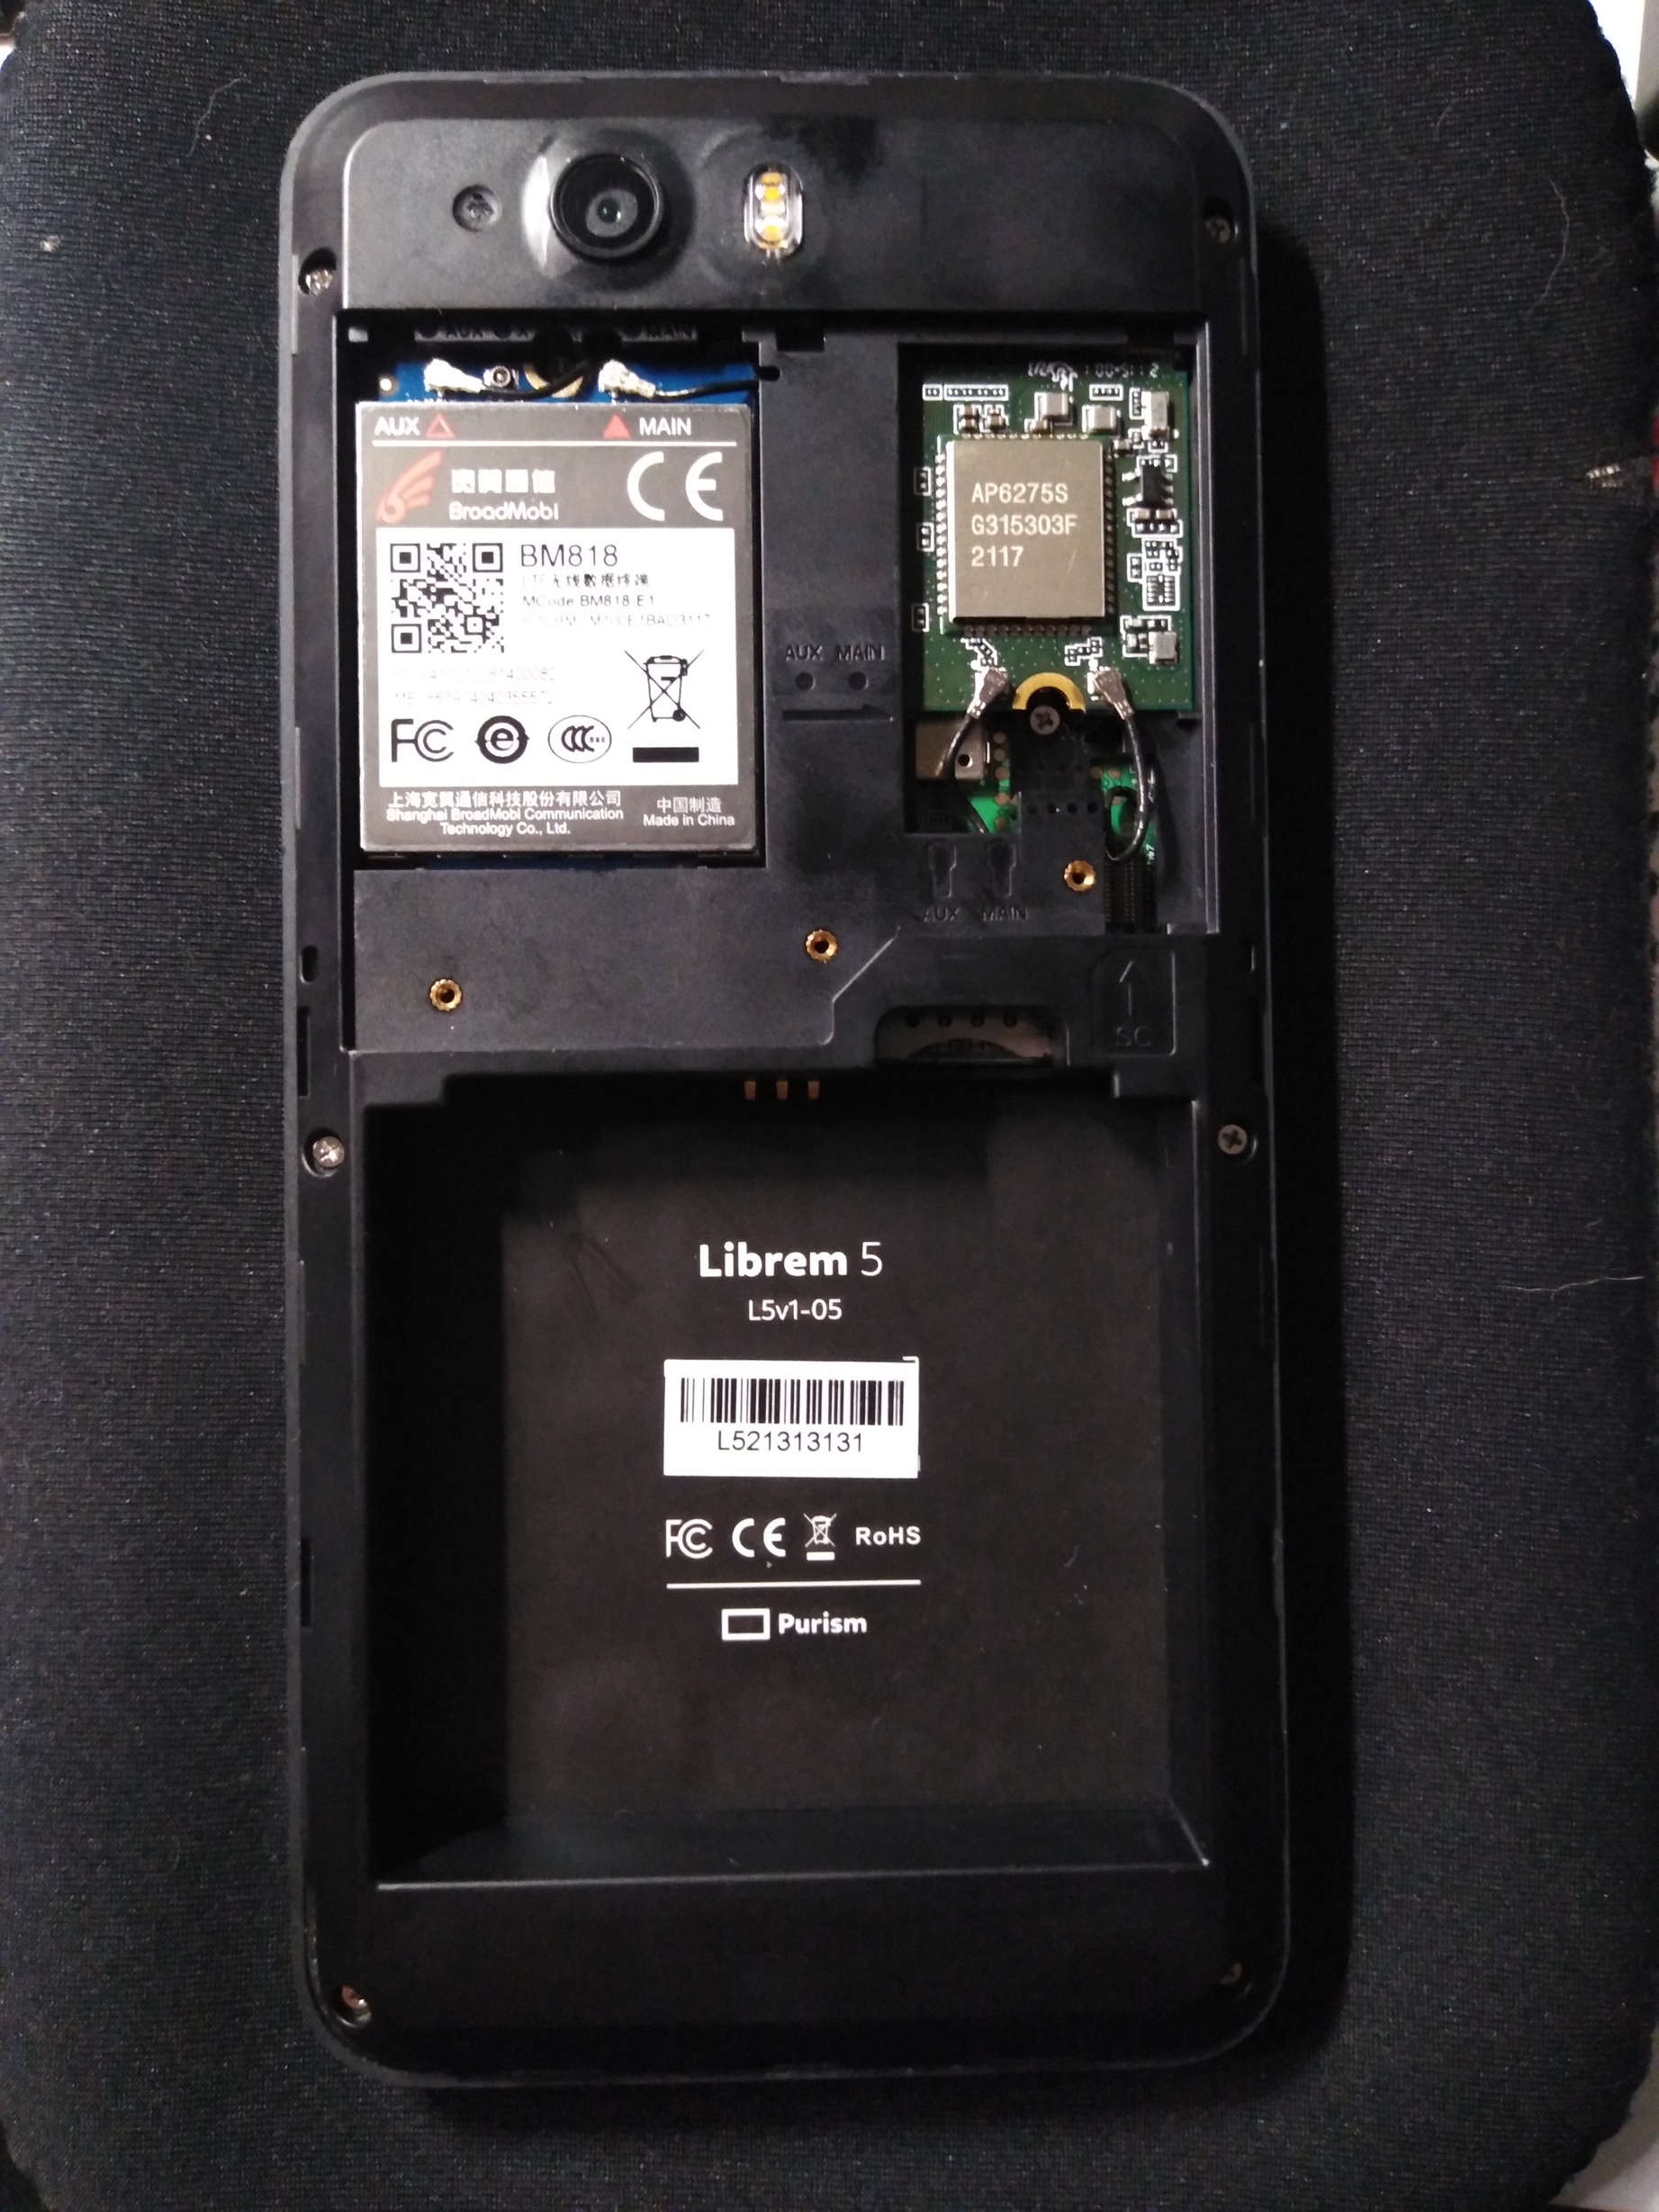
So I managed to replace the card, but I still haven’t sorted out the firmware jail, as rest of the life managed to mess with my plans once again.
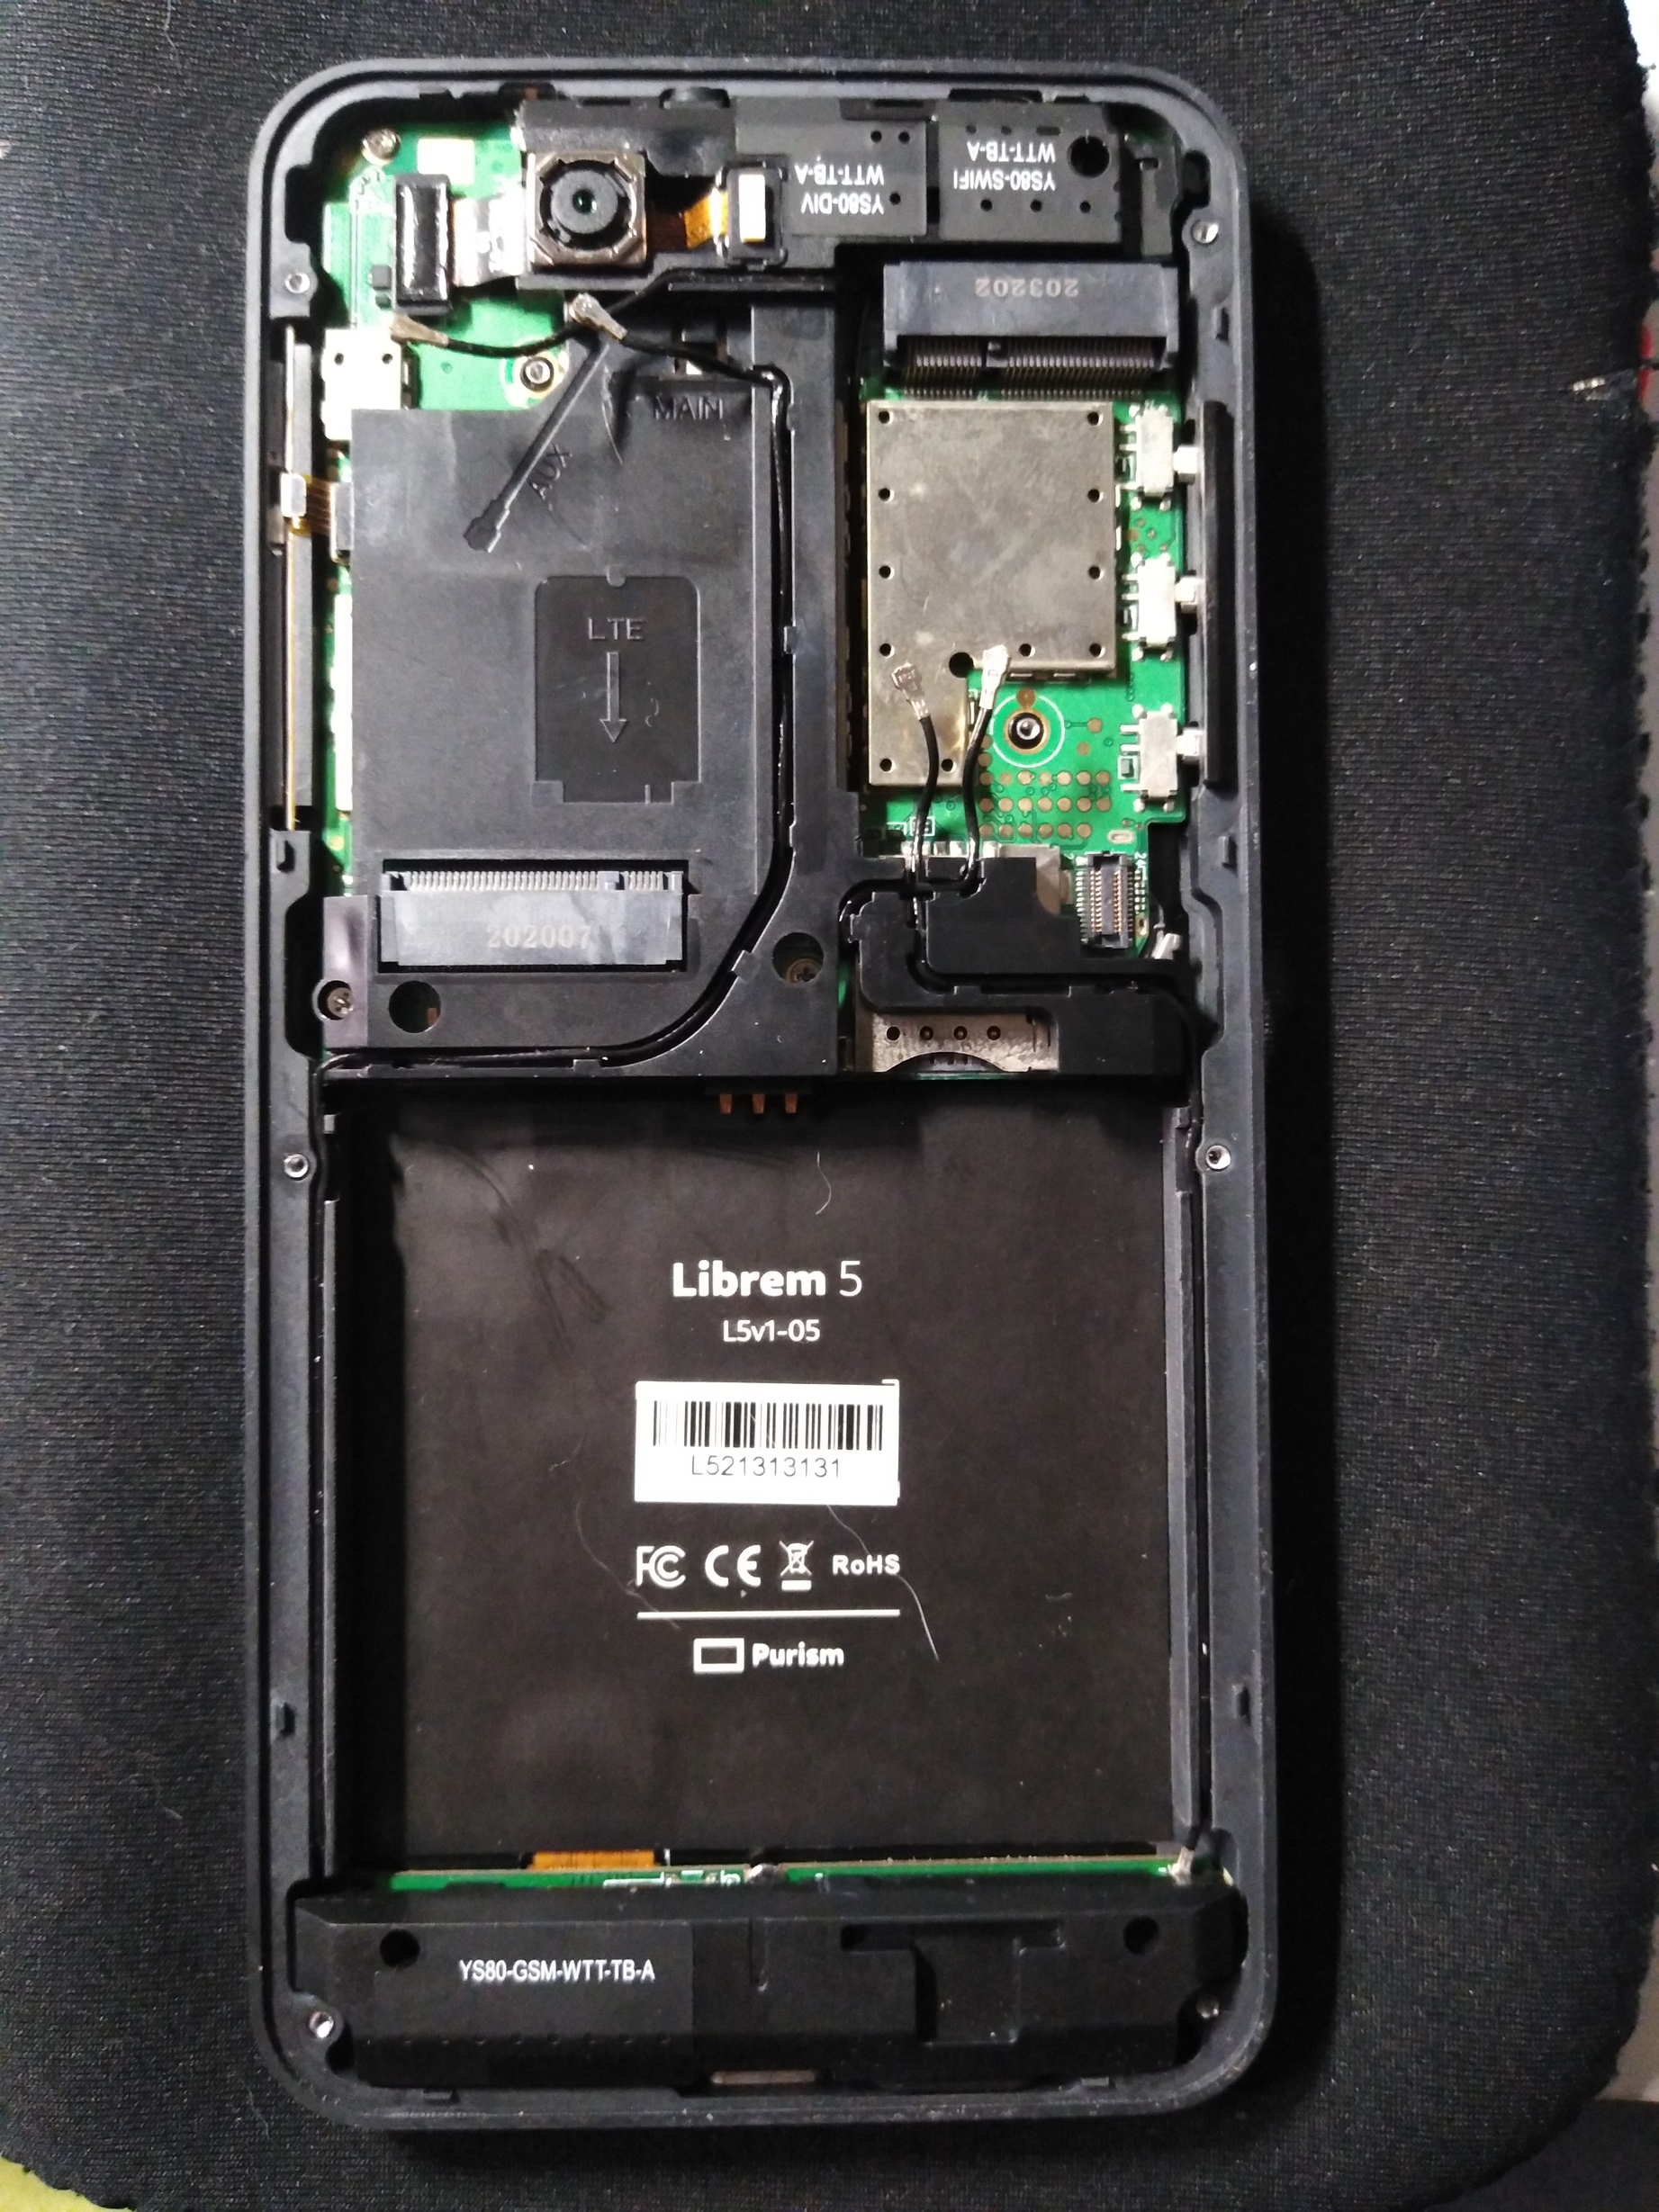
It’s really not that hard if you have some experience with repairing your own devices. Basically it’s just as @antpanlinux said, you need steady hands and patience. Purism Librem 5 disassembly video sped me up a bunch, since I could see what screws I need to unscrew, and how to remove the plastic parts.
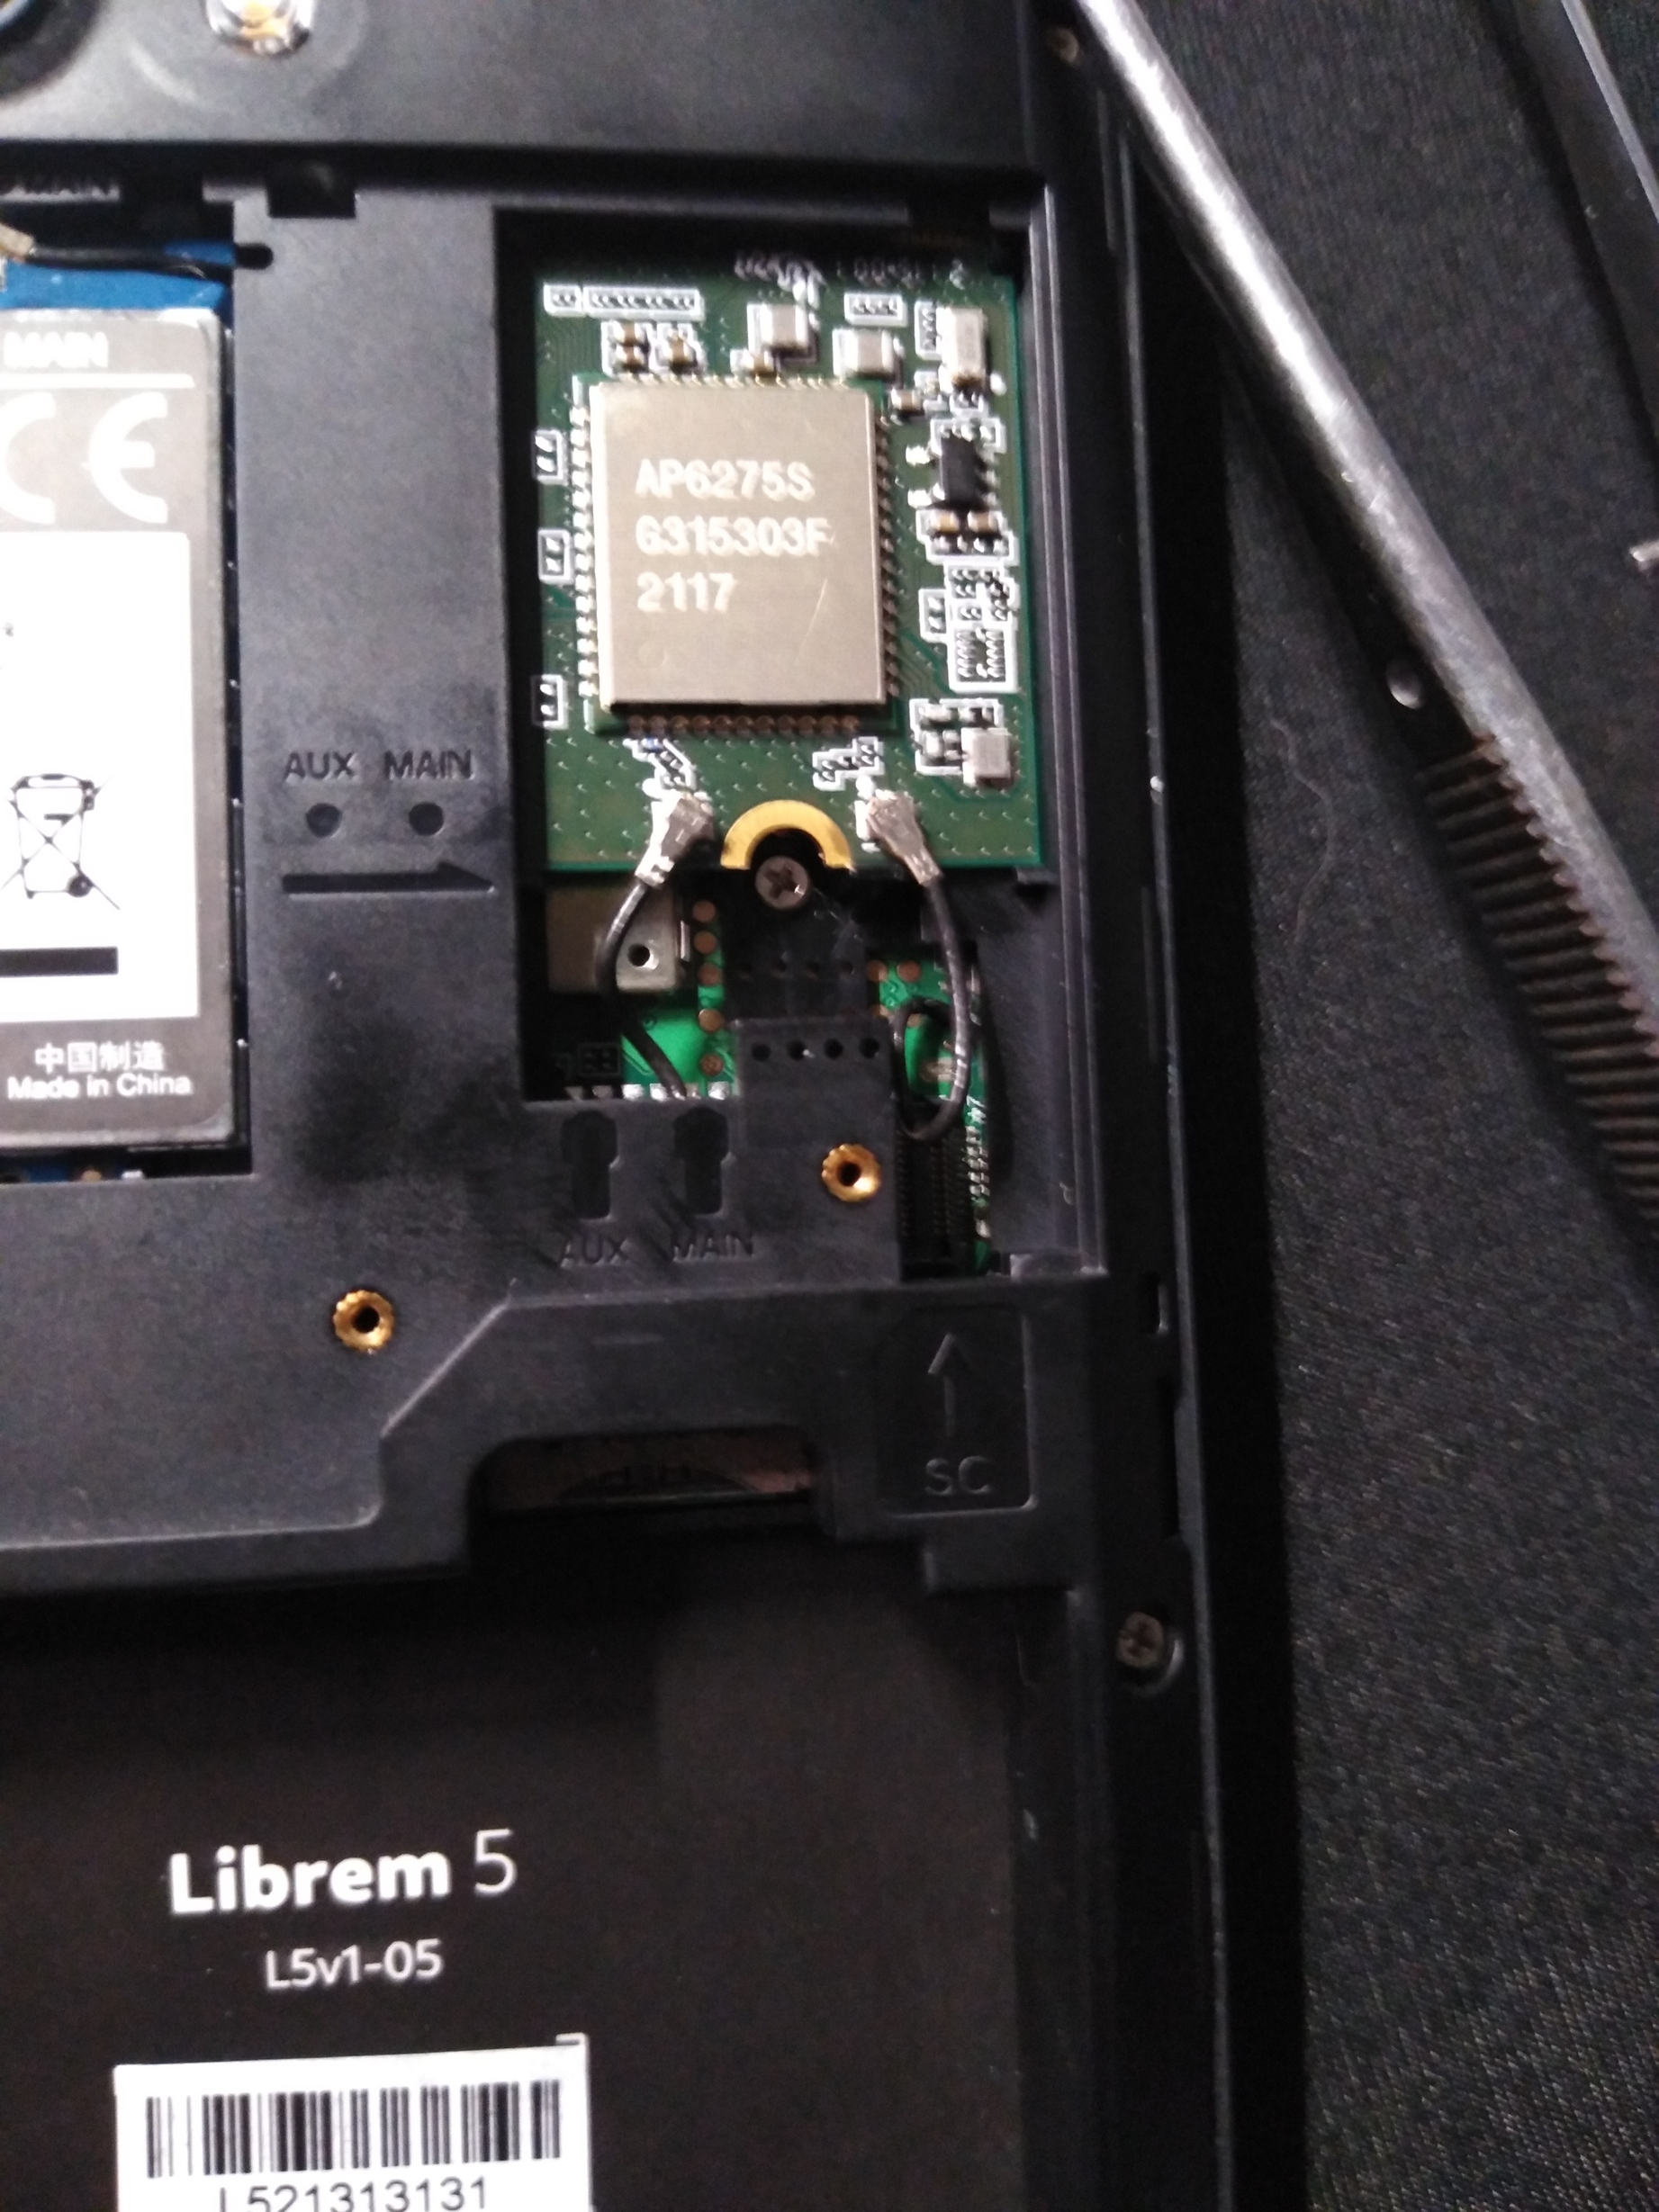
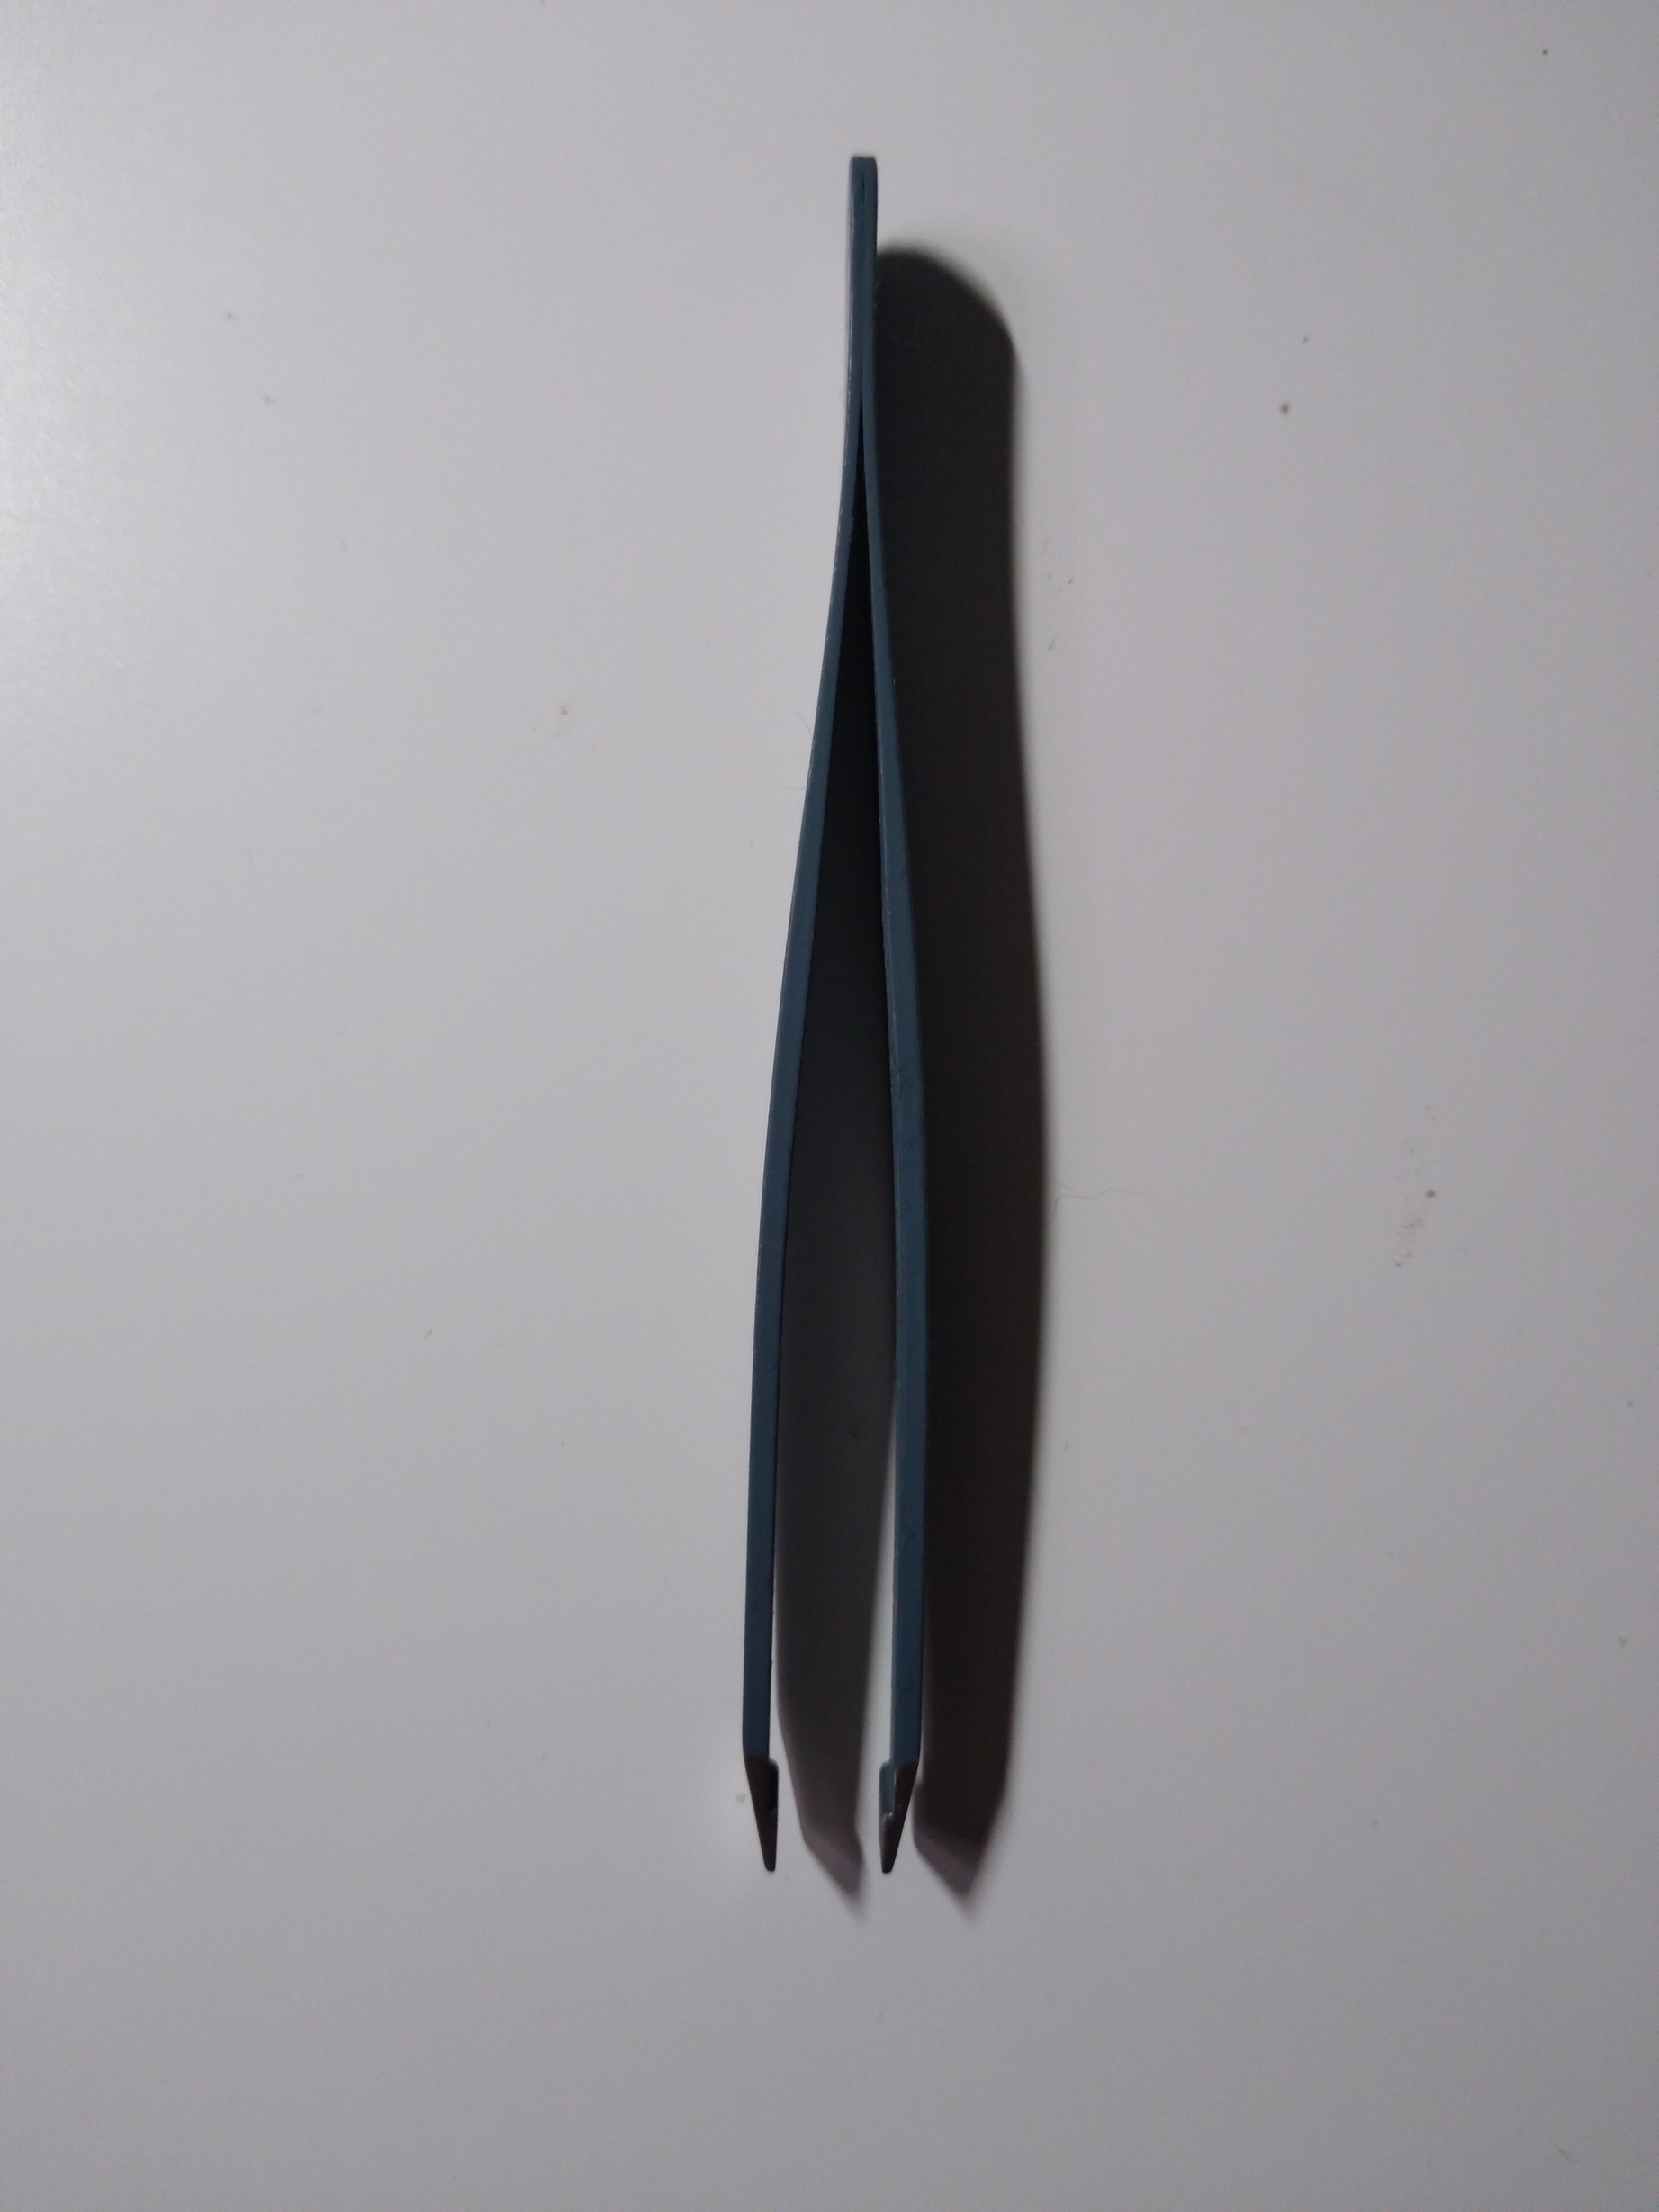
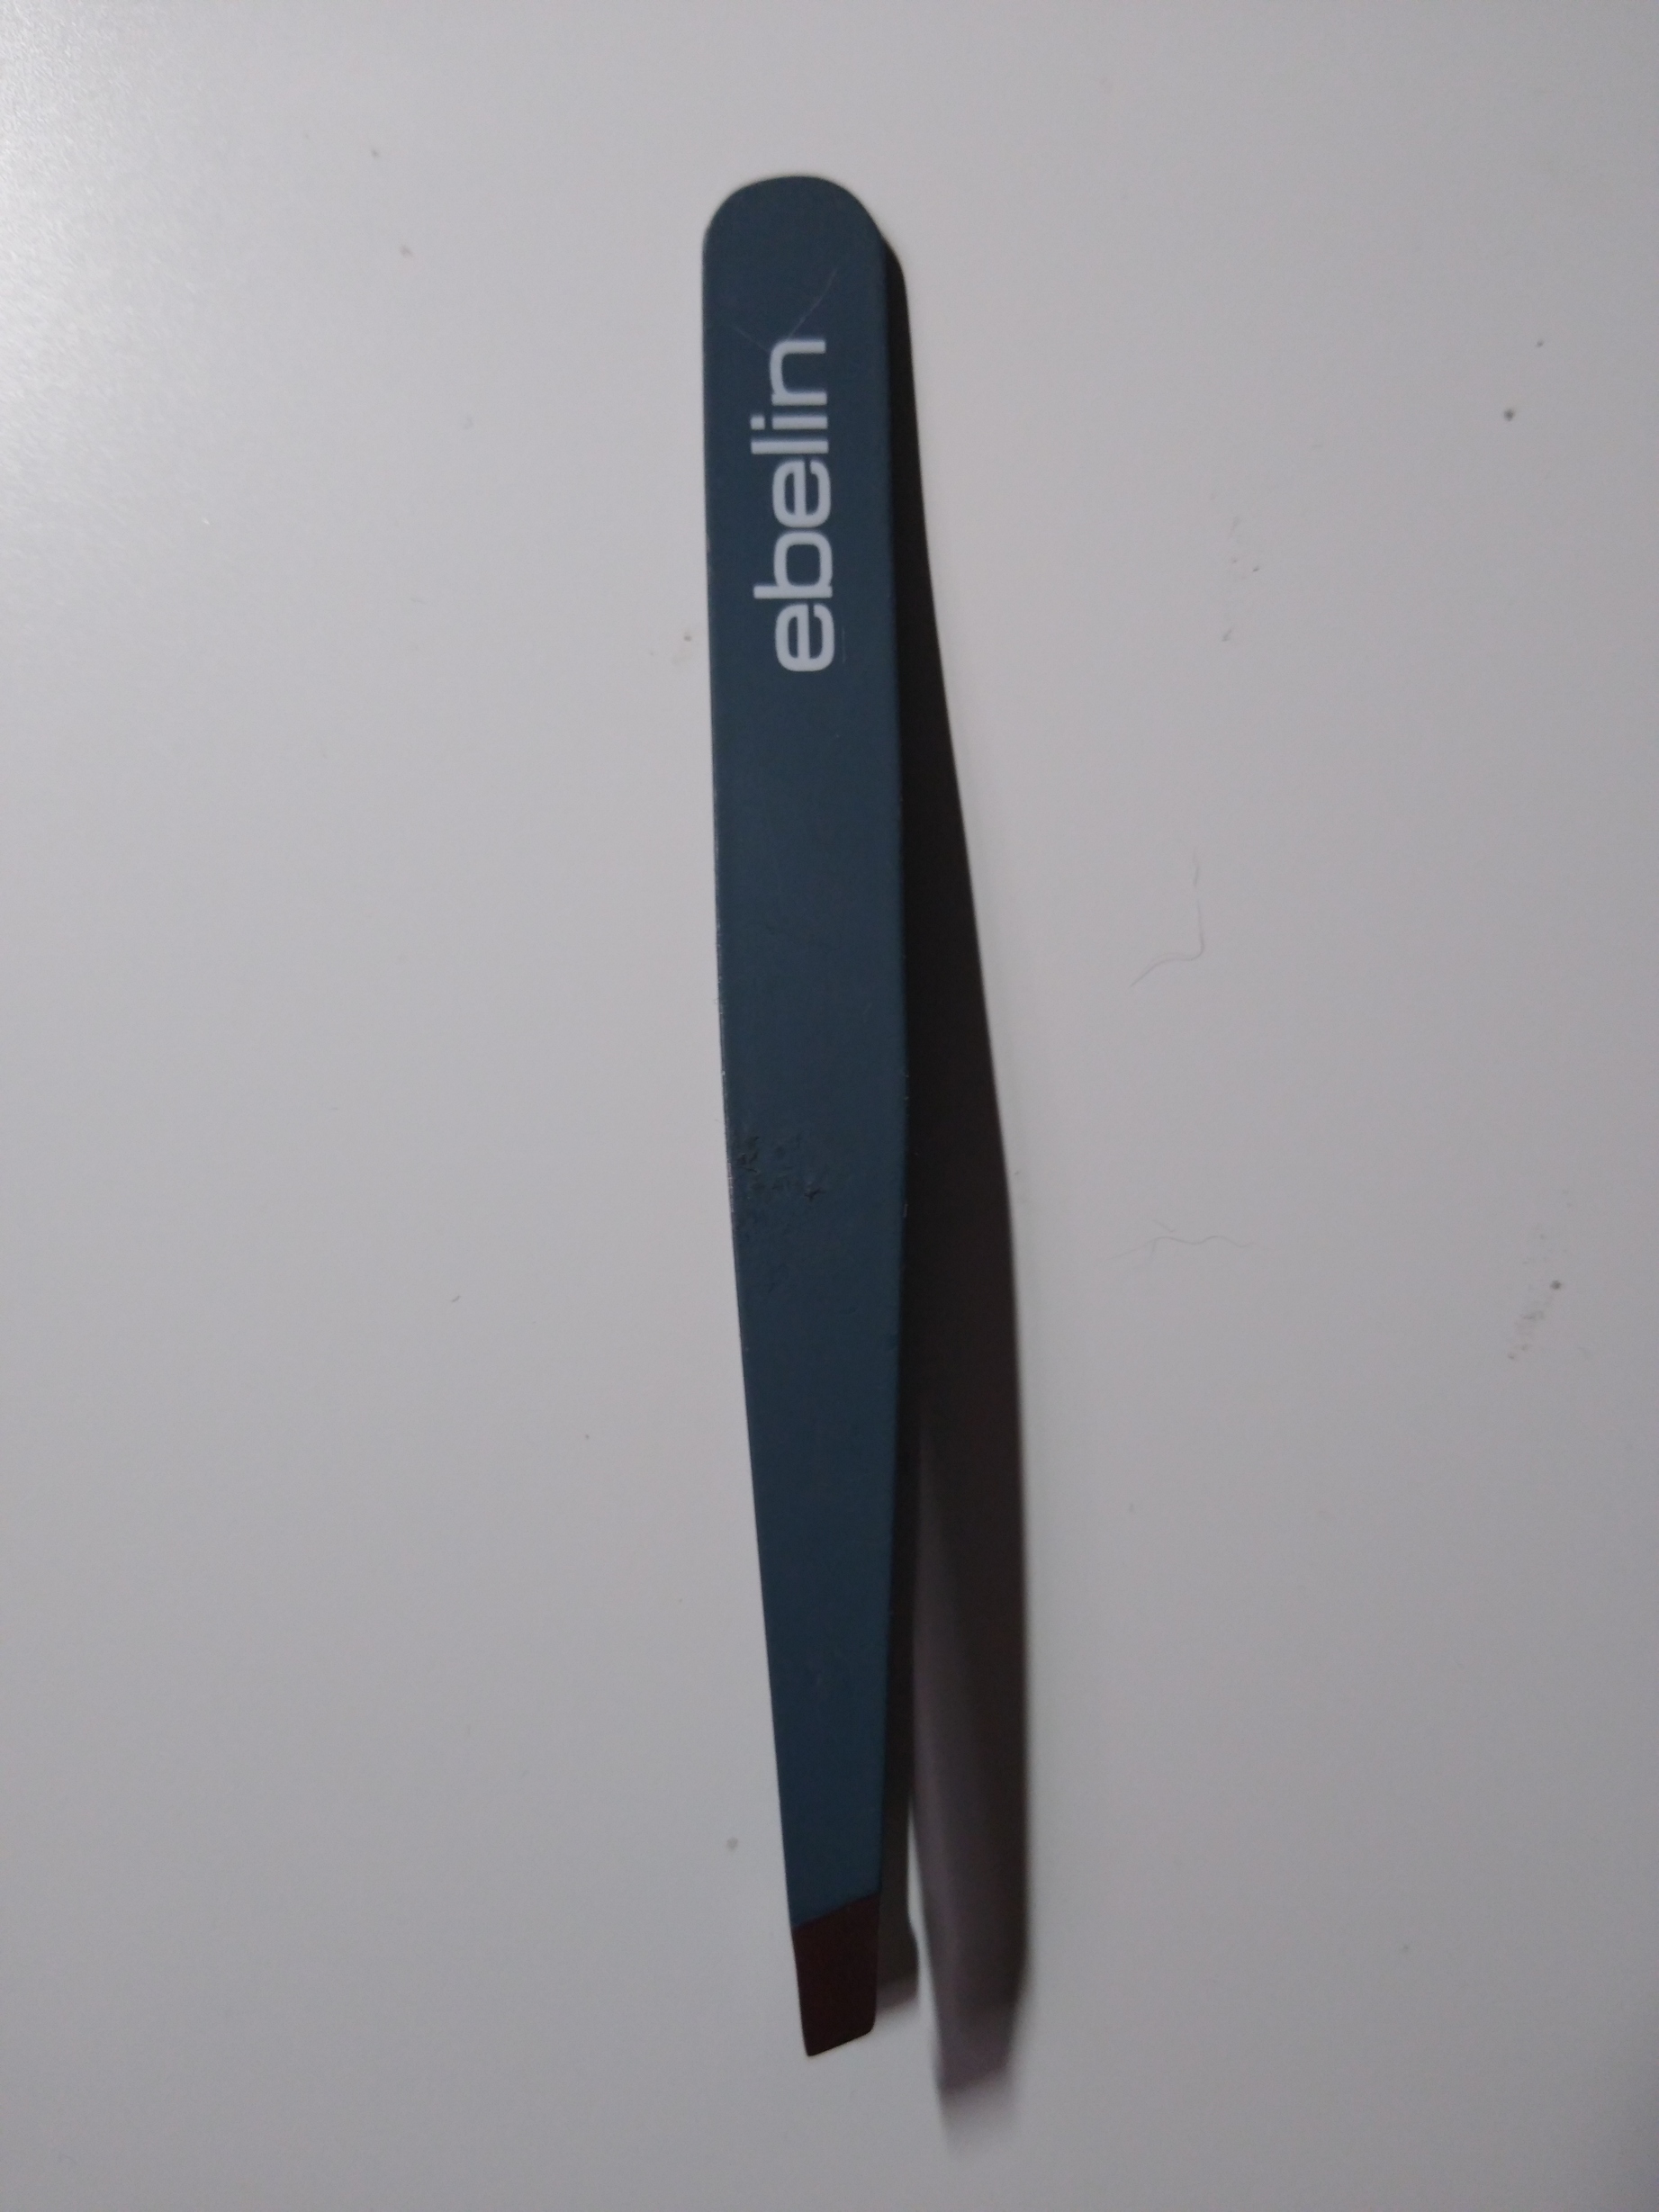
I managed to remove modem and wifi connectors using tweezers that are used for plucking eyebrows. Nice, strong, flat, metal tweezers, I knew they will come in handy some day.
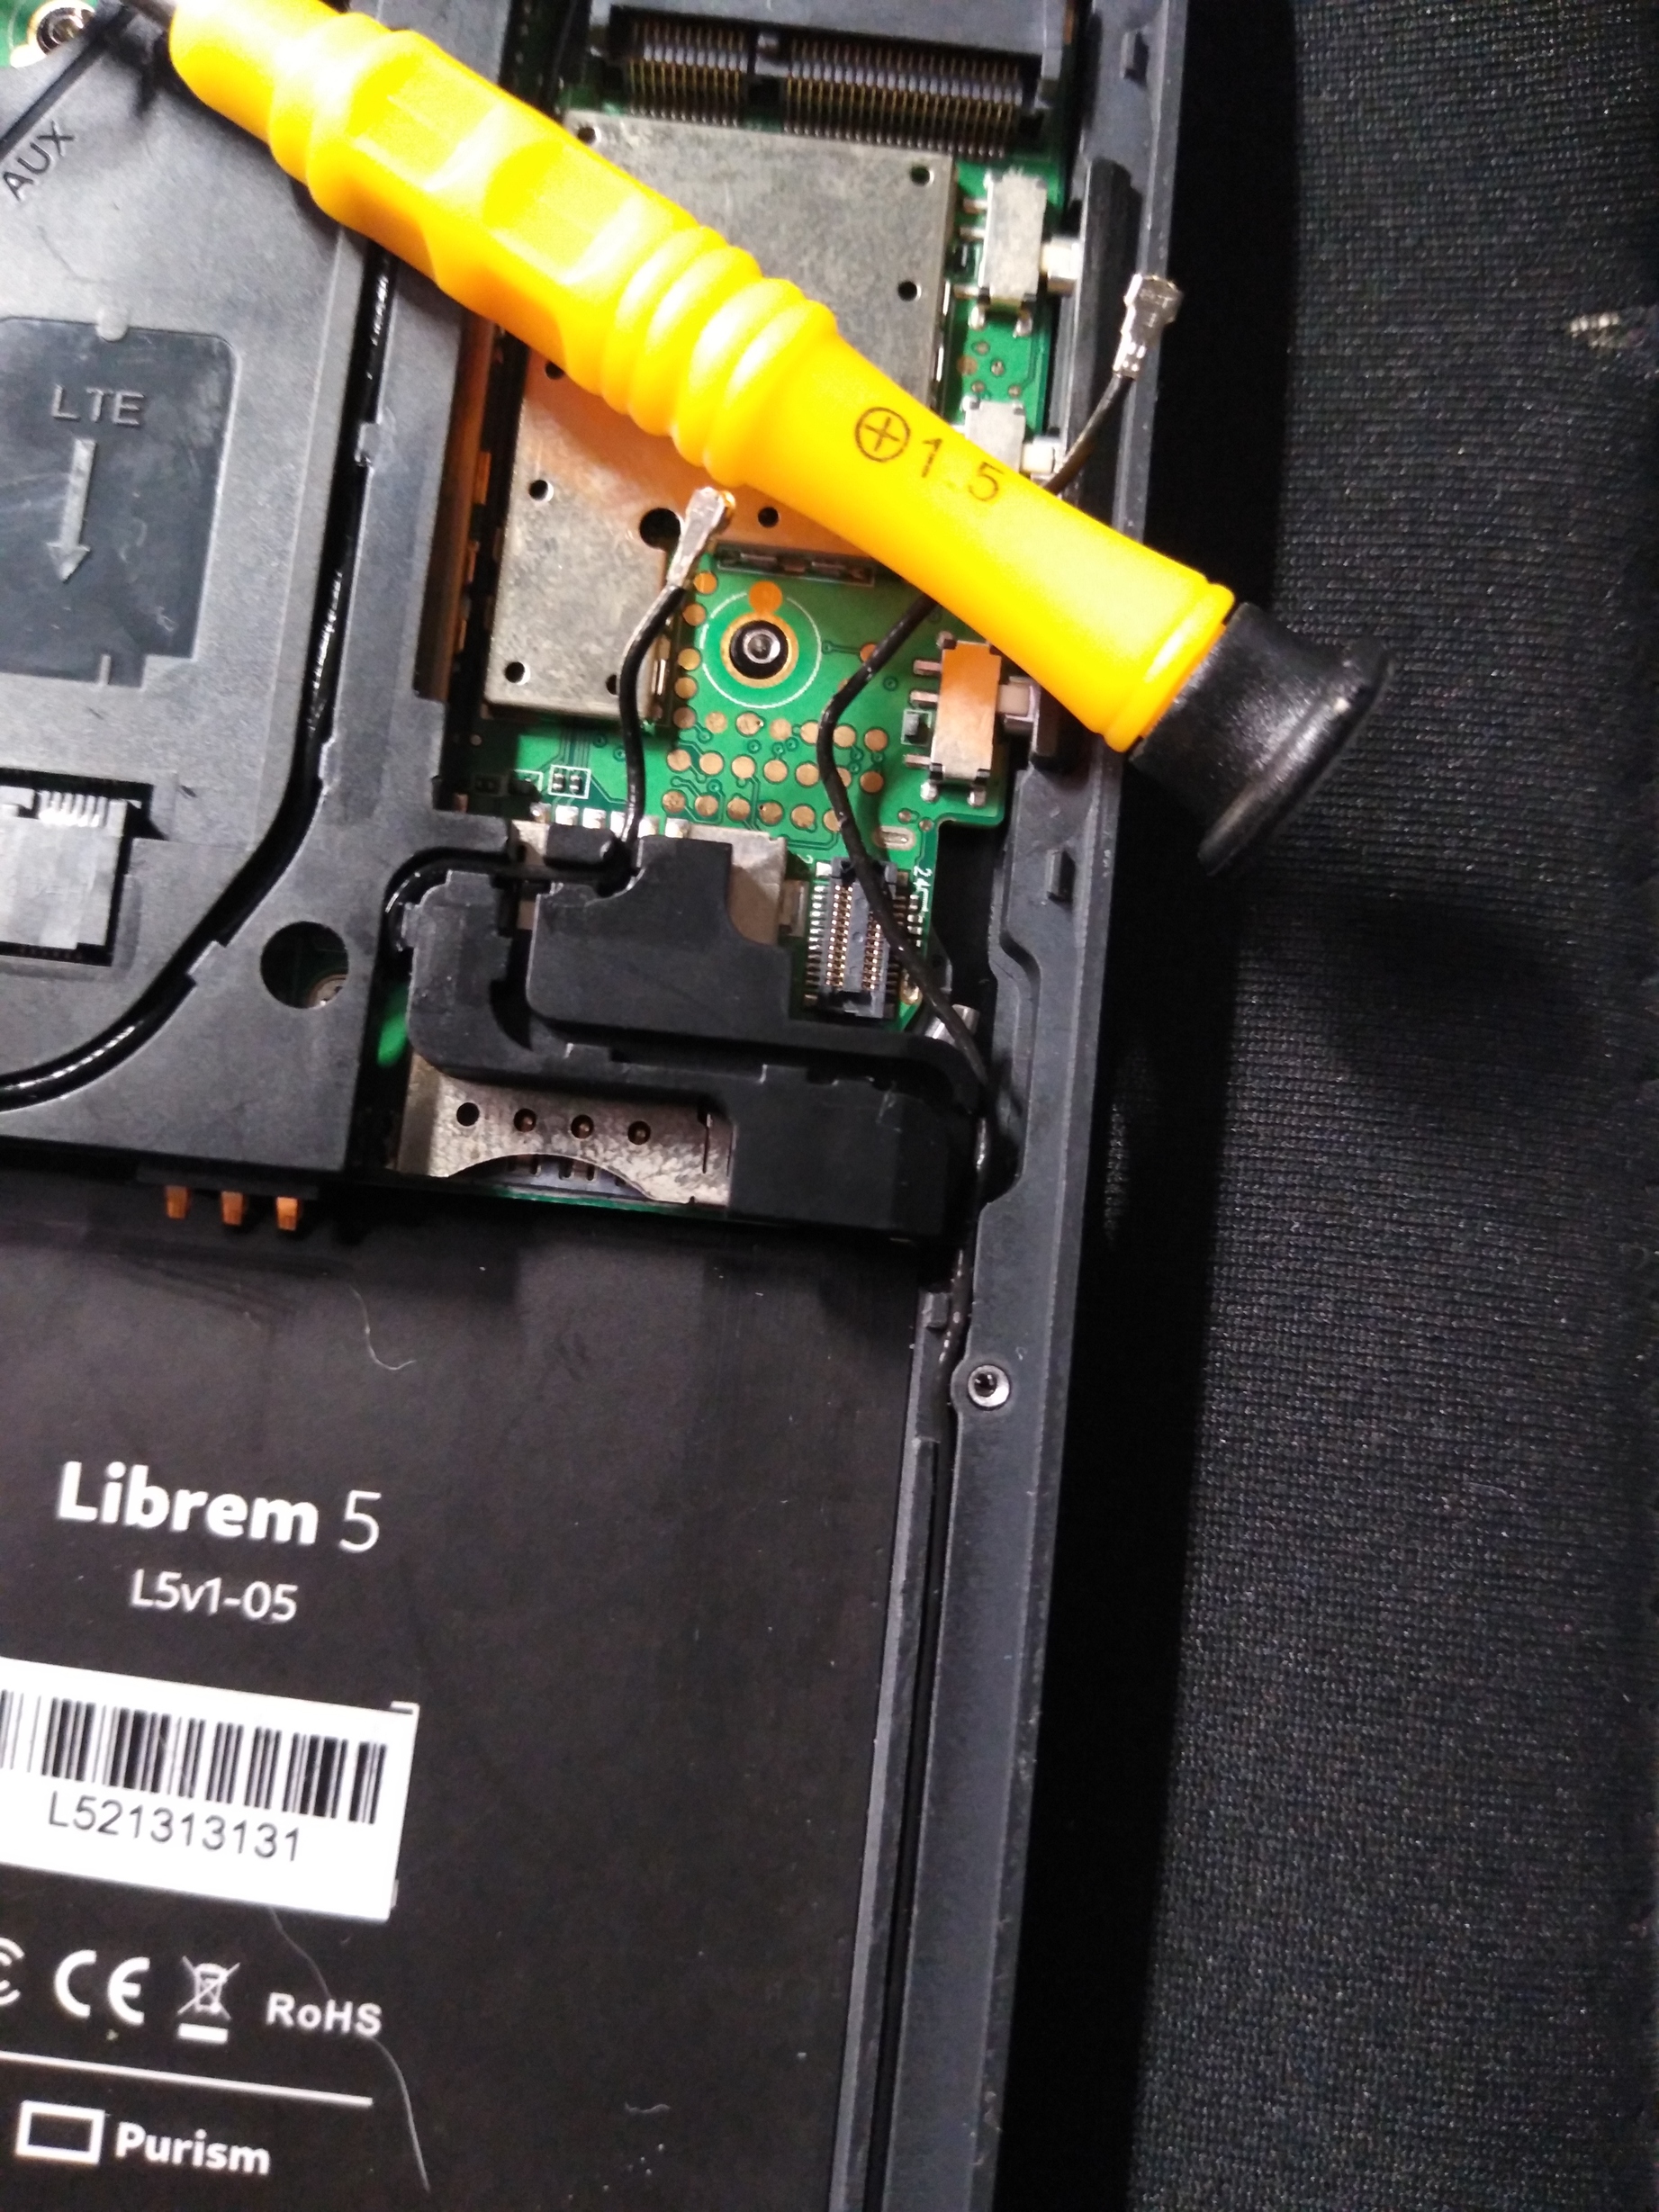
And yeah @dos, connecting it back is uncomfortable, especially with my sausage fingers.
My tactic was to start with a connector that is most accessible, to get an idea on how it feels under the finger when the connector is properly pushed down. That really helped me out.
Edit: If I swapped WiFi antennas when connected them, I’m not going to bother to open the phone again and swap them, at least for some time, I can live with that.
2 Likes
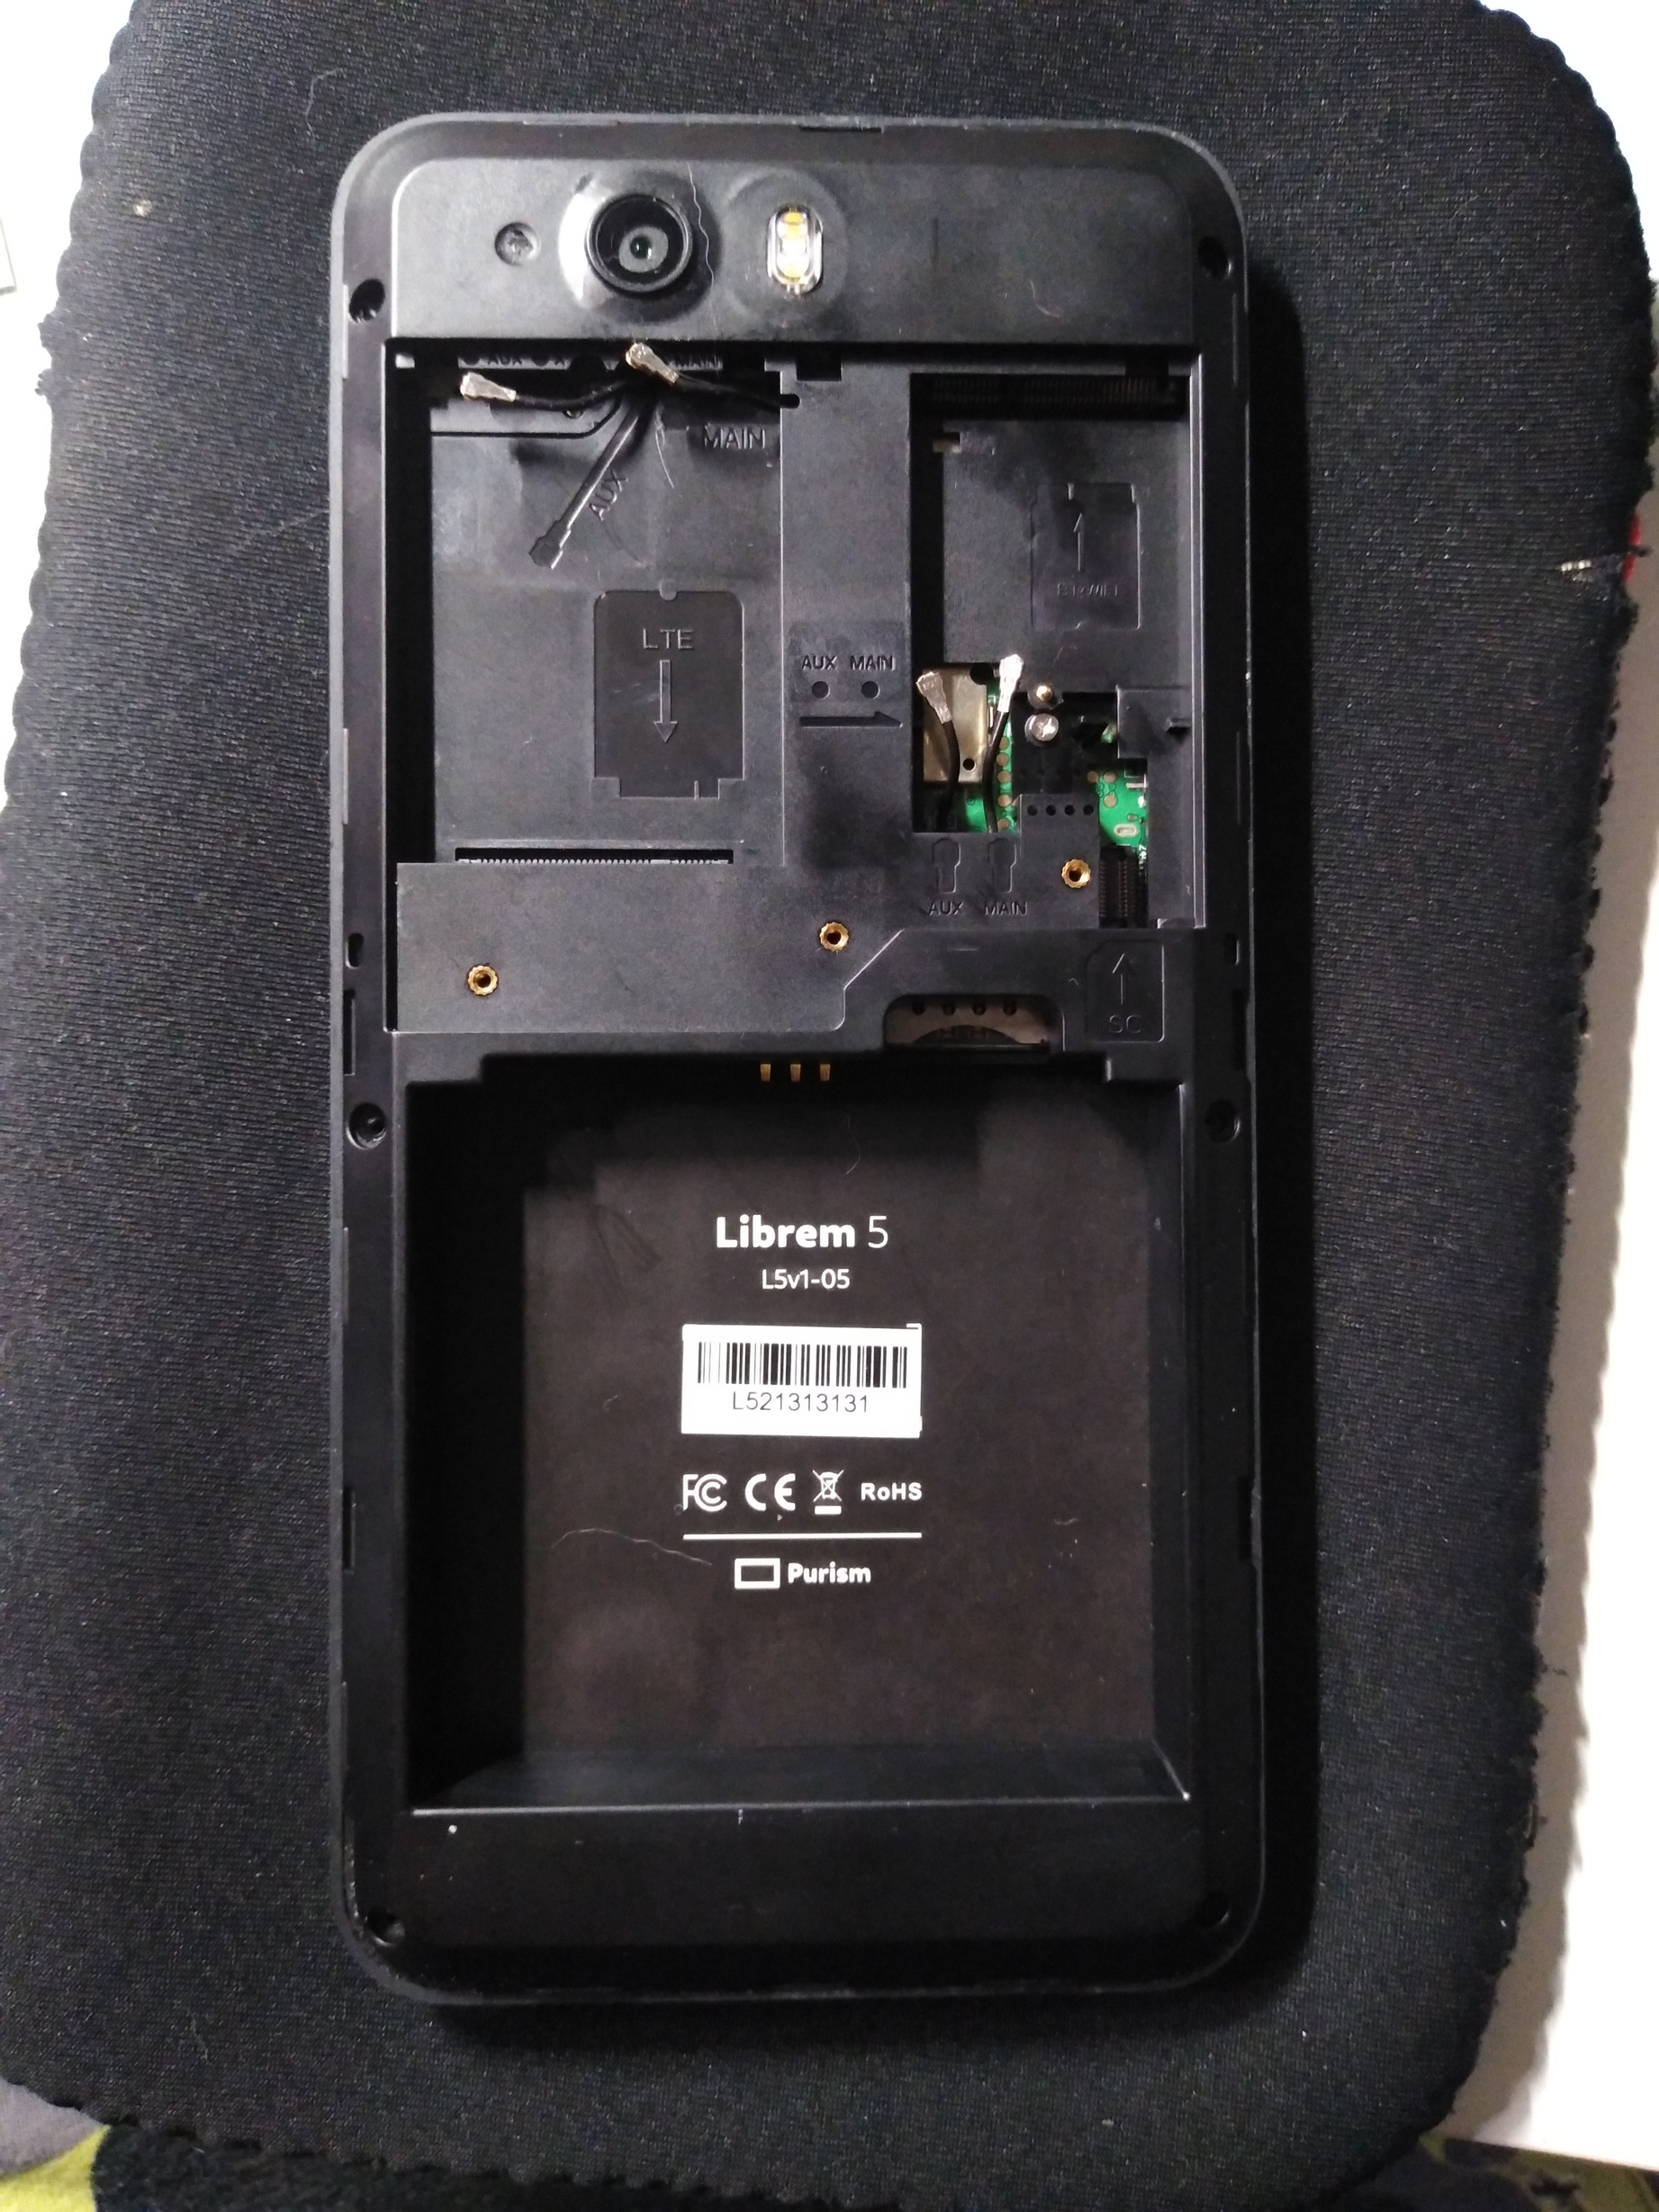
I guess some photos are in order.
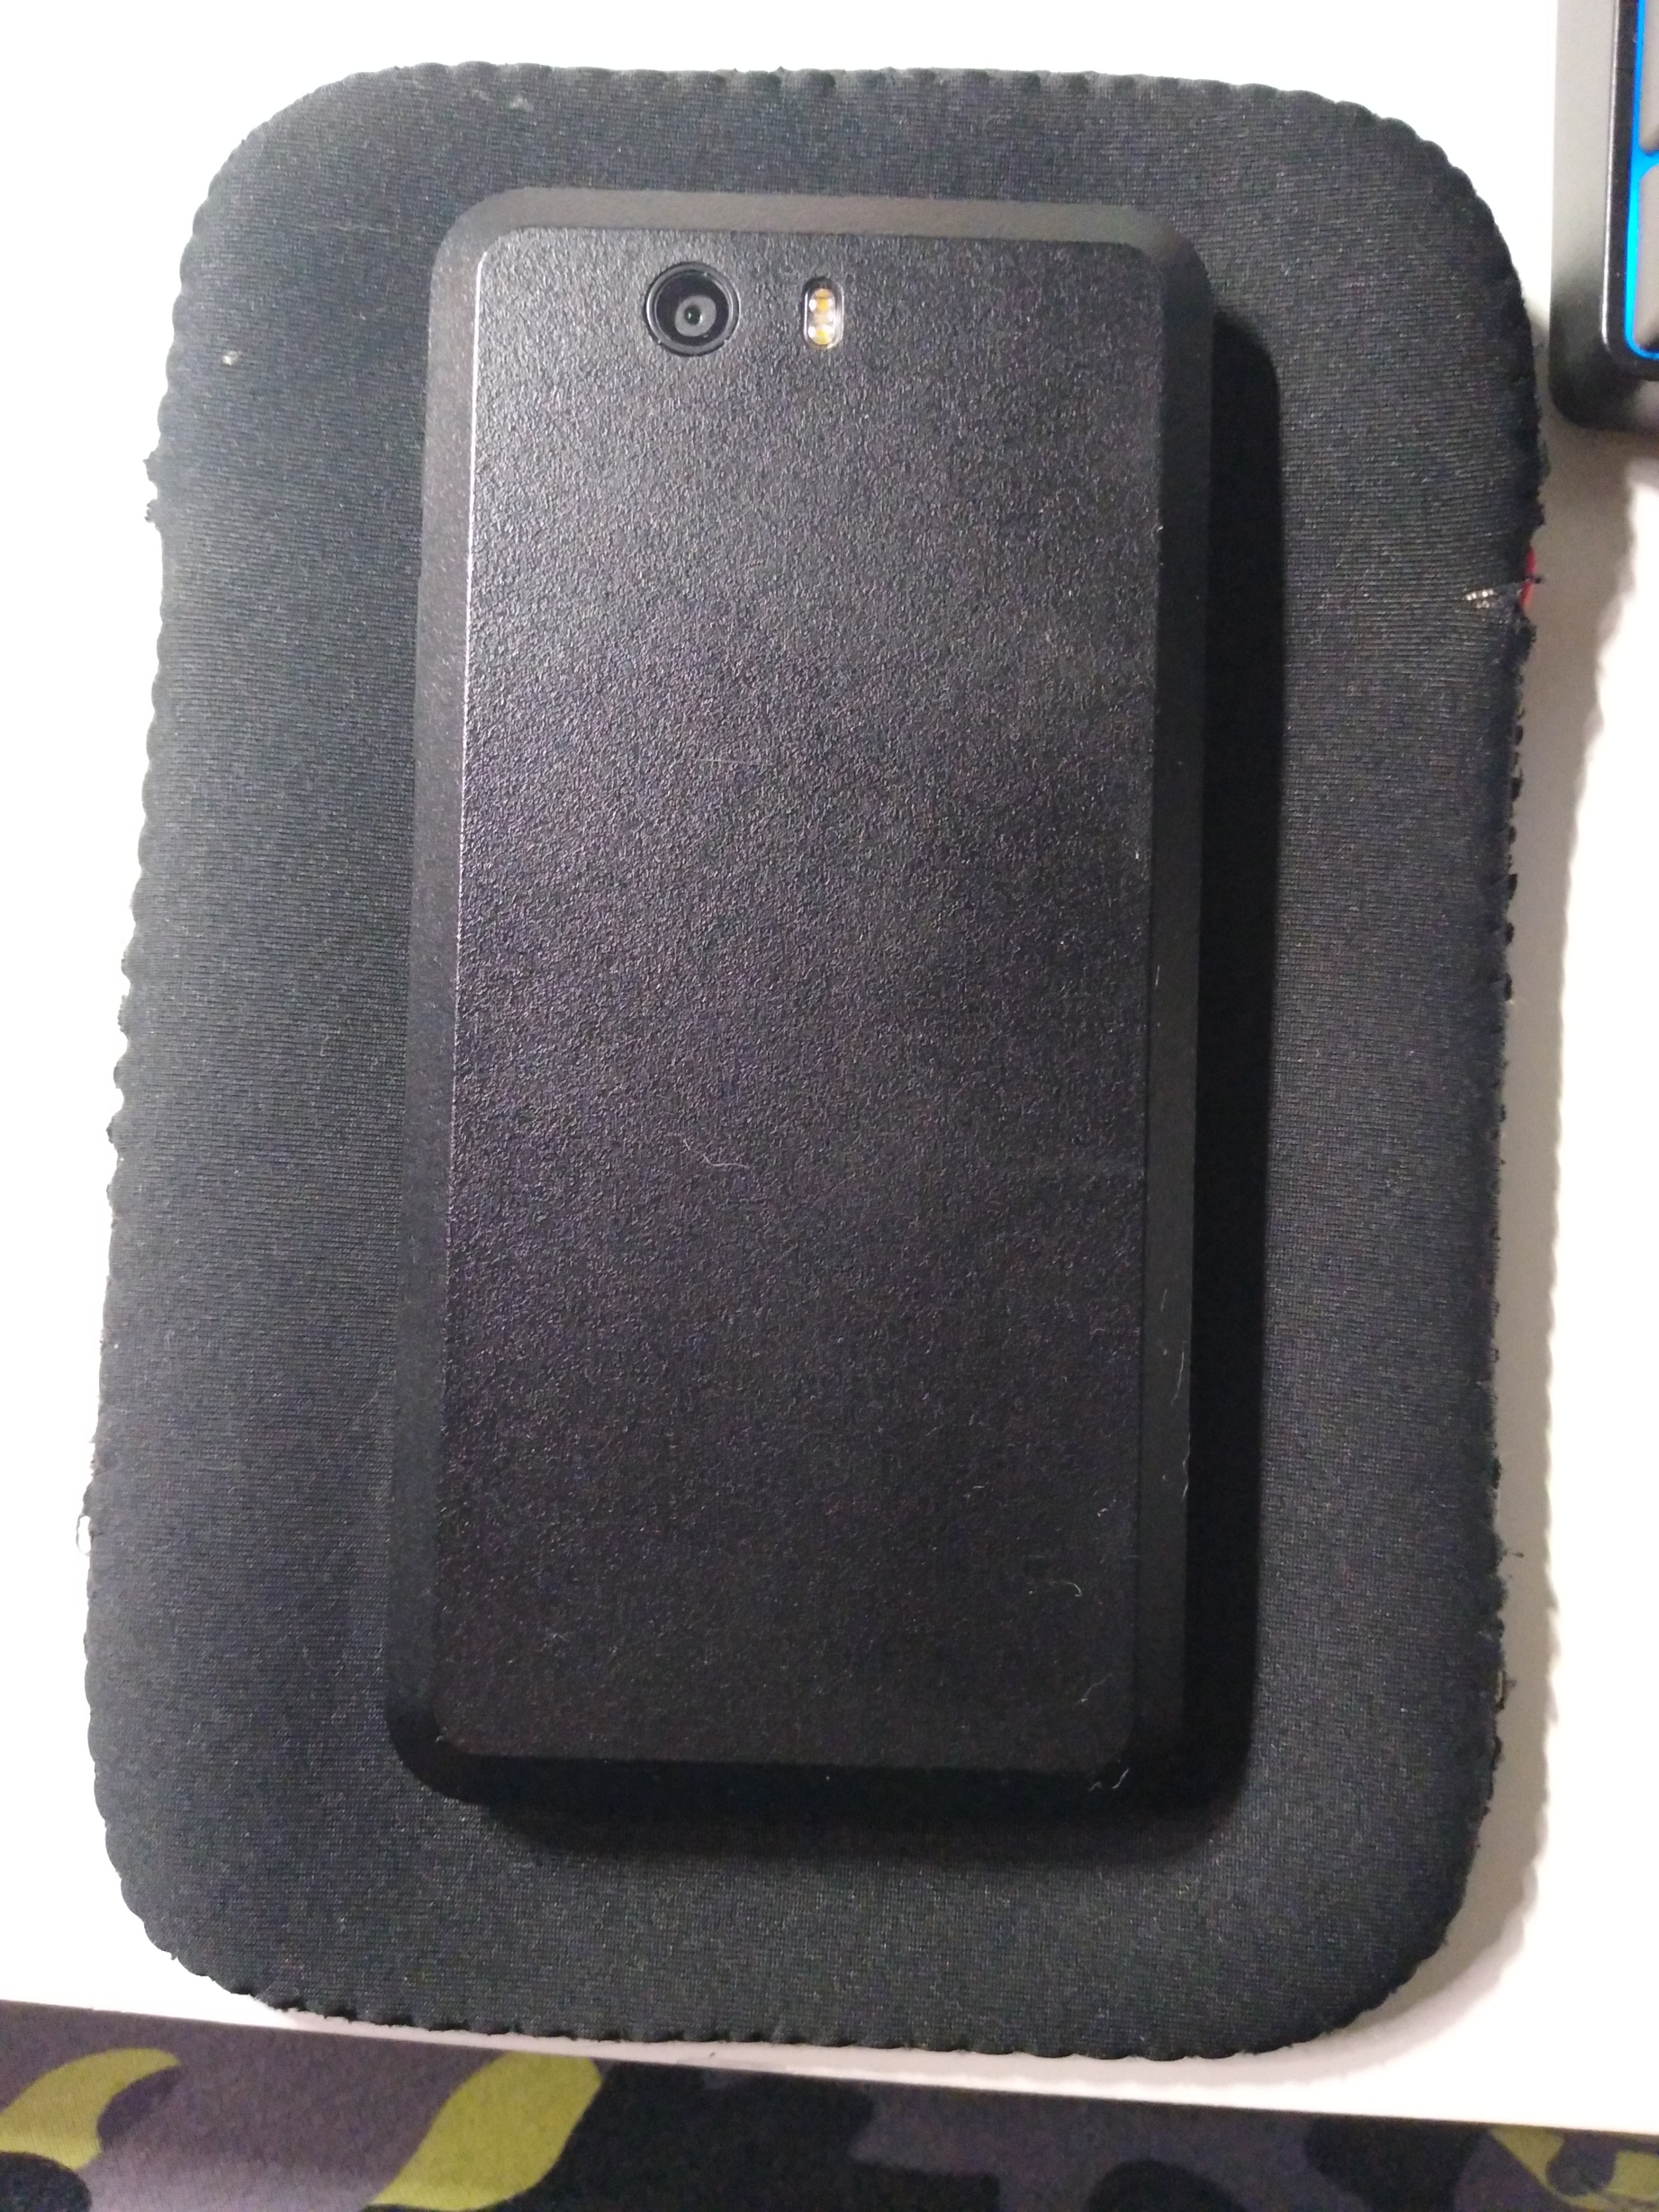
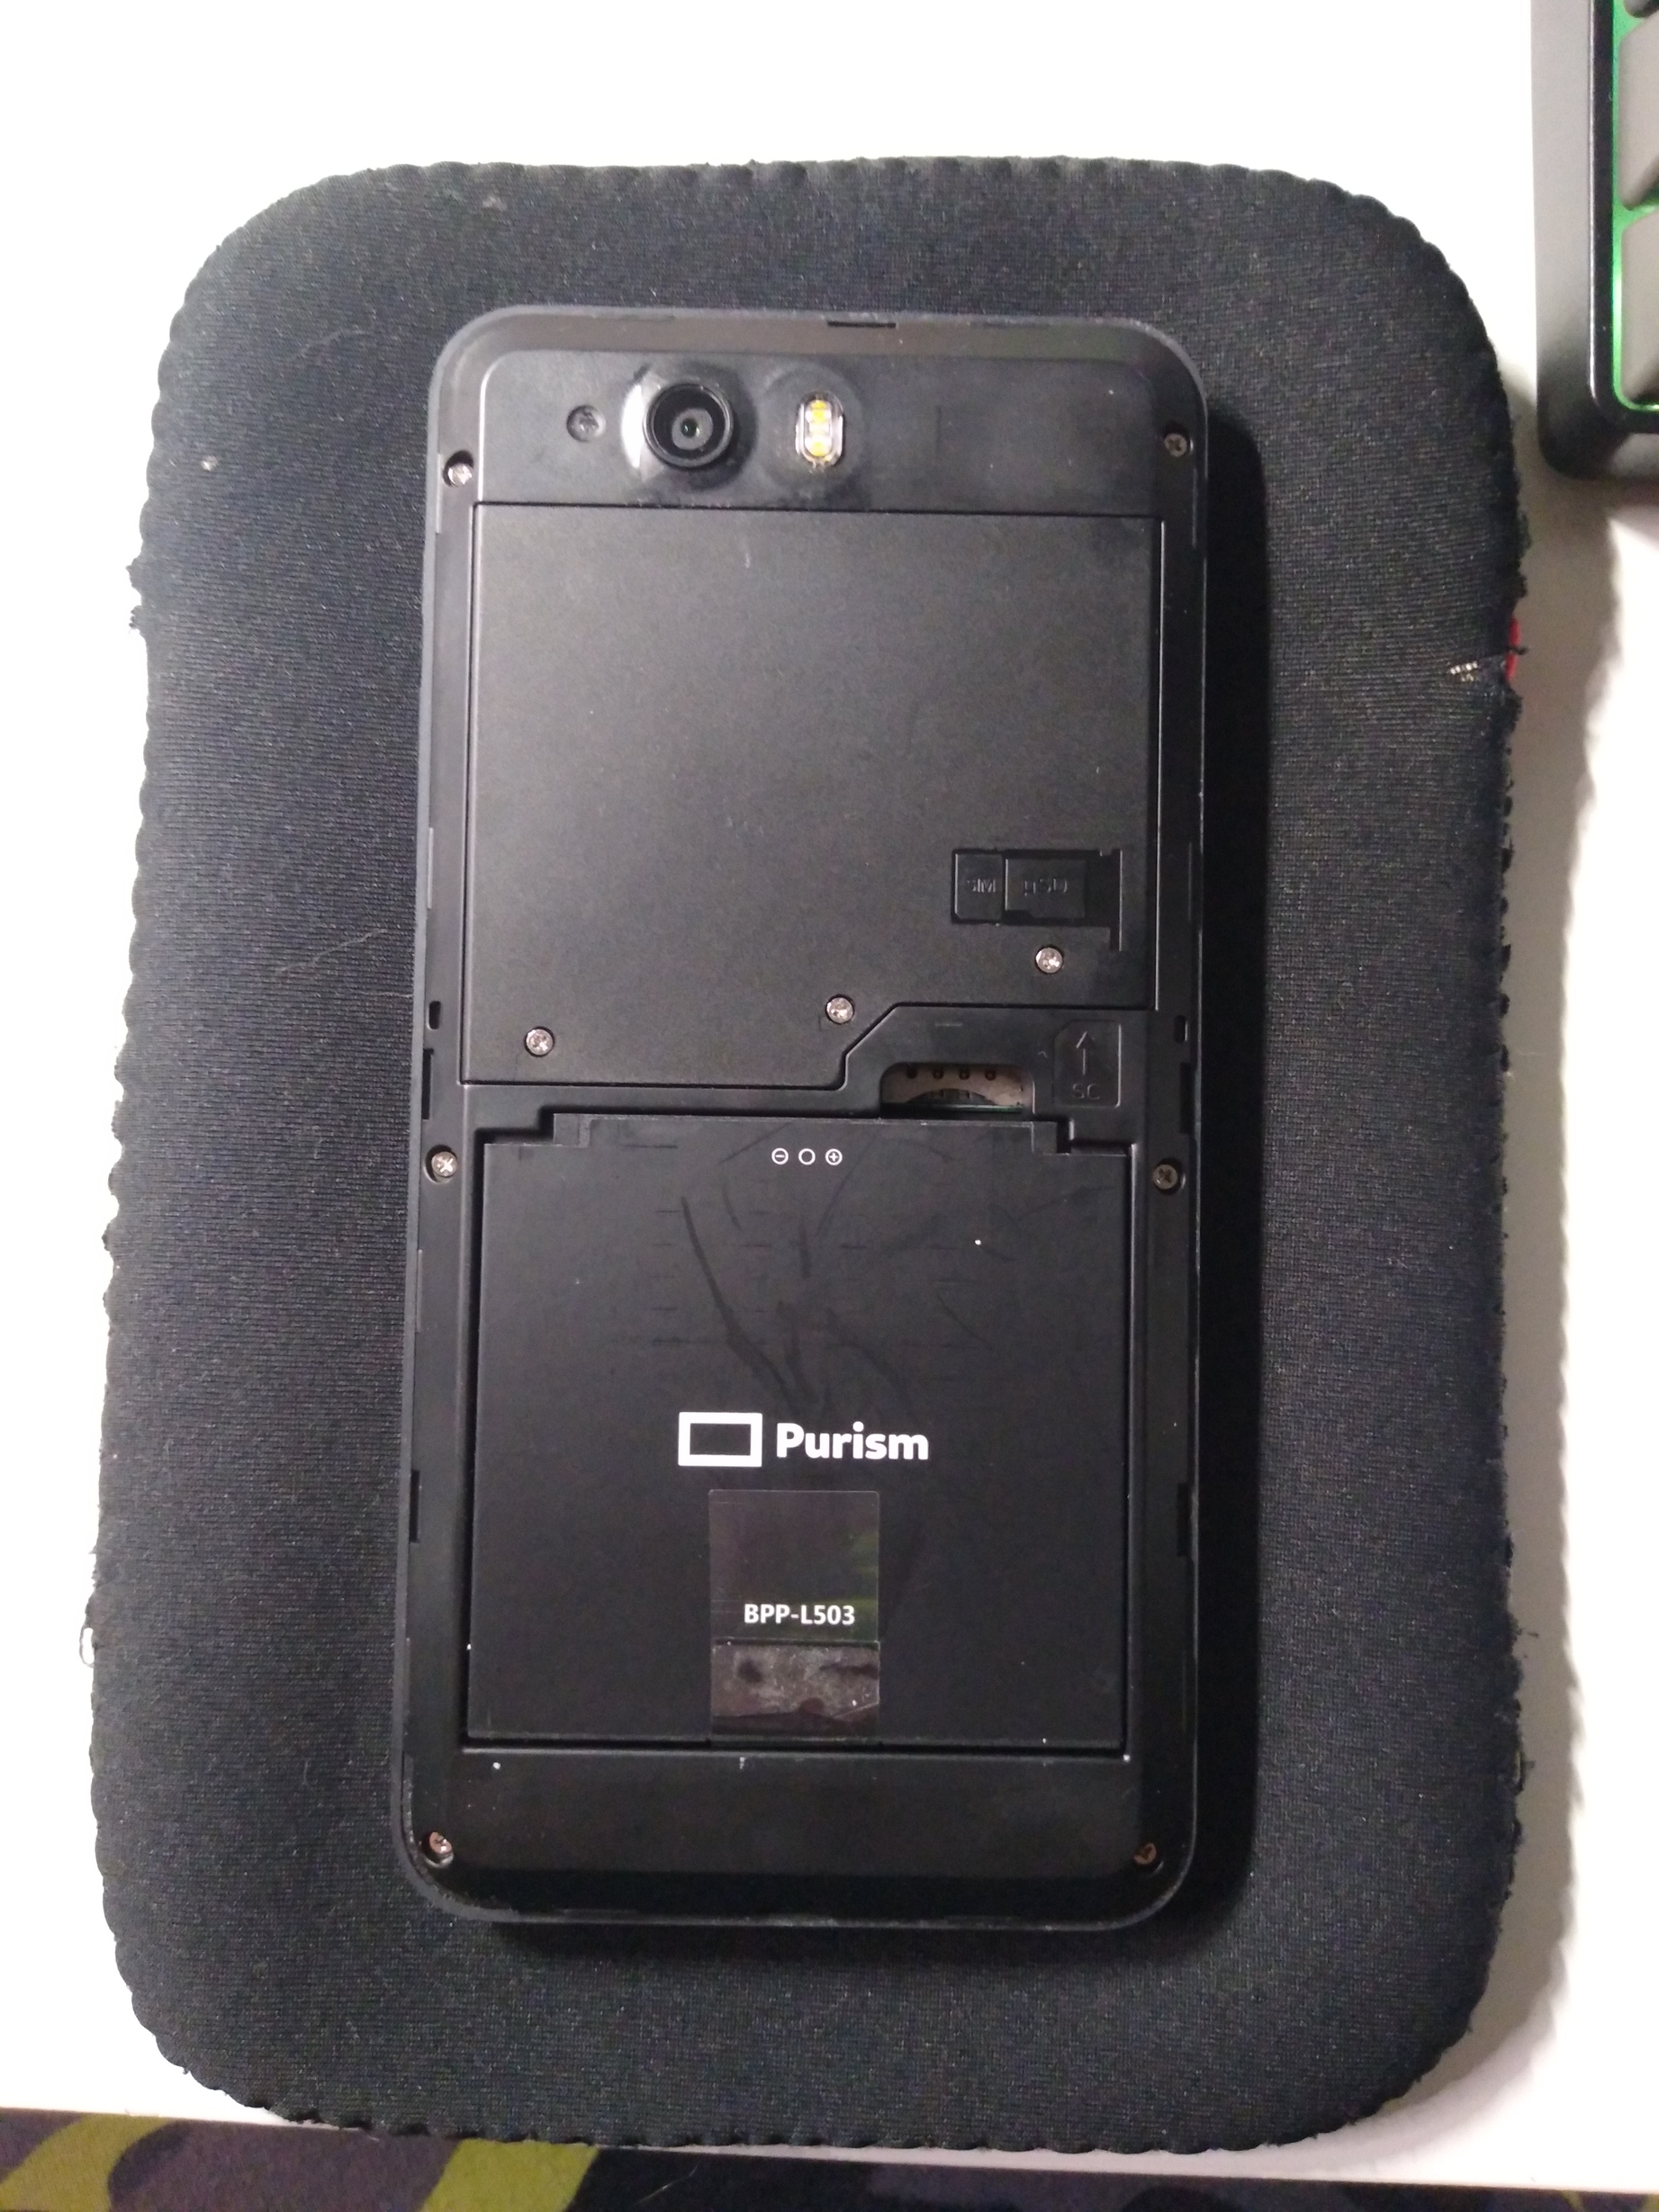
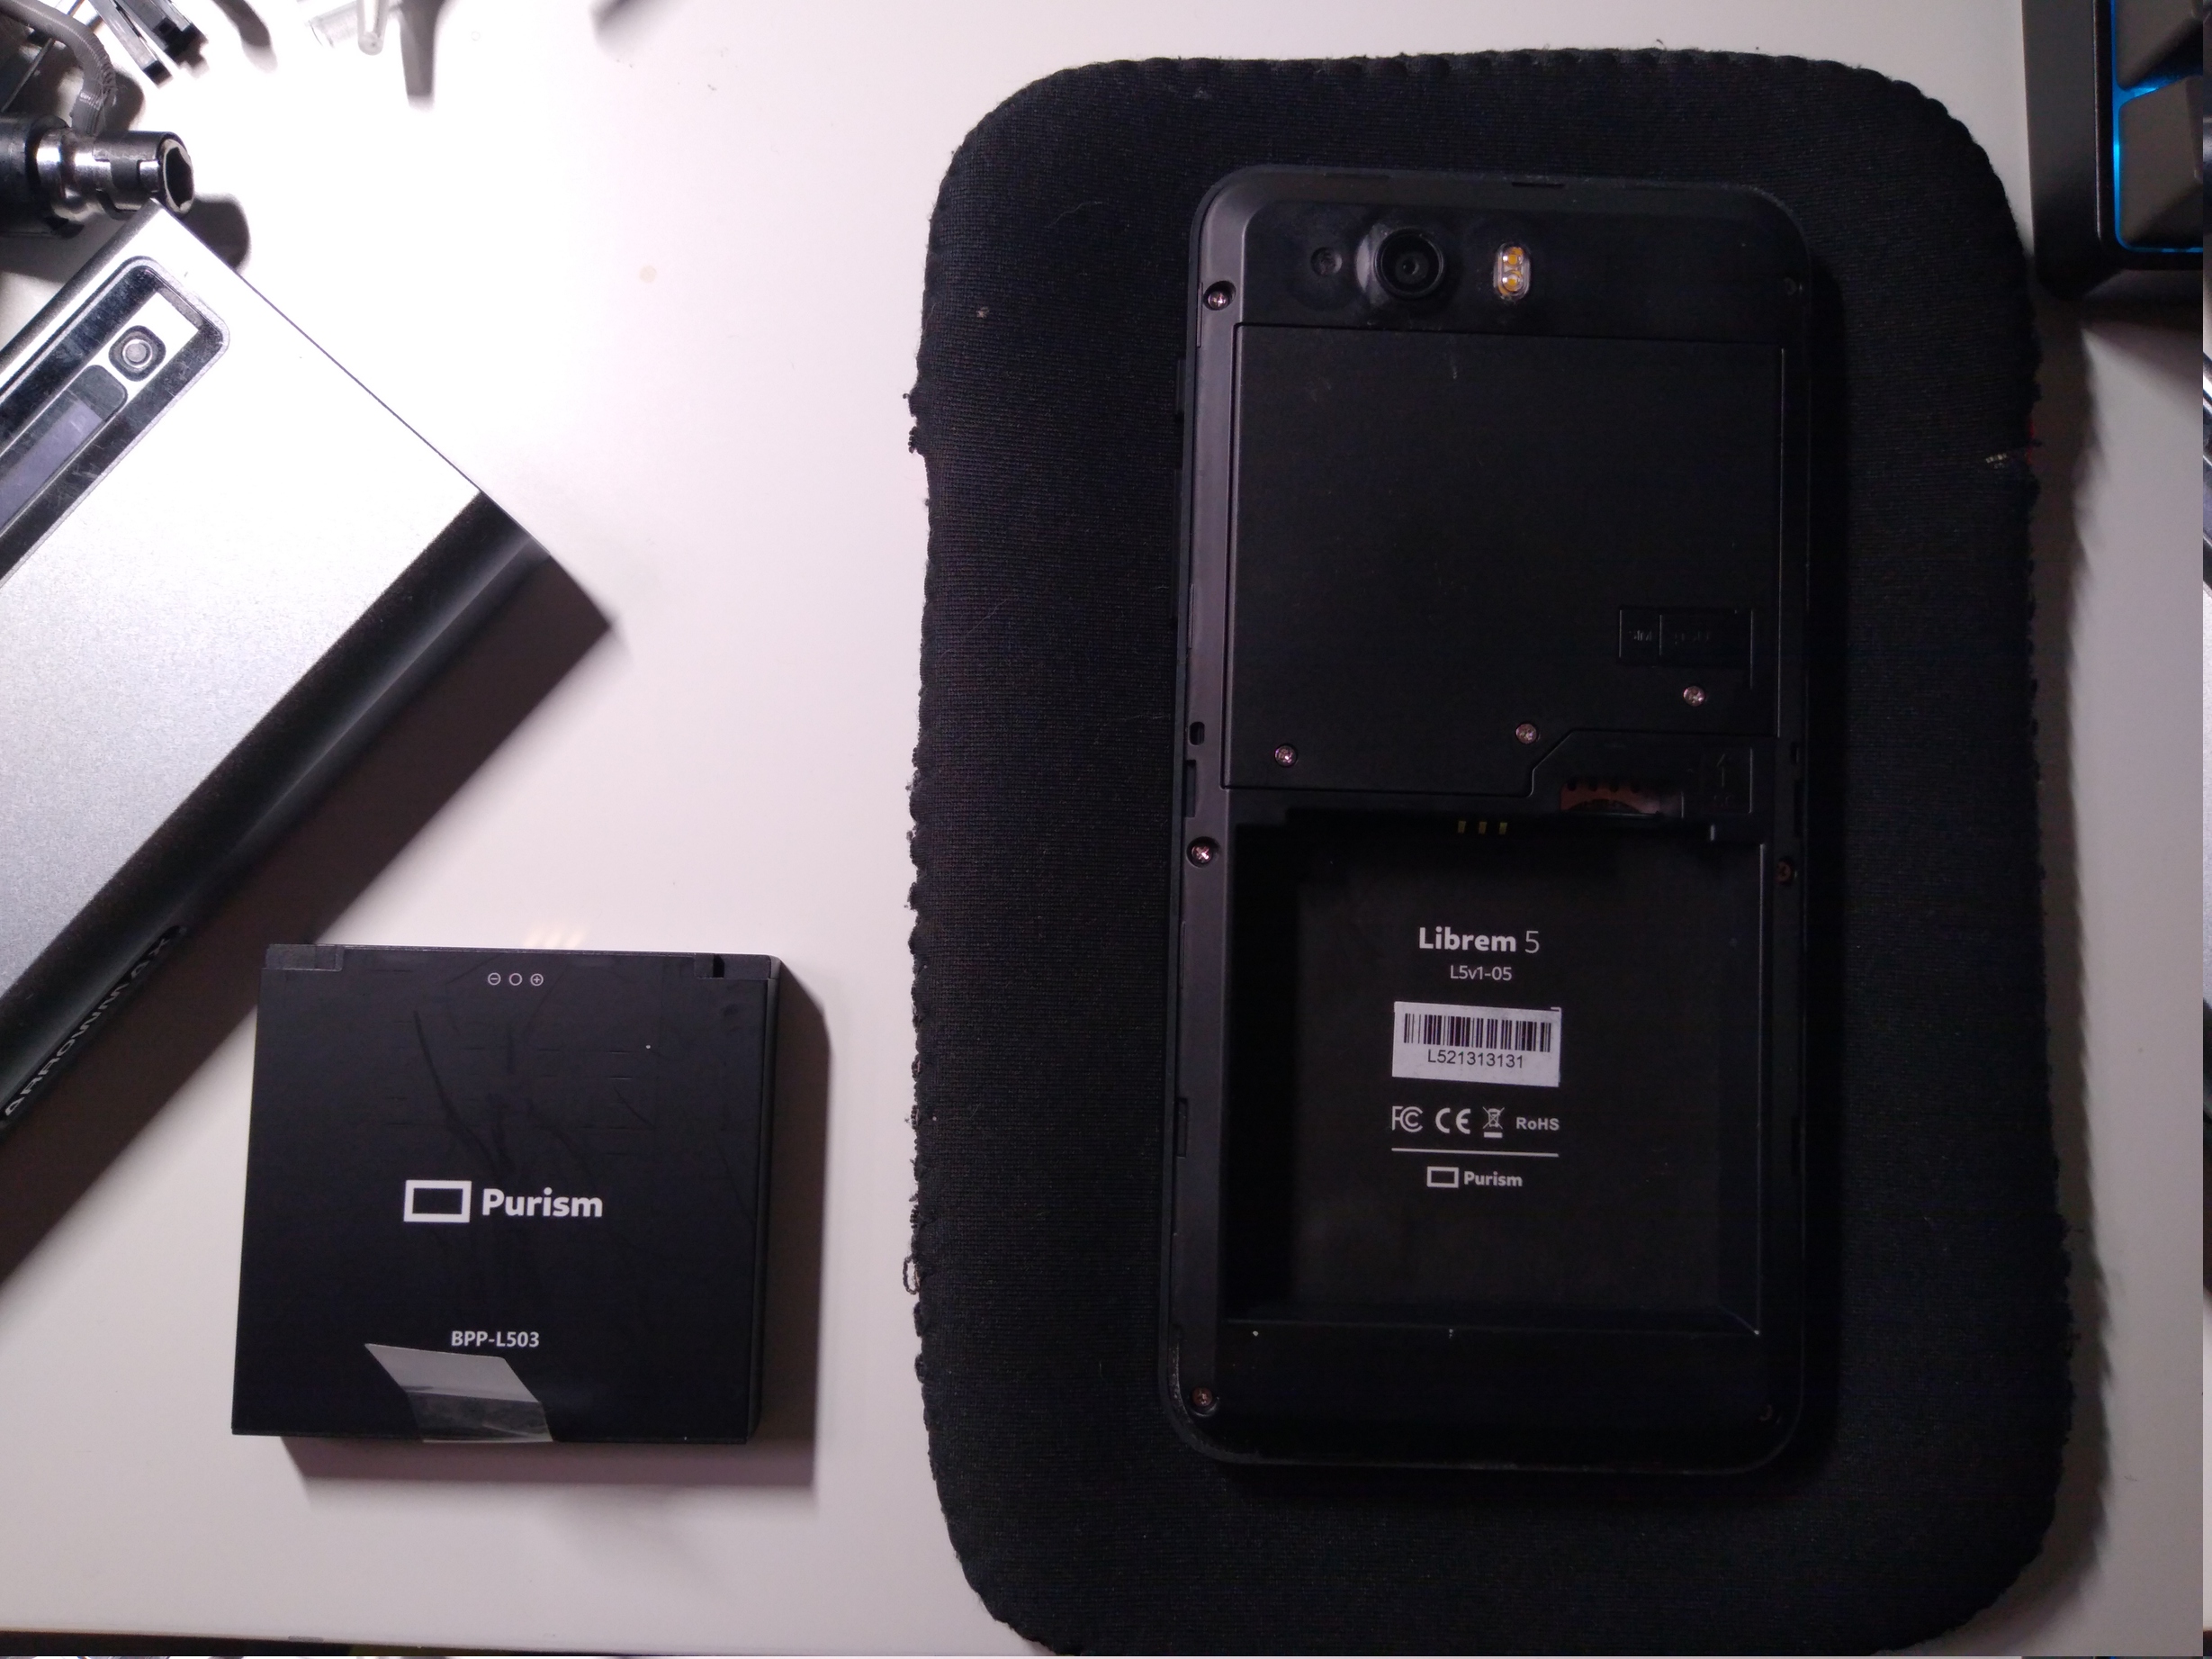
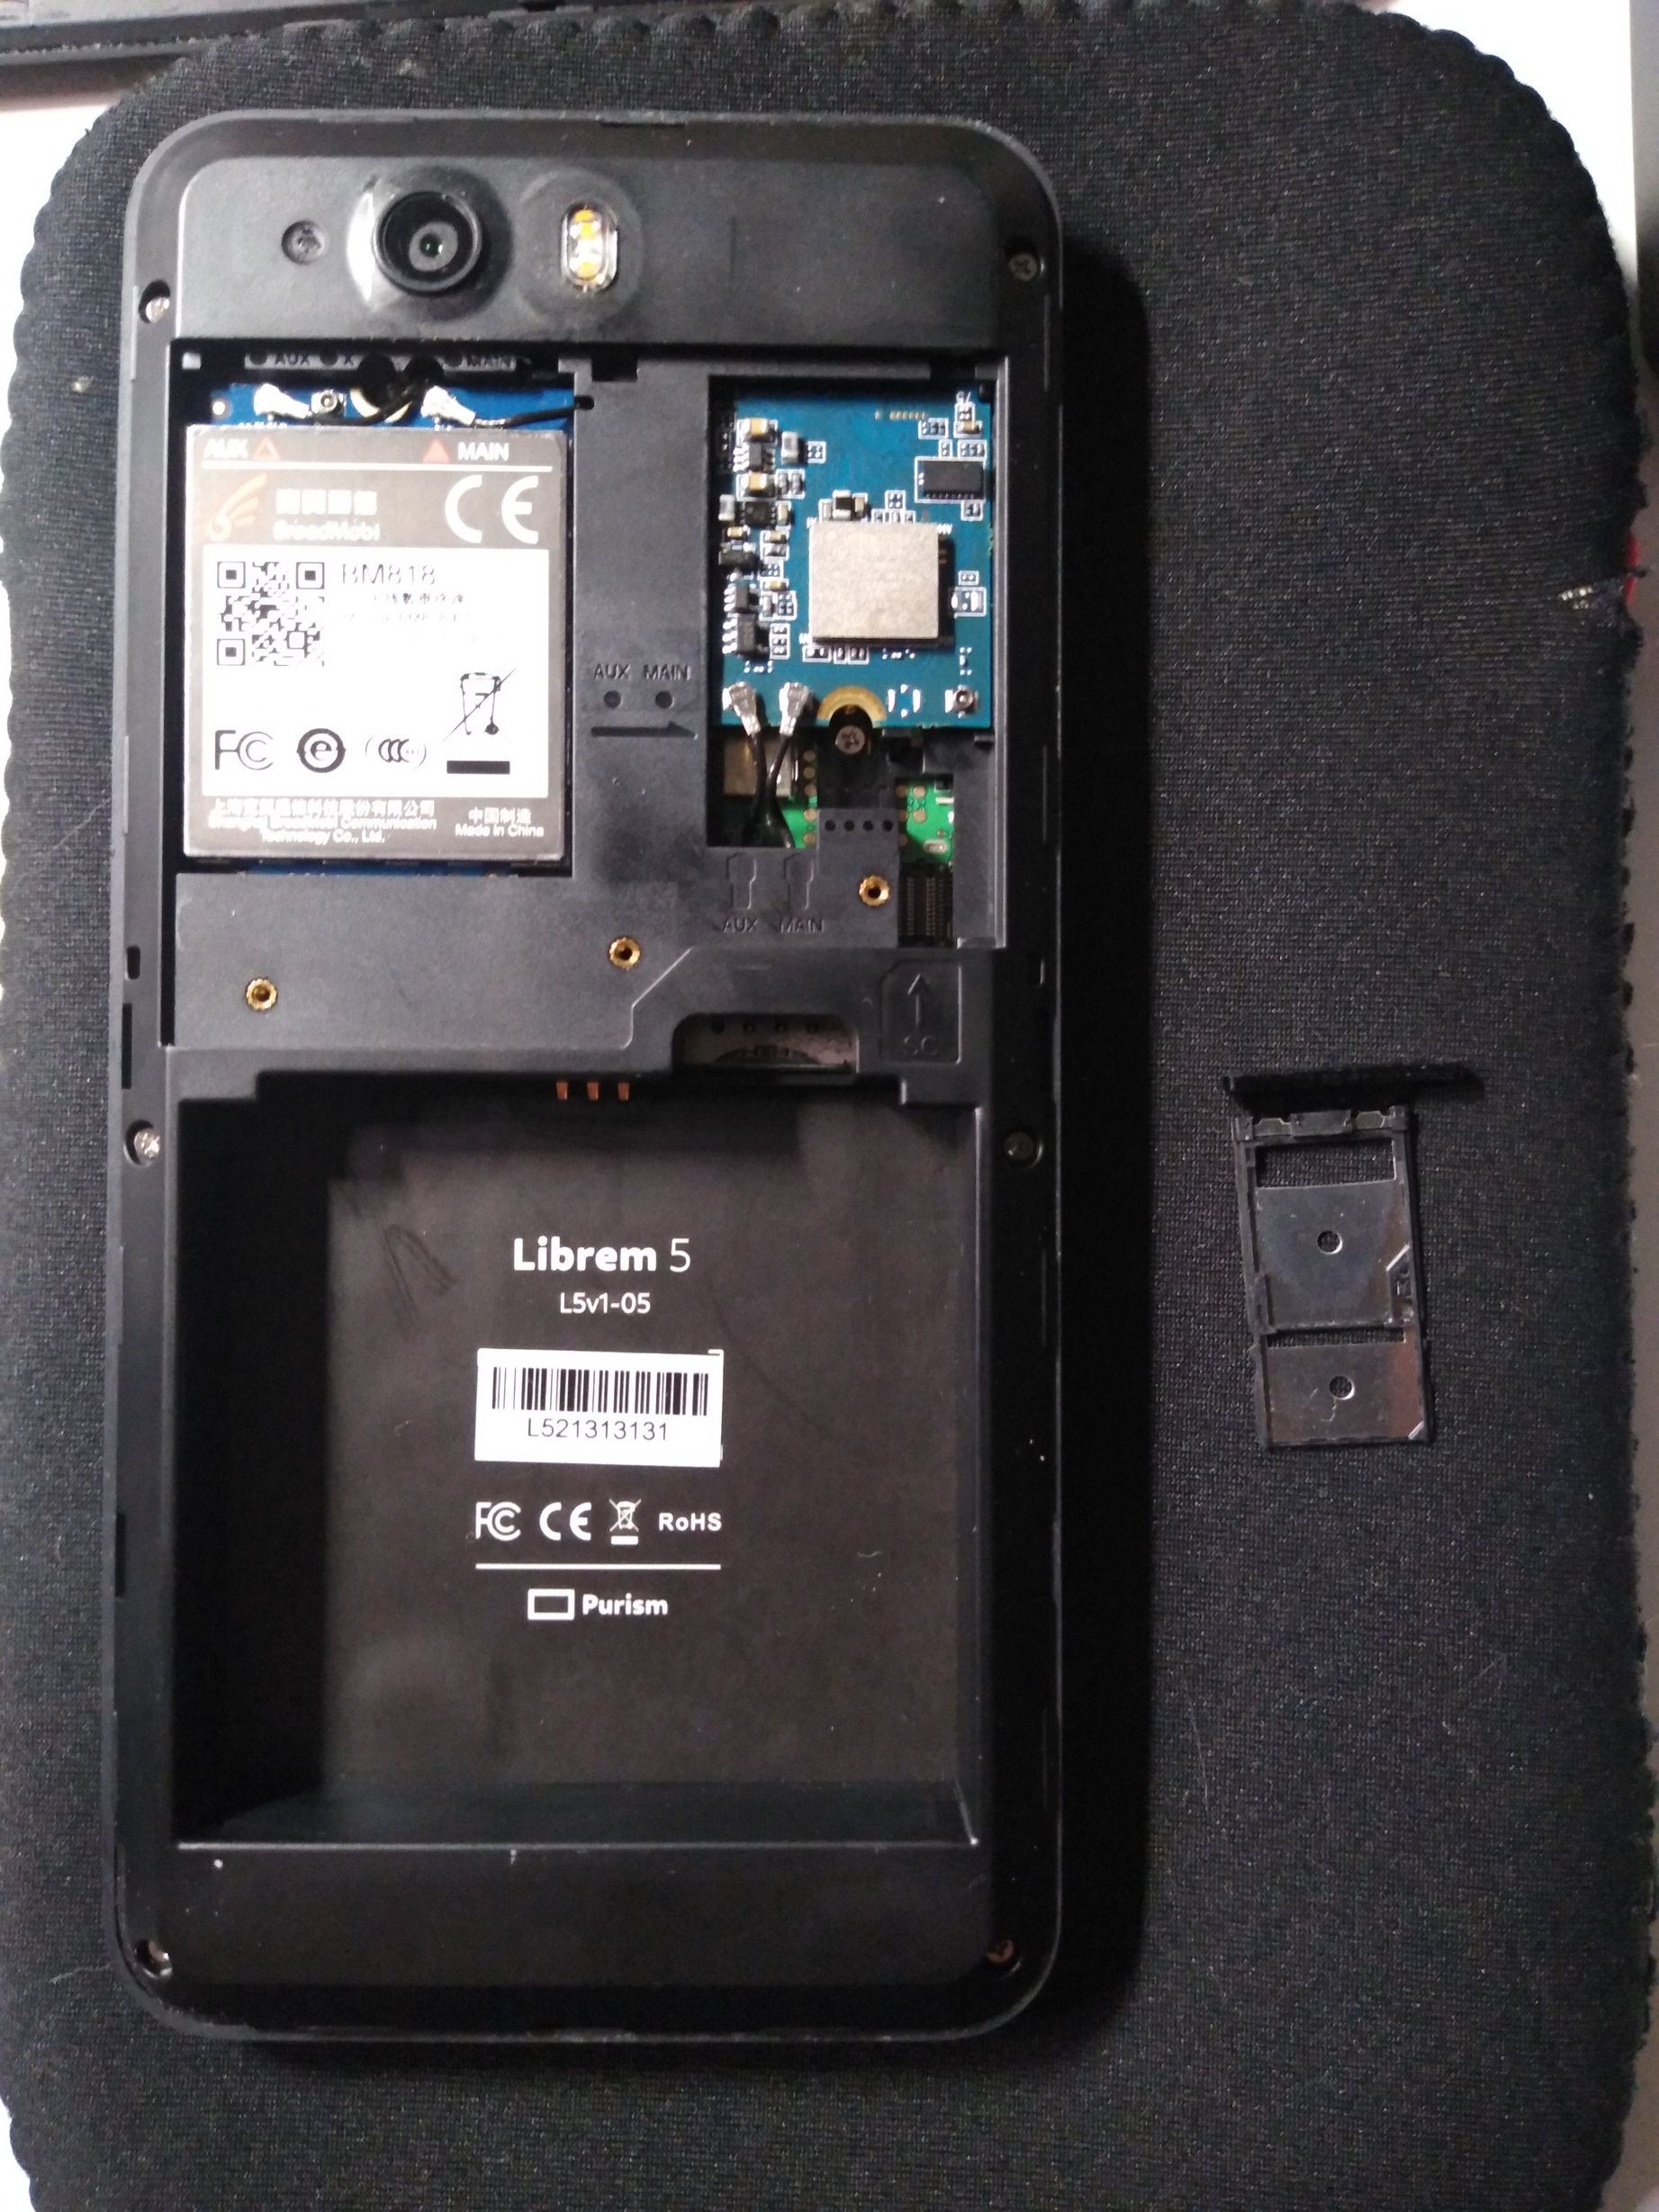
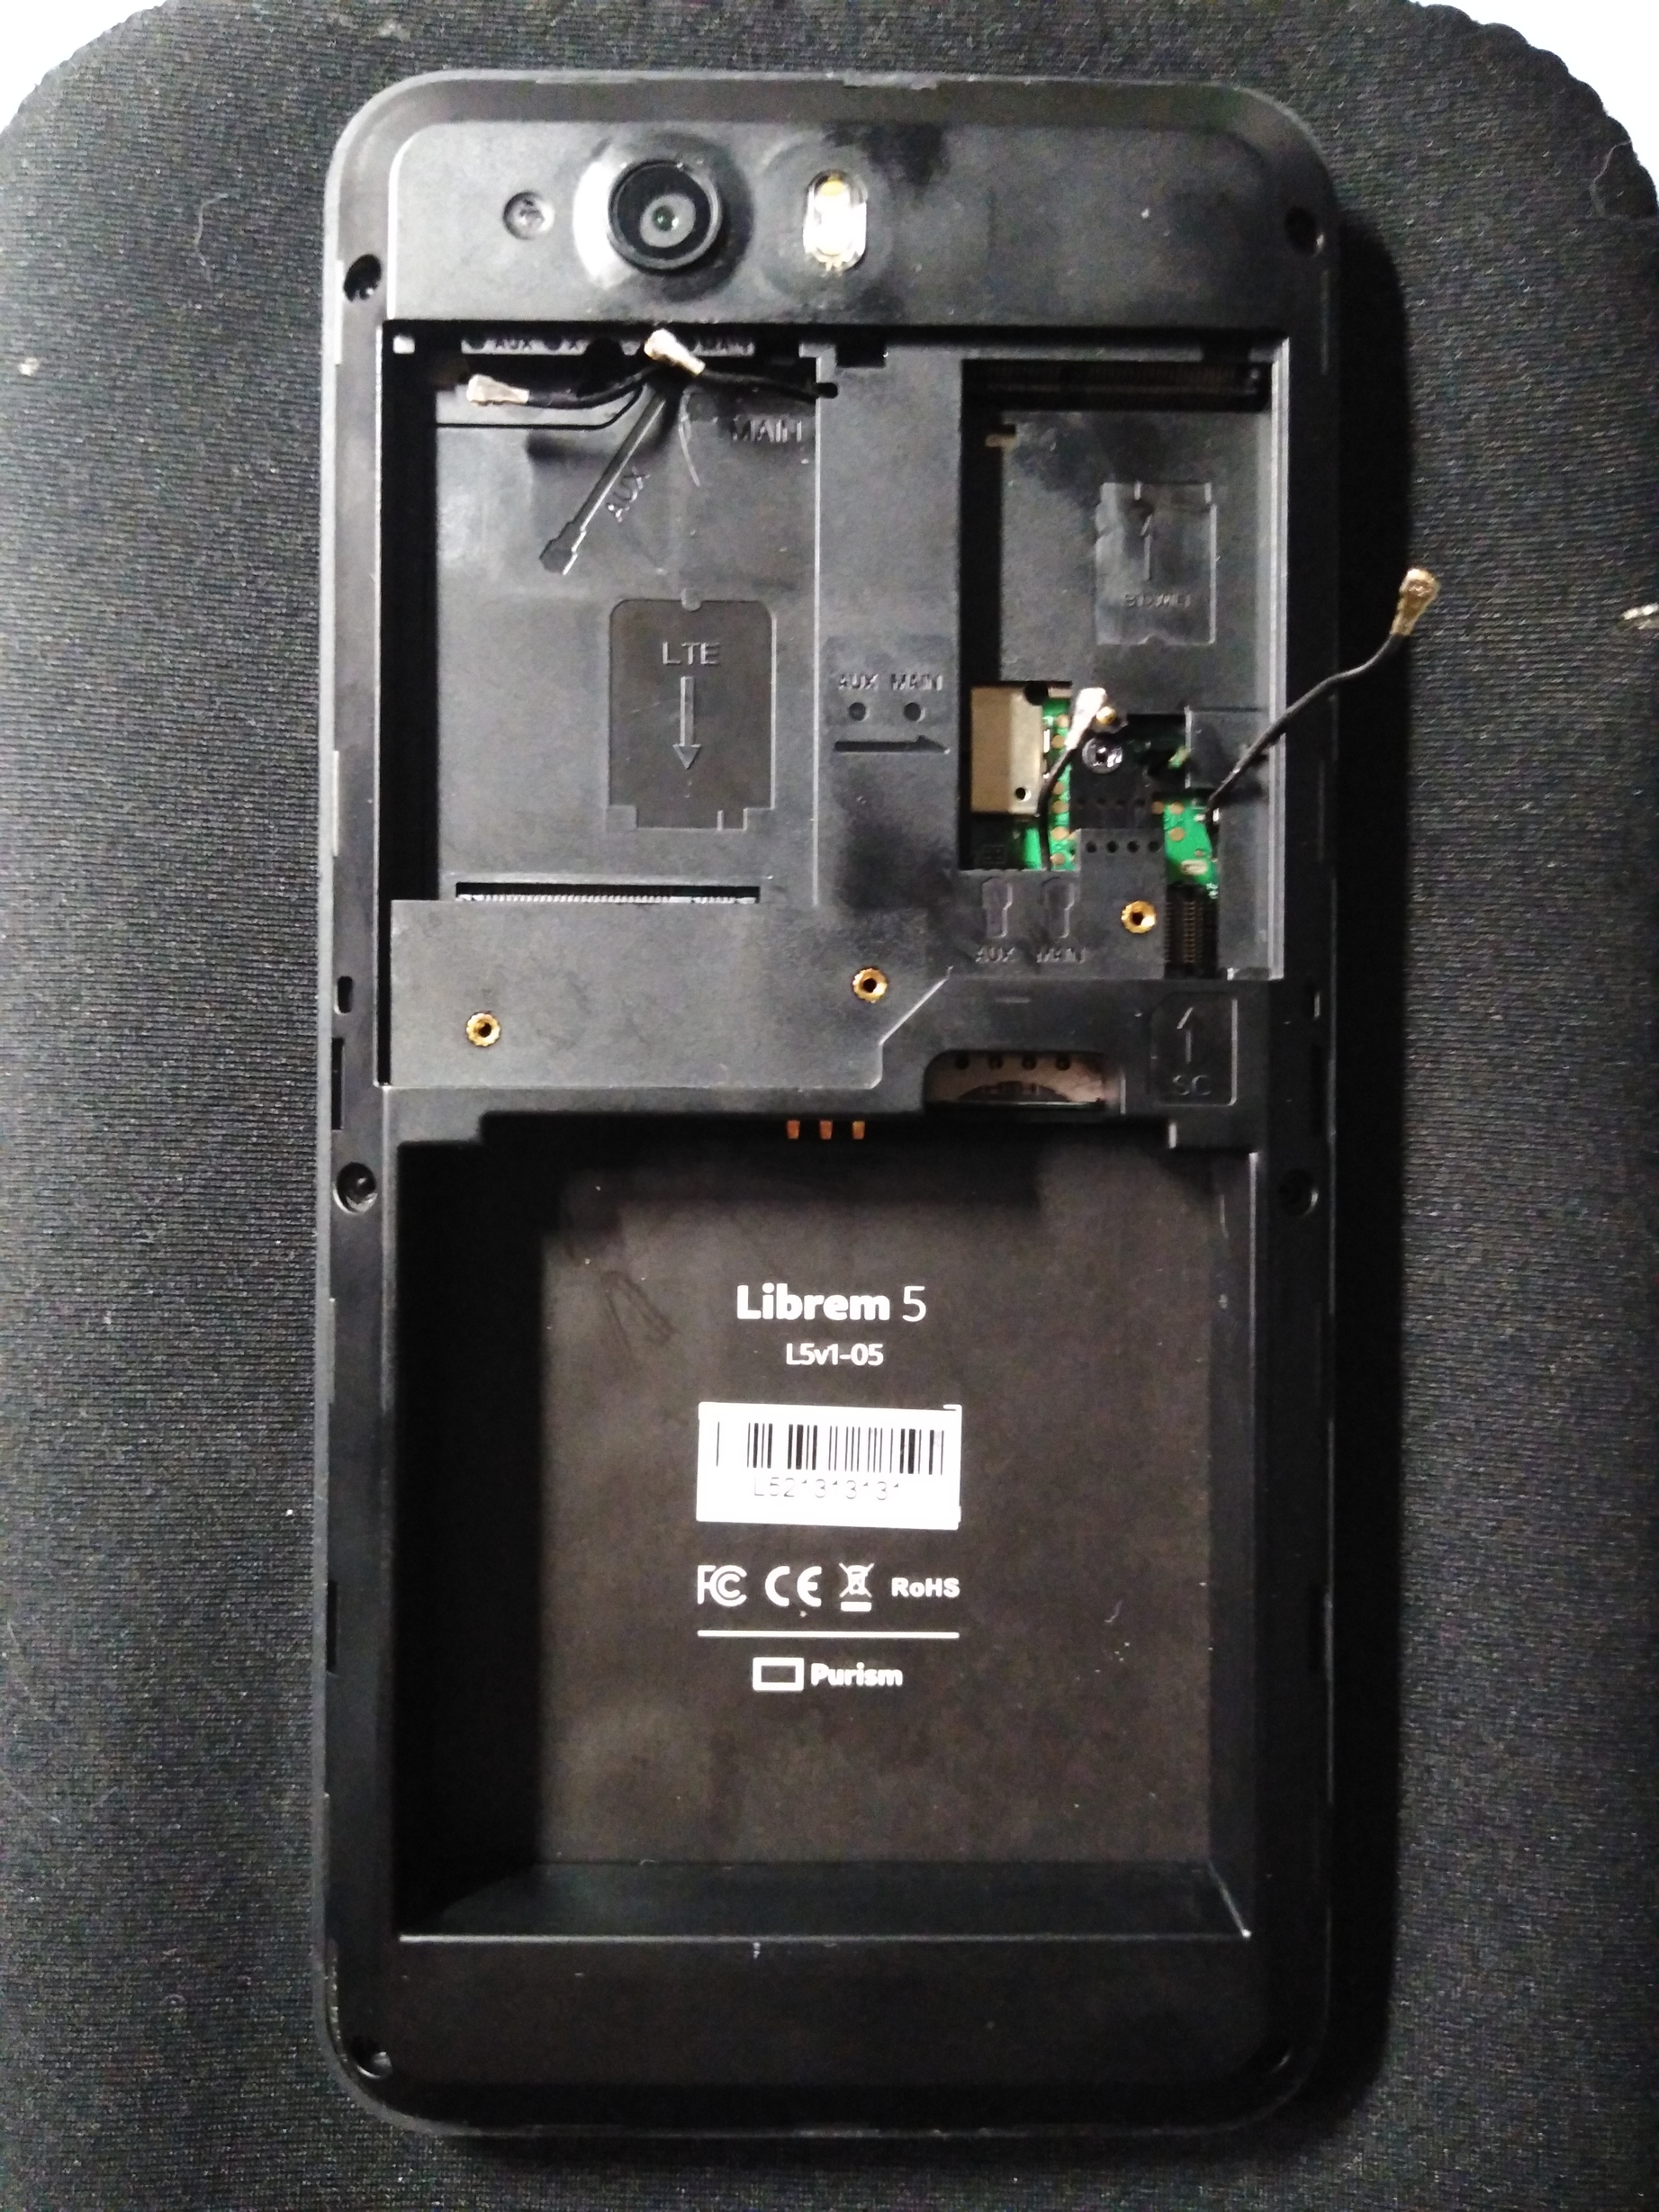
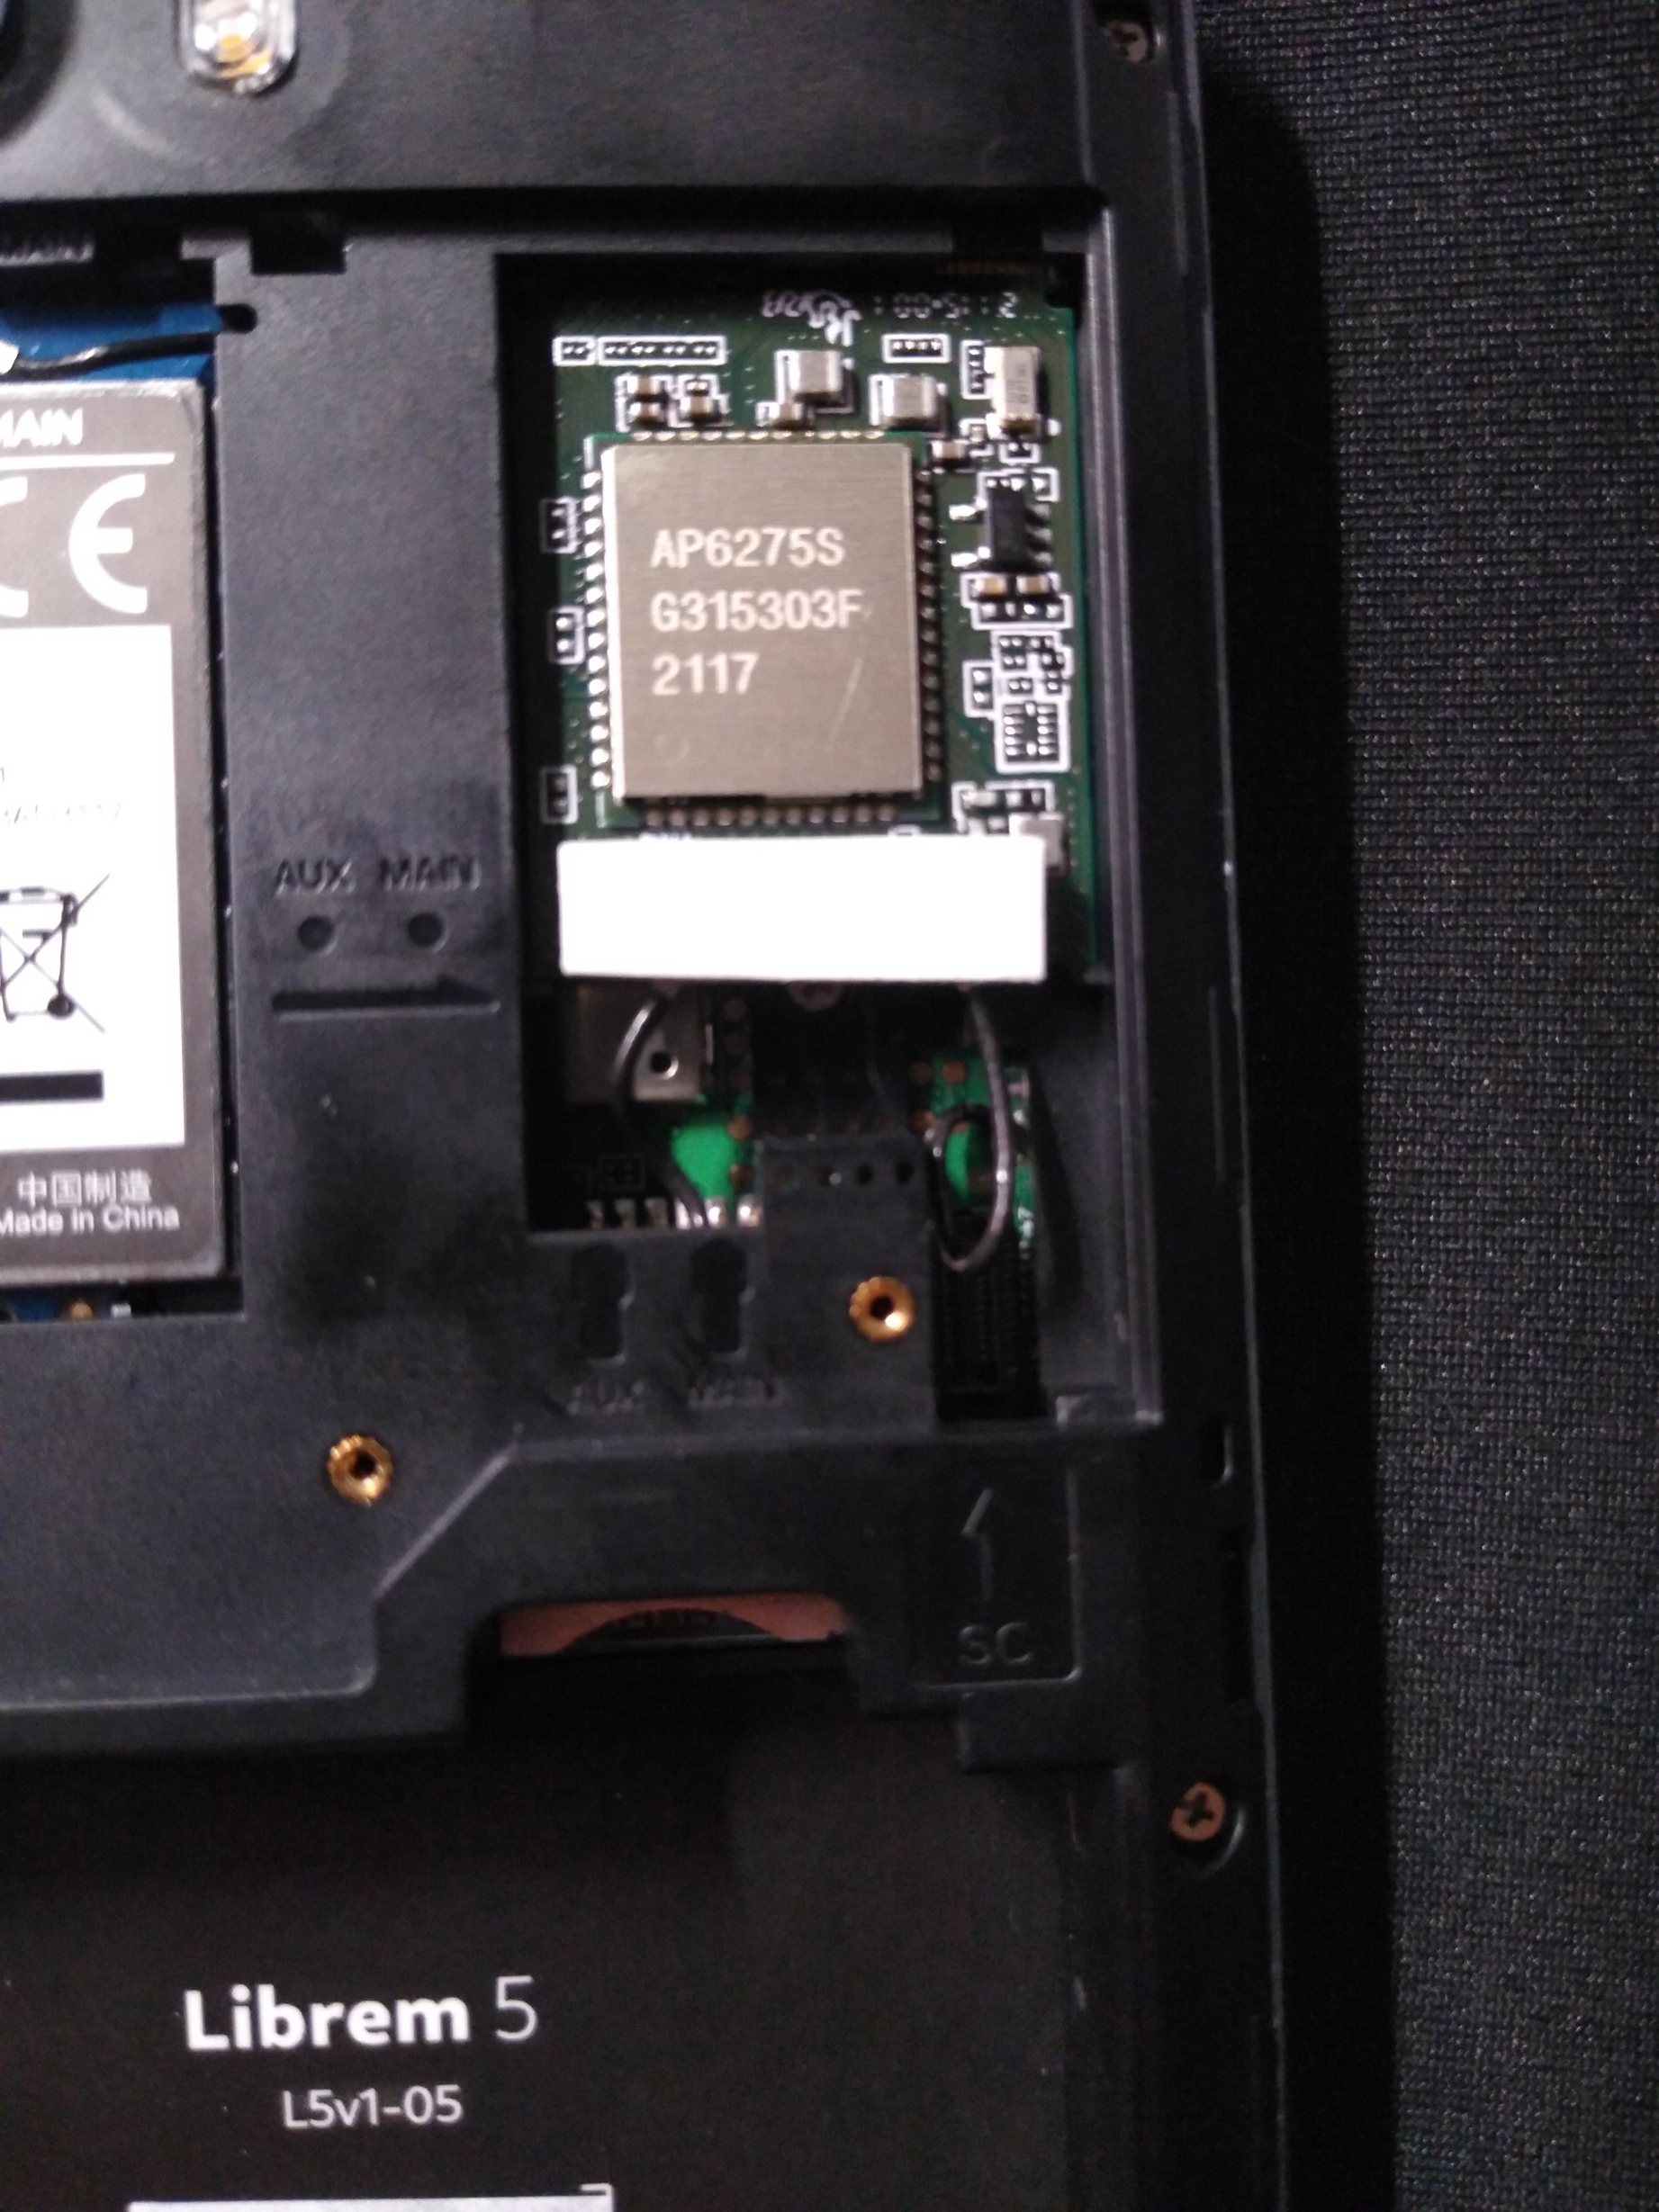
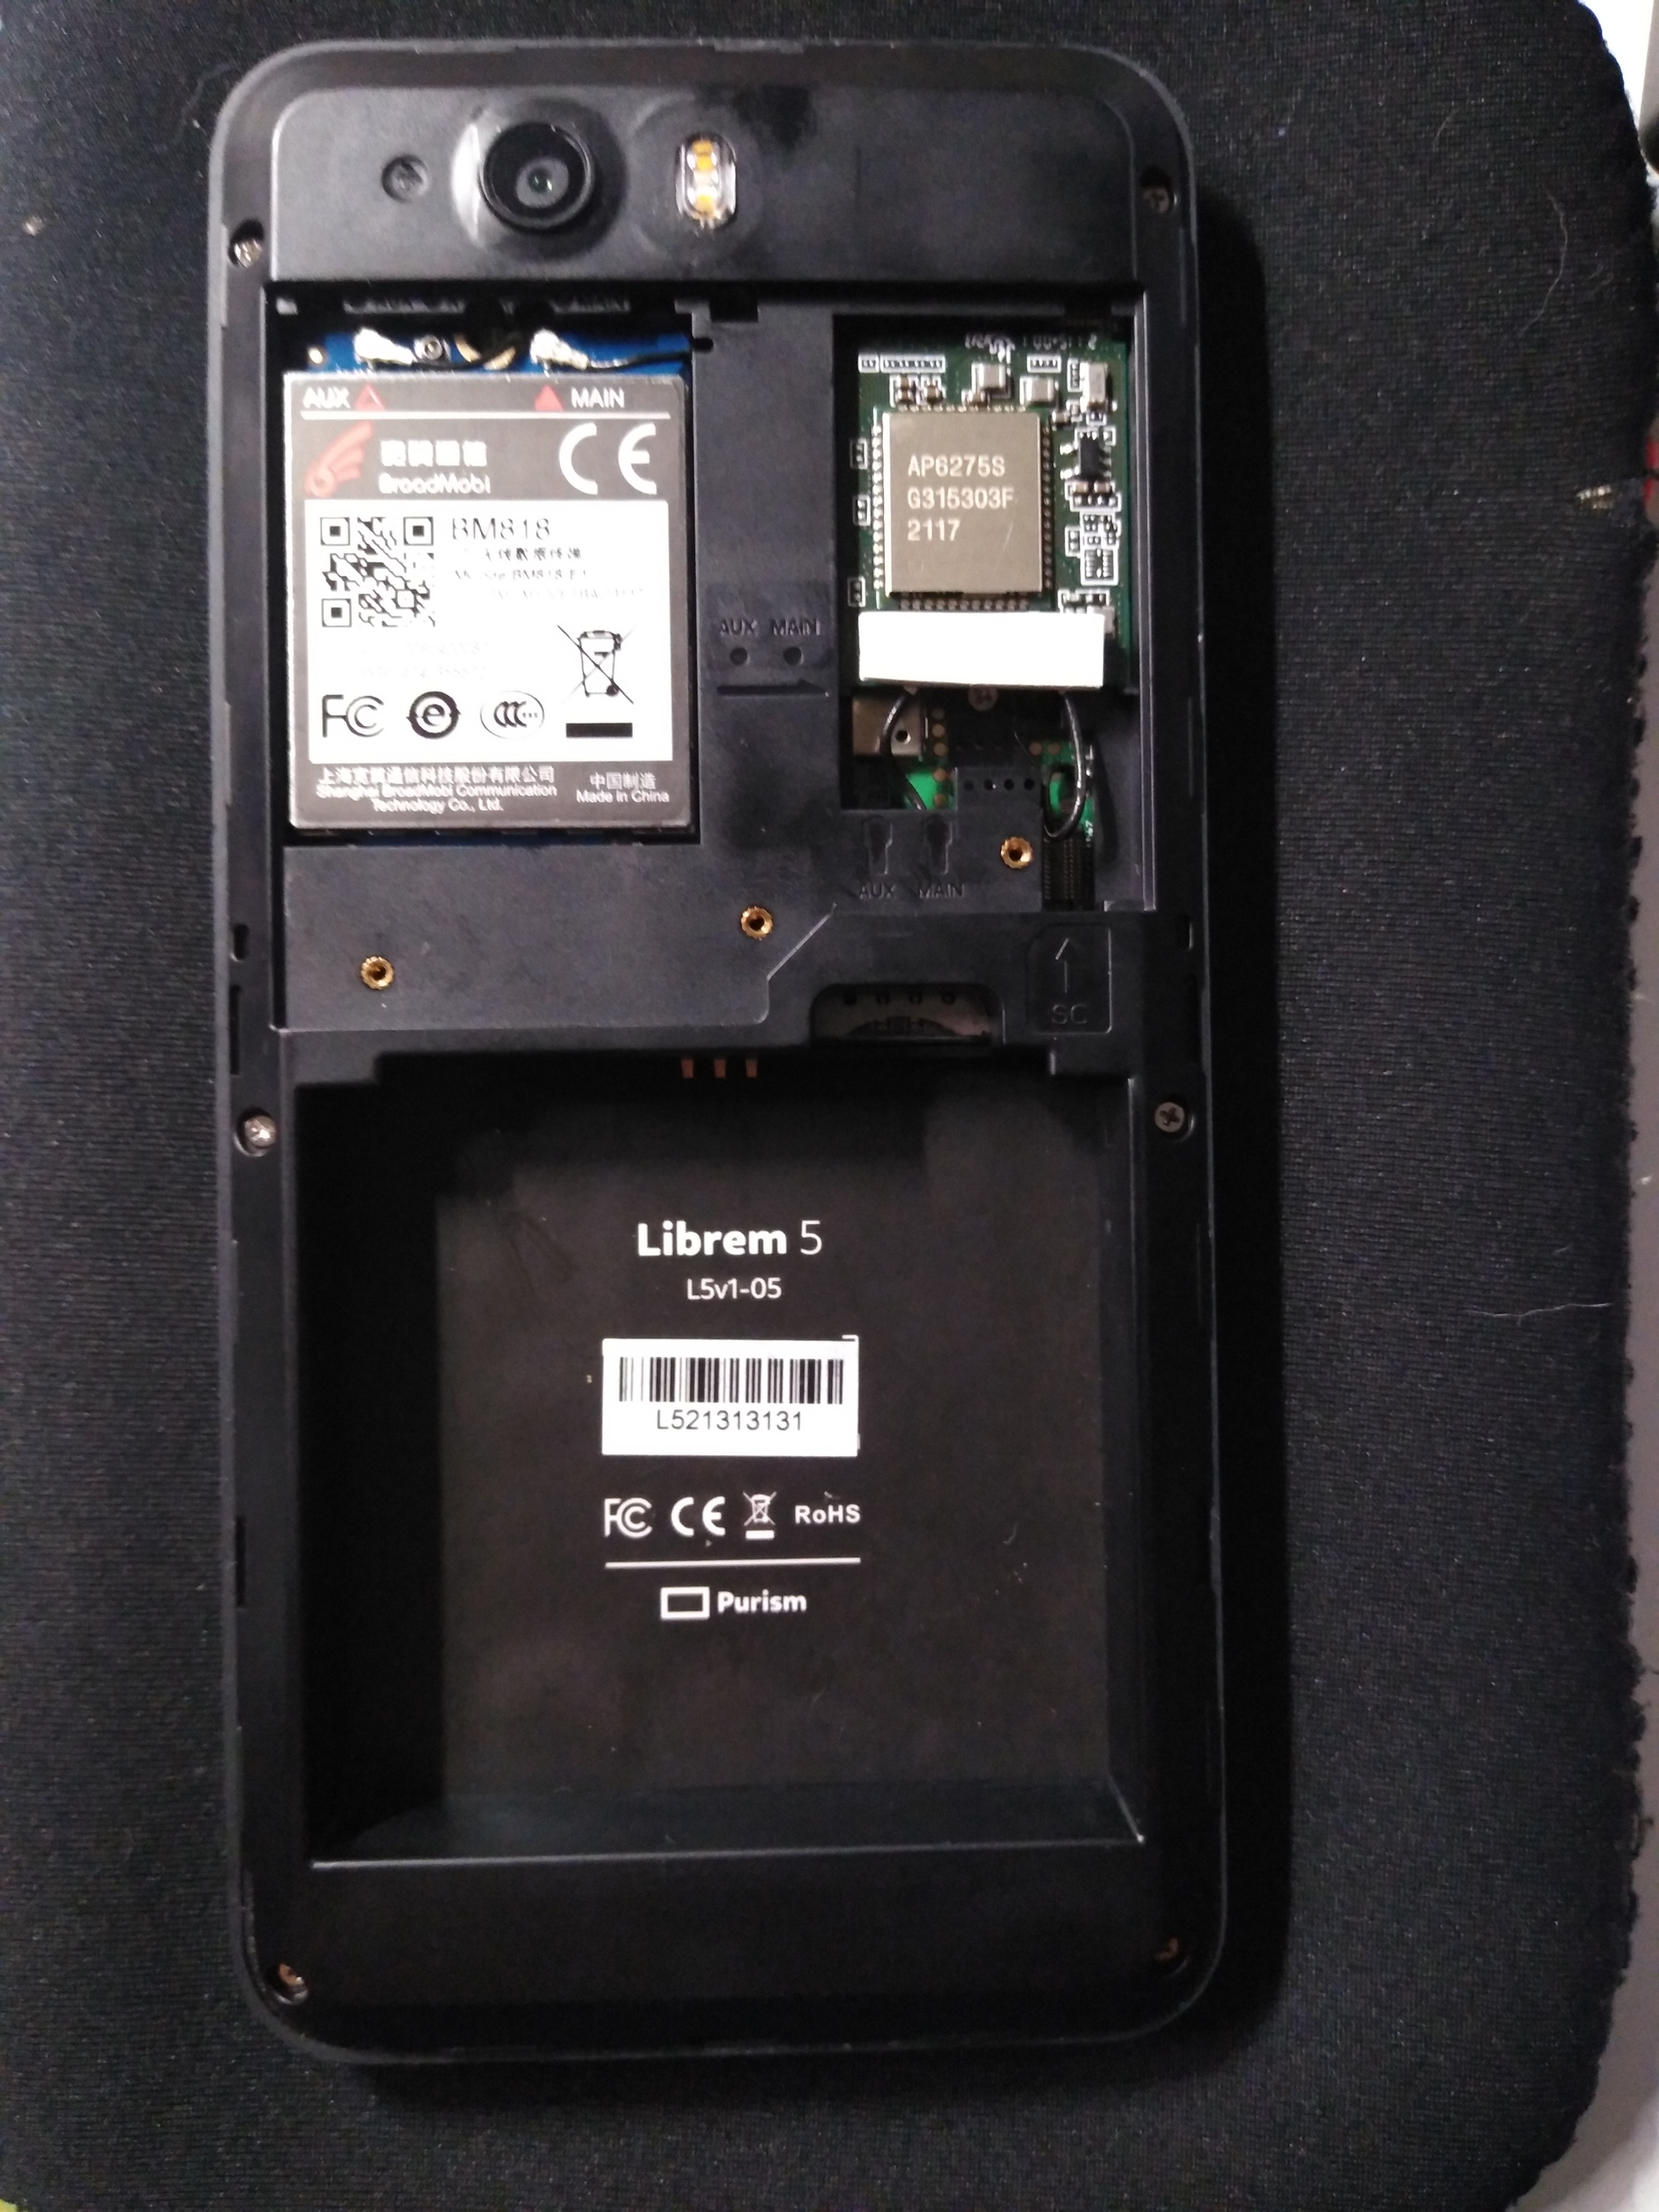
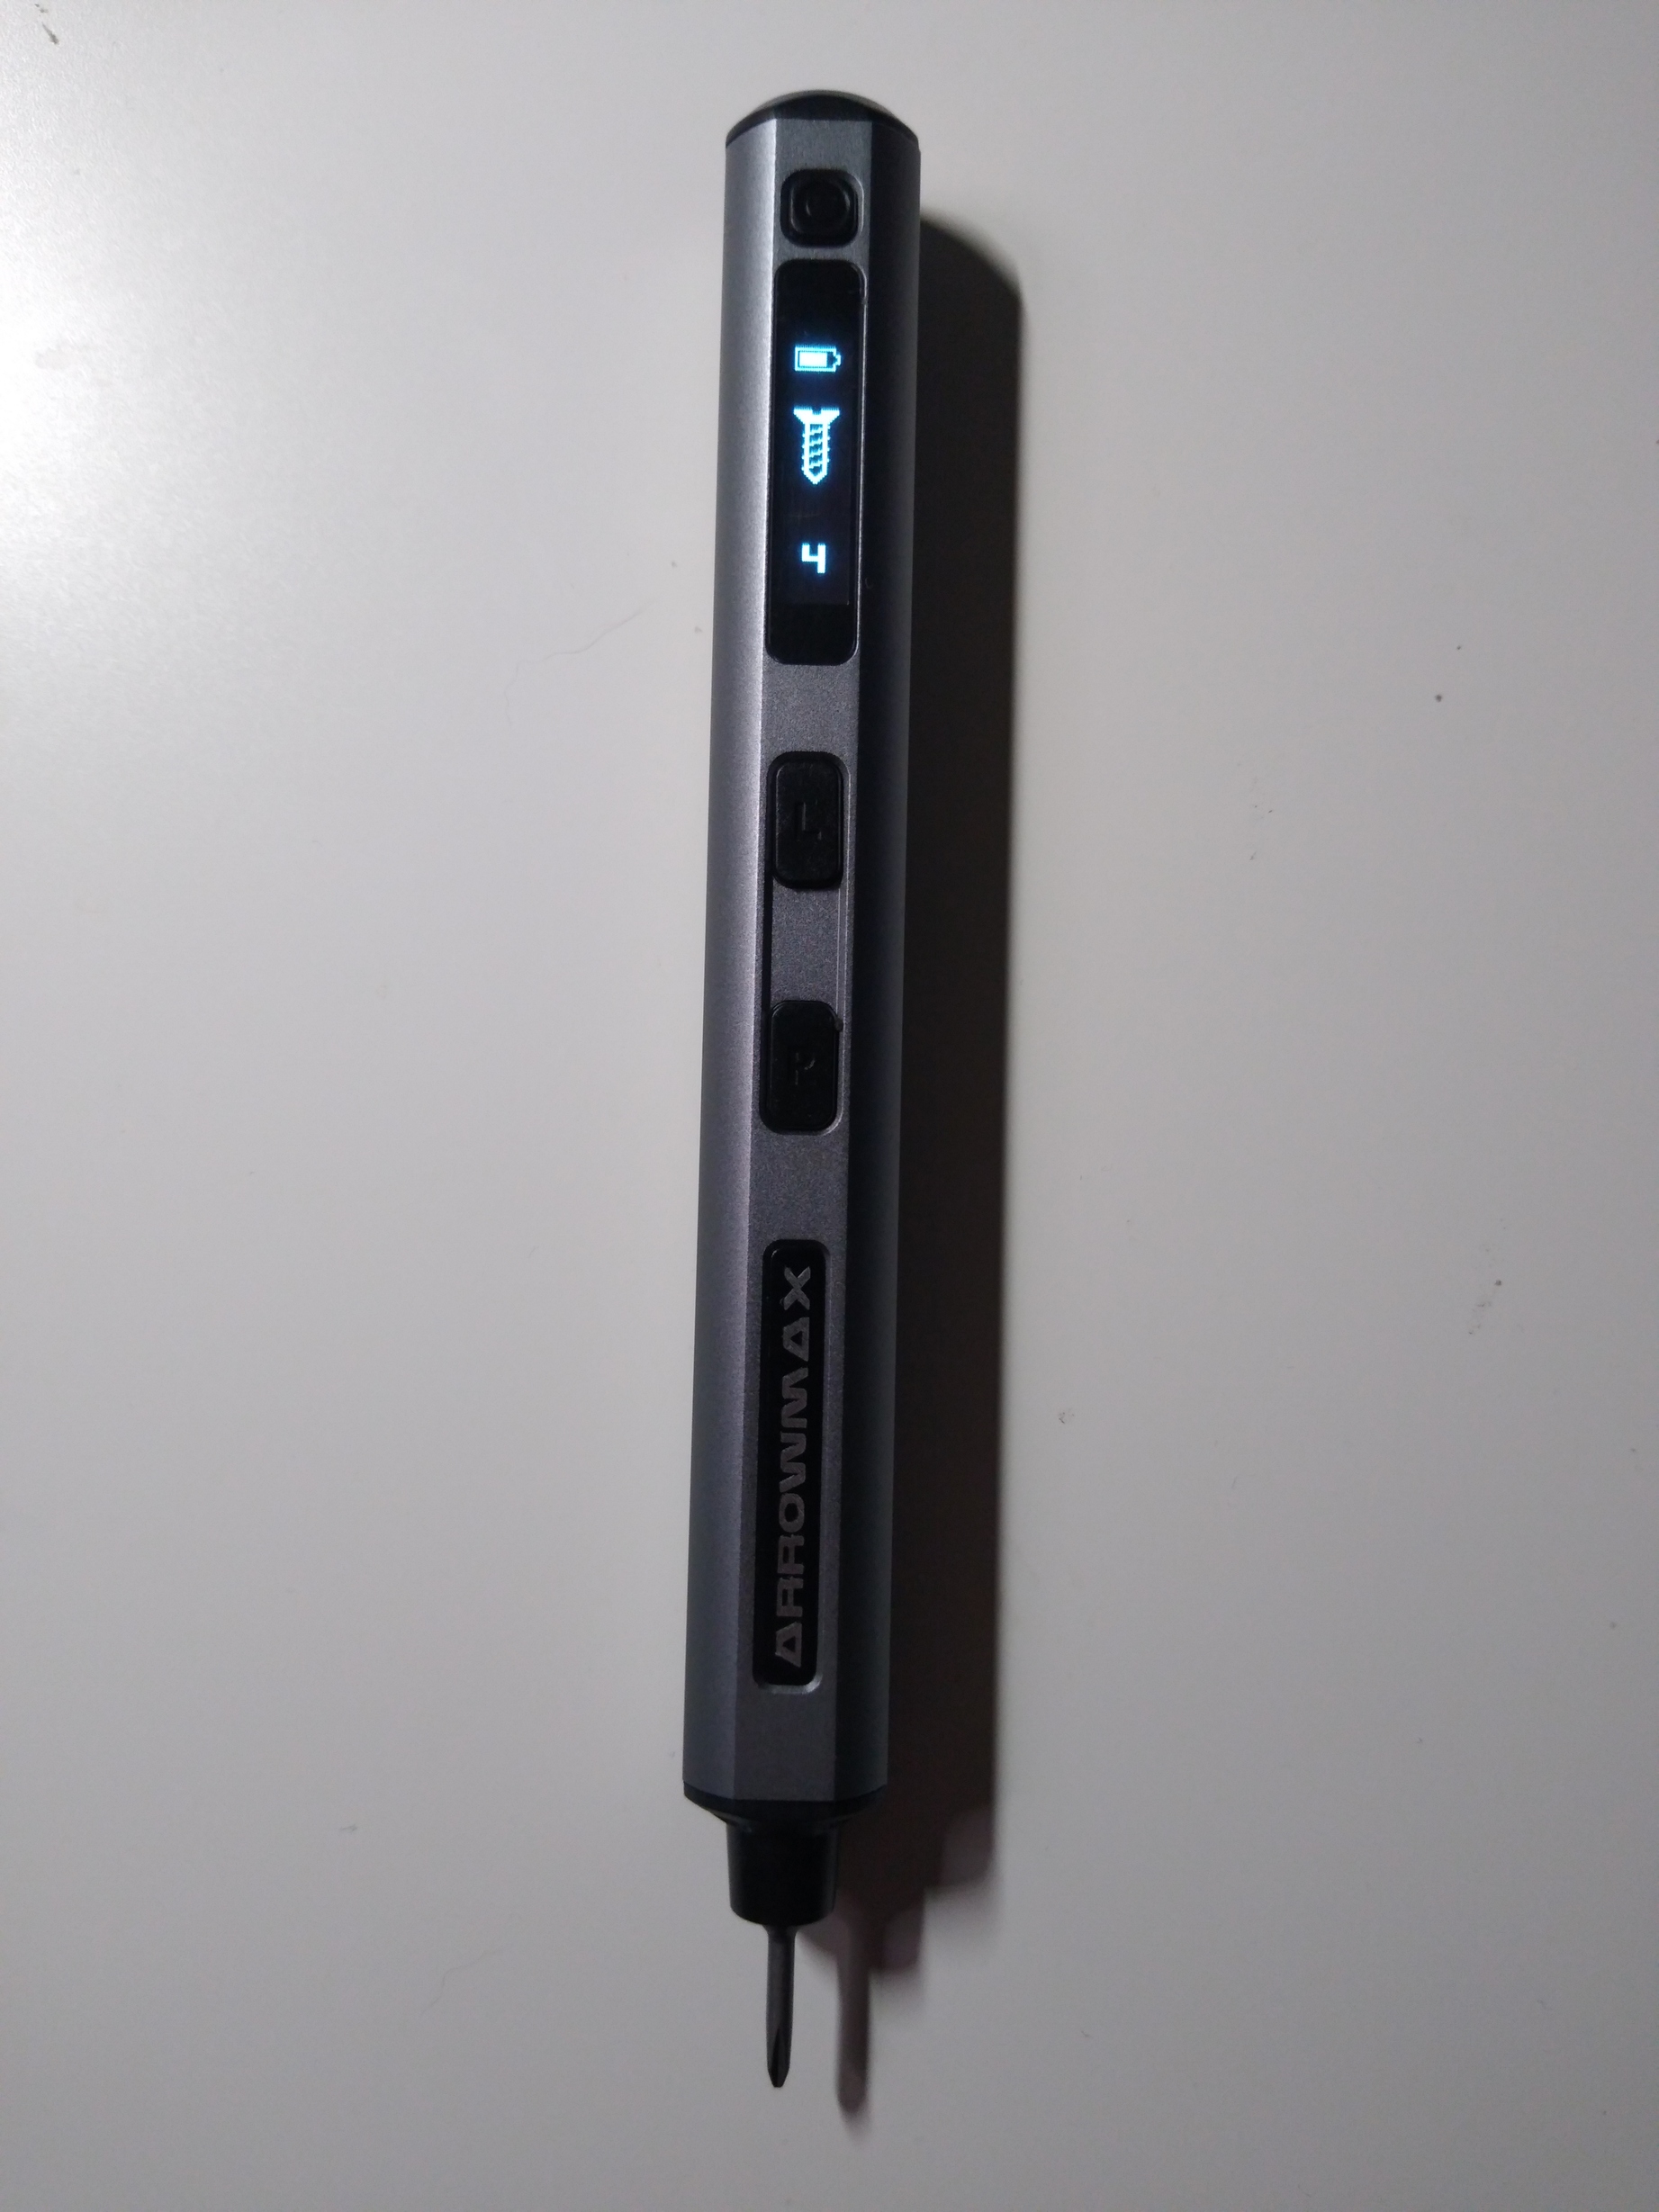
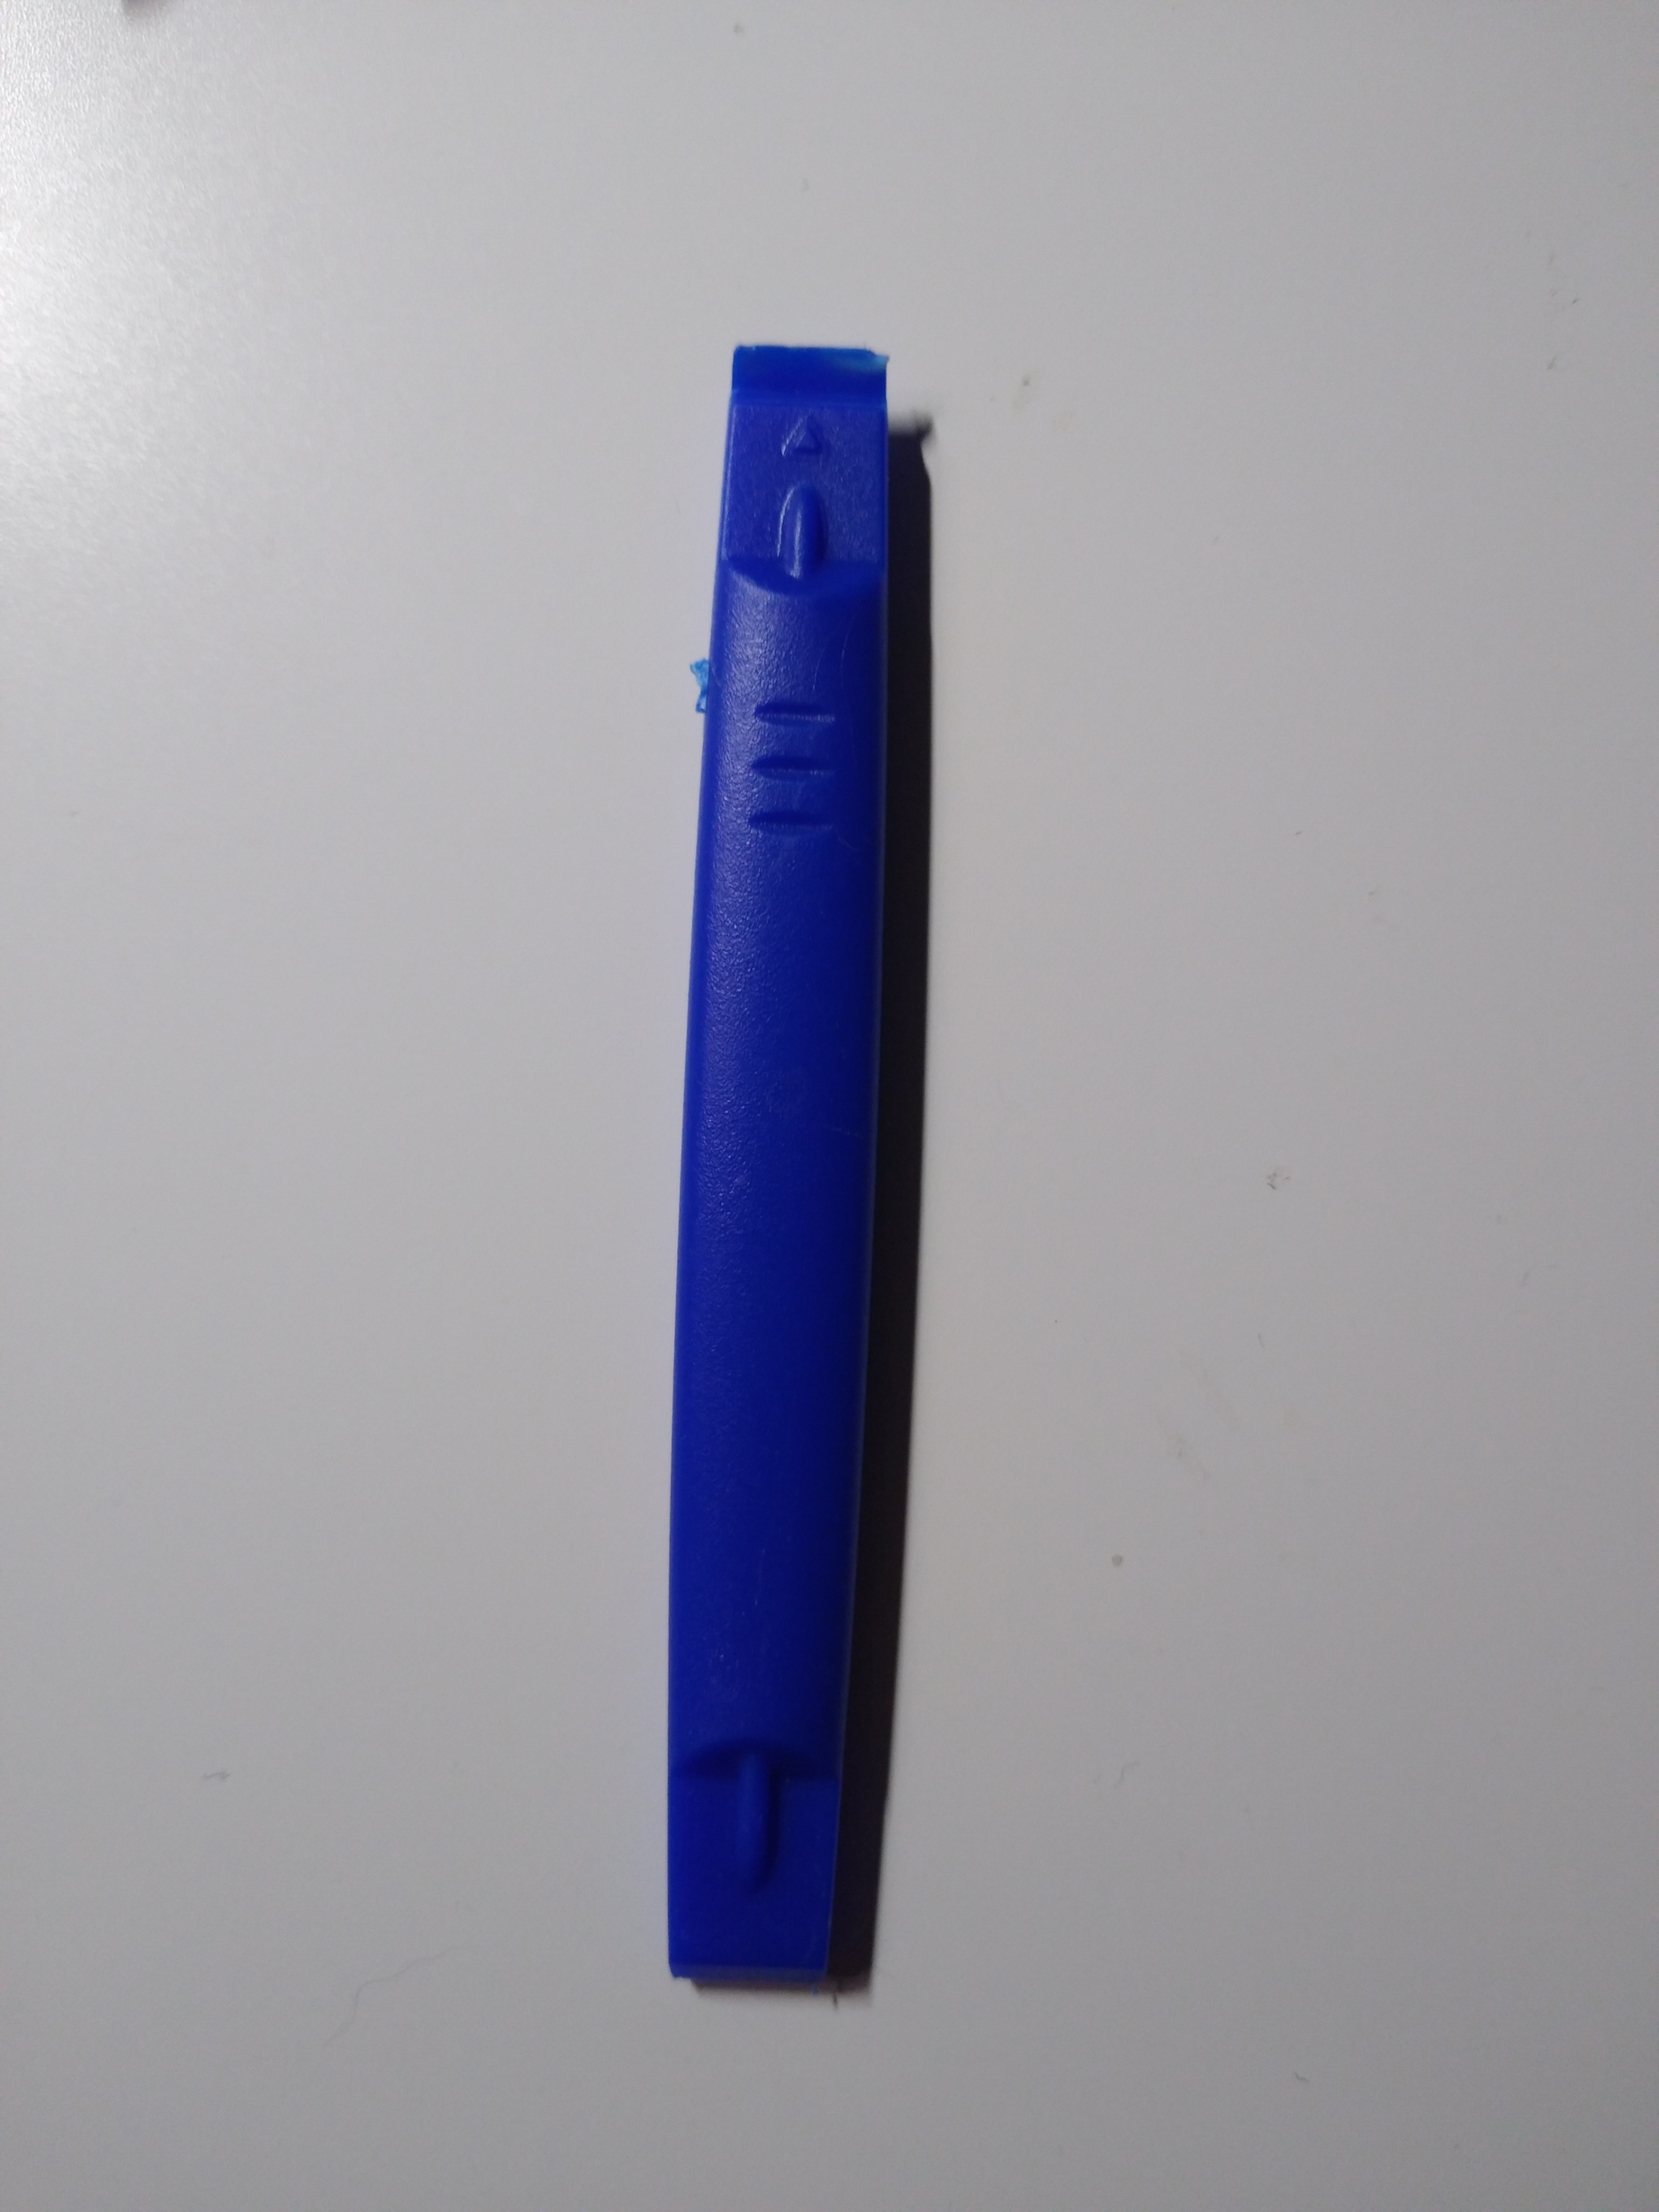
Also, the tools used:
A screwdriver
Plastic pry tool
Tweezers for managing the cables
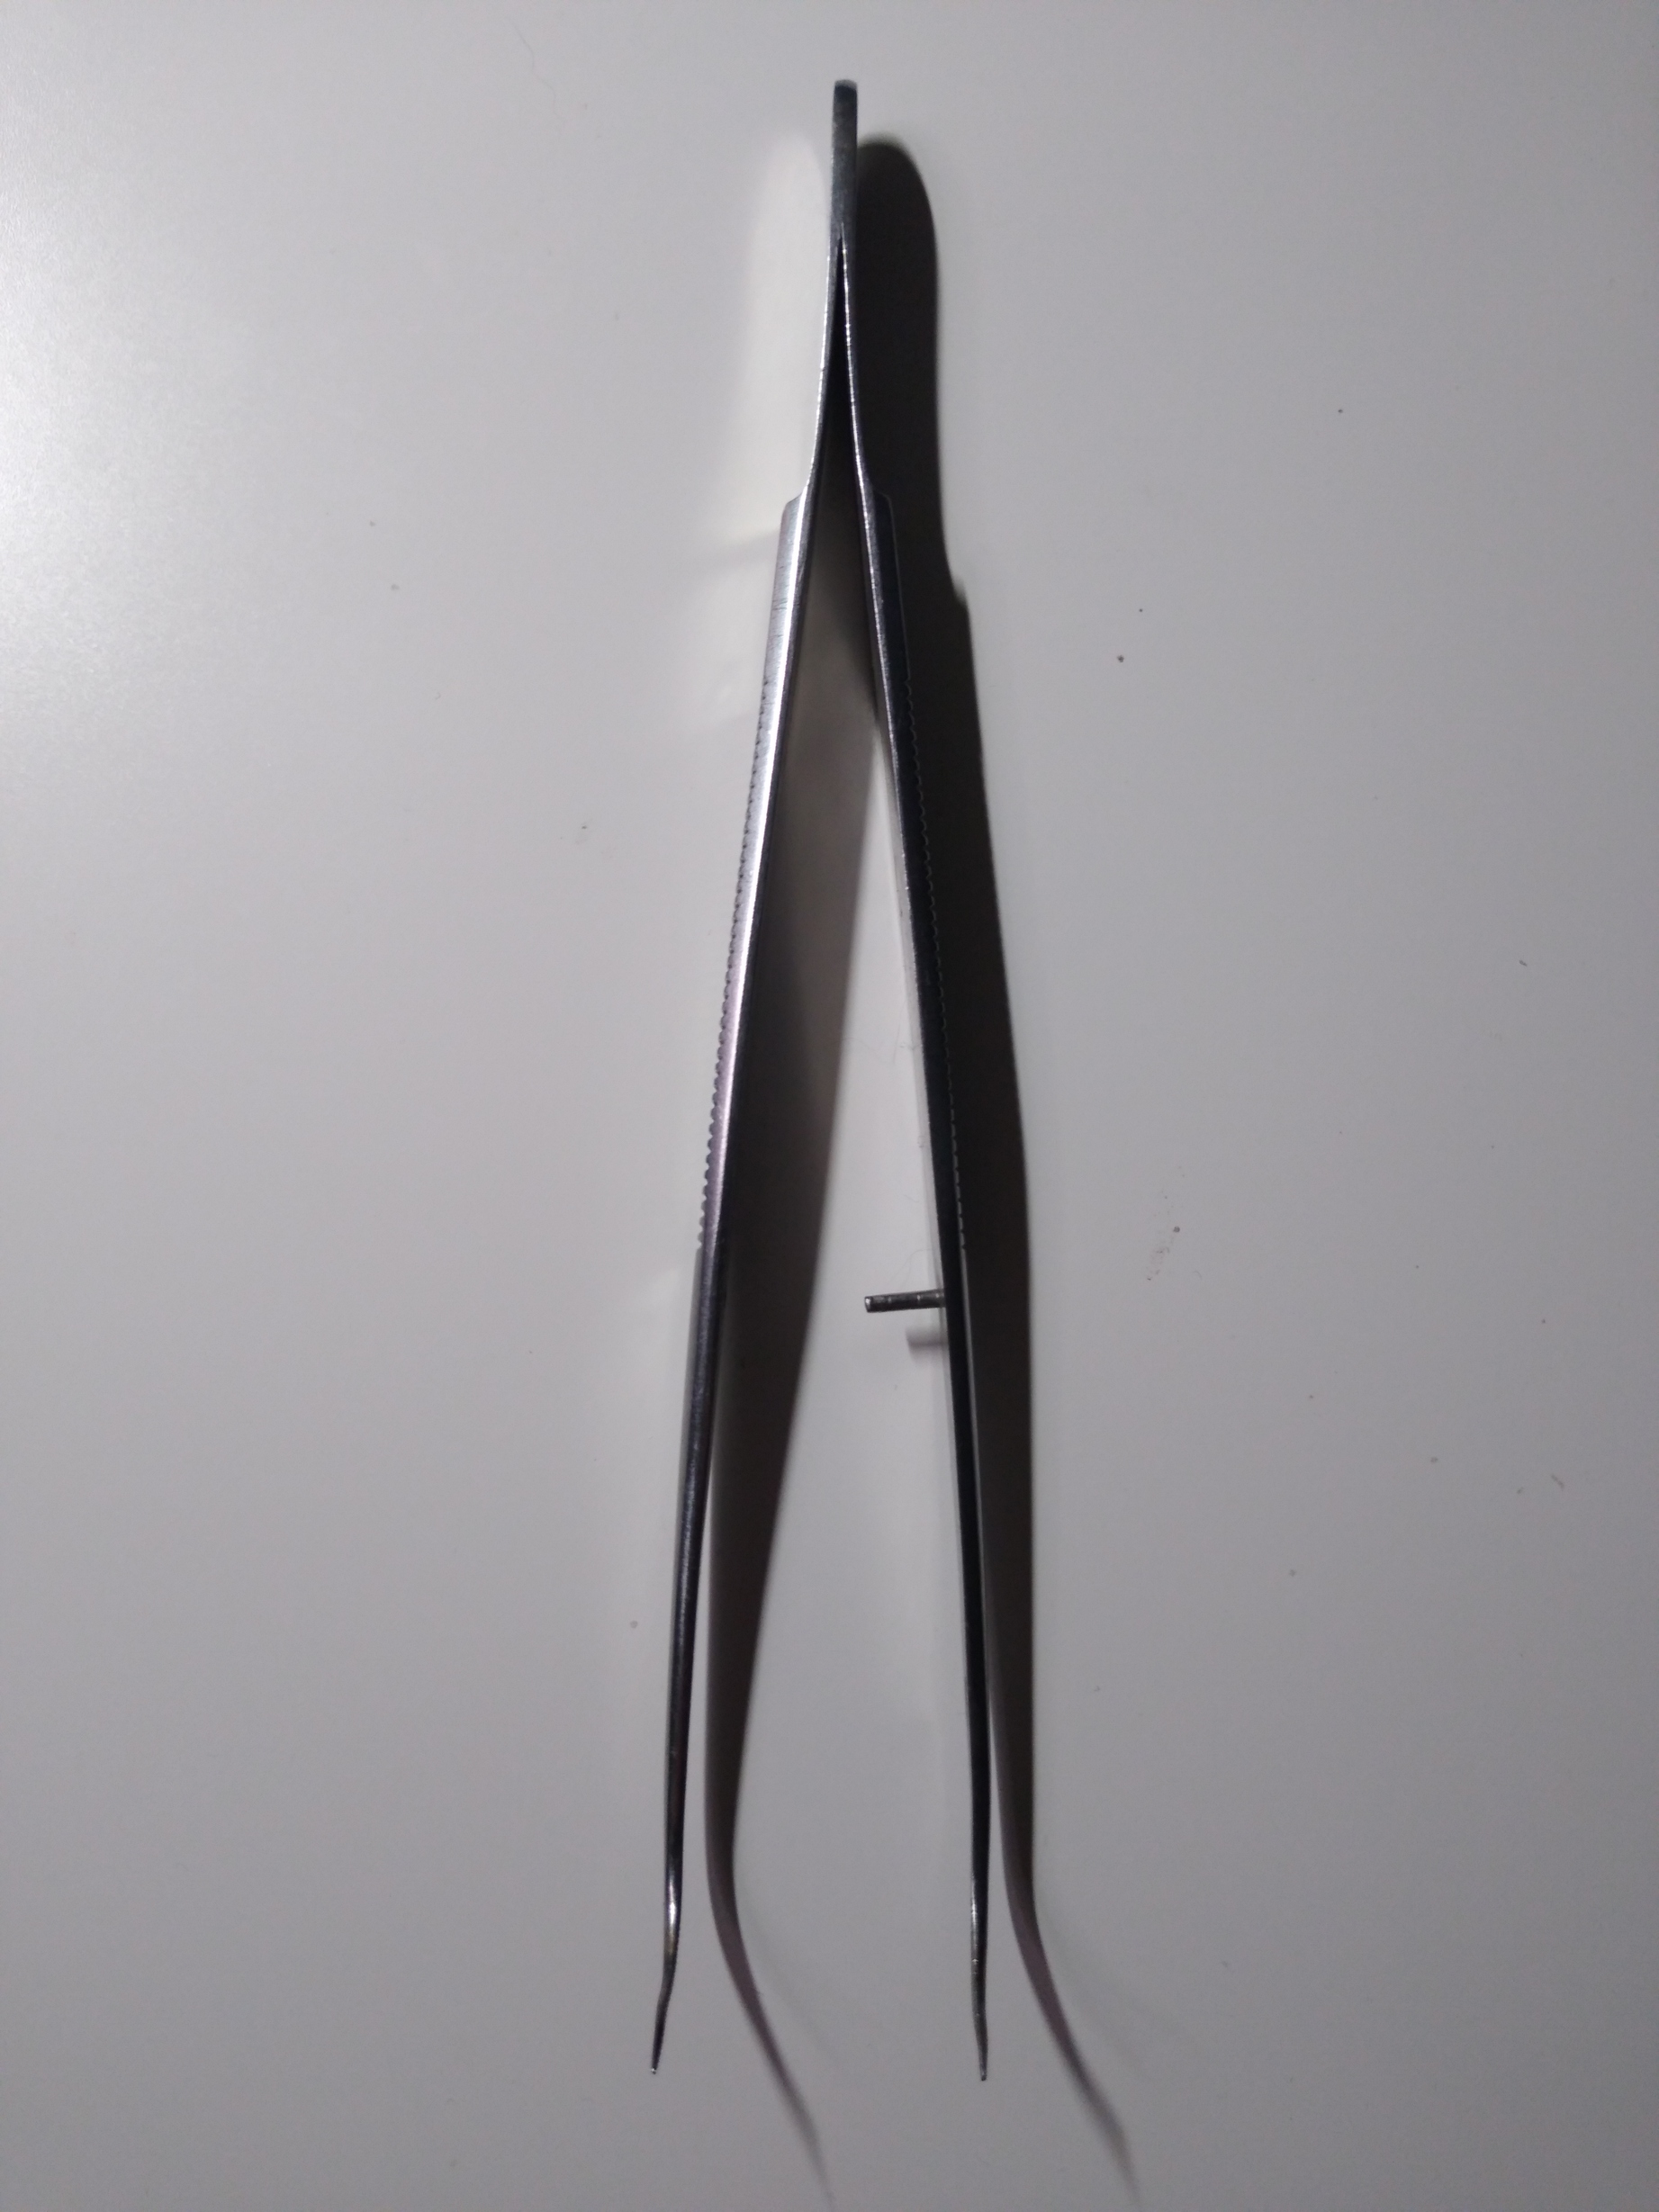
And finally, the eyebrow plucking tweezers I used to remove the connectors
7 Likes
I recently replaced my Redpine modem with the SparkLAN module as well, although I only used my fingernails for the antenna connectors (lifting from the sides) and rerouted both antenna connectors through the auxillary inlet. The tolerance is very tight, but by straightening the cable, I was able to manage to attach the auxillary connector to the right side and the main connector to the left side where it was originally.
3 Likes
Finally got around to flash the firmware jail for SparkLAN card to my phone, and everything went smoothly. Tested the download speed, and got 130Mbps on 5GHz connection, and 75Mbps on 2.4GHz. I’m quite pleased with this.
4 Likes