Tutorial: Create shortcuts to start and stop Wireguard

EDIT: Skip my tutorial and jump directly to the recommended easier solution, as described by Loki. :wink:

TUTORIAL
I downloaded the Wireguard config file from my VPN provider, which is AirVPN, and saved it to a folder that I named “AirVPN” within my home folder on the L5.

Because the AirVPN config file saves with a long, cumbersome name, I renamed it to "wg.conf" to simplify things for the command line. I saved this config file to my “AirVPN” folder.

These are the commands to install, turn on, and turn off Wireguard. (Change “/AirVPN/wg.conf” to whatever you named your own directory/path.)

sudo apt install wireguard

sudo wg-quick up /home/purism/AirVPN/wg.conf

sudo wg-quick down /home/purism/AirVPN/wg.conf

You can always start and stop Wireguard using the command line, but if you want to automate the process, you can create two launchers for the home screen (one to turn “on” and one to turn “off”) Wireguard with the following text and save them to the .local/share/applications folder in the home directory; create the folder if you don’t already have it from having created apps in the past.

Save as "WG_On.desktop":

[Desktop Entry]
Name=WG_On
Exec=gnome-terminal -x bash -c "sudo wg-quick up /home/purism/AirVPN/wg.conf"
StartupNotify=true
Terminal=false
Type=Application
Categories=Utilities;
Icon=/home/purism/.local/share/icons/WG_On.png

Save as "WG_Off.desktop":

[Desktop Entry]
Name=WG_Off
Exec=gnome-terminal -x bash -c "sudo wg-quick down /home/purism/AirVPN/wg.conf"
StartupNotify=true
Terminal=false
Type=Application
Categories=Utilities;
Icon=/home/purism/.local/share/icons/WG_Off.png

Don’t forget to change "AirVPN/wg.conf" to match your own path, in both of the above applications.

Next, create or download two suitable images for the launcher icons. I drew these using the Drawing application, and then cleaned them up in GIMP:

WG_On
WG_On.png

WG_Off
WG_Off.png

The icon file names must match the names as indicated in the application files, i.e. "WG_On.png" and "WG_Off.png". You can use different names as long as the icons match the text in the application files exactly. (The artwork itself doesn’t need to match; I used “UP” and “Down” in the image instead of “On” and “Off,”, but the files where the icons are located are still named “WG_On.png” and “WG_Off.png”.)

Save the icons in .local/share/icons. Create the folder if you don’t already have it from having created apps in the past.

The icons will now appear in the app grid. They can be moved to the favorites area up top if desired:

Tapping the icon, launches it:

Then your sudo password is required:

Connection occurs immediately, as indicated by the “wg” toggle in the notifications area (also visible at the top of the home screen):


Note that tapping the wg toggle in the drop-down does sever the Wireguard connection, but doing it this way causes the Wireguard UP launcher to fail on reconnect. Launching Wireguard Down resets it so that the Wireguard Up launcher works again.

Once connected, you can verify at a site such as AirVPN’s ipleak.net:


(Hey, I’m not in Canada, eh?) :rofl:

3 Likes

This is showing up on my phone browser as 4 lines. For anyone reading, it should be 2, with each line starting with sudo

1 Like

Yeah, I’m on a laptop, so it displays differently for me. Thanks.

Nice topic, but come on man, I’m sorry, your icons are so … hideous… :roll_eyes:
So here, I just made rapidly those two, from random wireguard and on/off icons I found
WG_Off WG_On
Hopes it gives a better look to your little project here :wink:

1 Like

If you are using just a single VPN connection, you can import your wireguard configuration into NetworkManager and enable/disable directly from the toggle in the notification area negating any need for any .desktop files and having to enter your passphrase for sudo.

The VPN toggle operates on the last used VPN connection so if you are making use of multiple VPN connections it can get a little more involved but having all your VPN connections handled by NetworkManager makes for a cleaner and more integrated way of working than shortcuts and passing passphrases to sudo.

3 Likes

Good point. I think I had tunnel vision from struggling unsuccessfully to work with AirVPN’s OpenVPN config files (and they recommend not using NetworkManager for OpenVPN; they also don’t have a client that will work on the L5). So I spaced that in my mind.

Thanks!

Lol! Yes… Yours are cooler.

As Loki said, you can just get the Wireguard configuration from your provider, and import it directly into the Advanced Network Manager app:

Open the terminal and indicate the name of your Wireguard config file with this command (match the name of your file):
CONF_FILE="wg.conf"

Then import it into Network Manager:
sudo nmcli connection import type wireguard file "$CONF_FILE"

(That assumes the config file is in your home folder; if not, add the path to where it is located.)

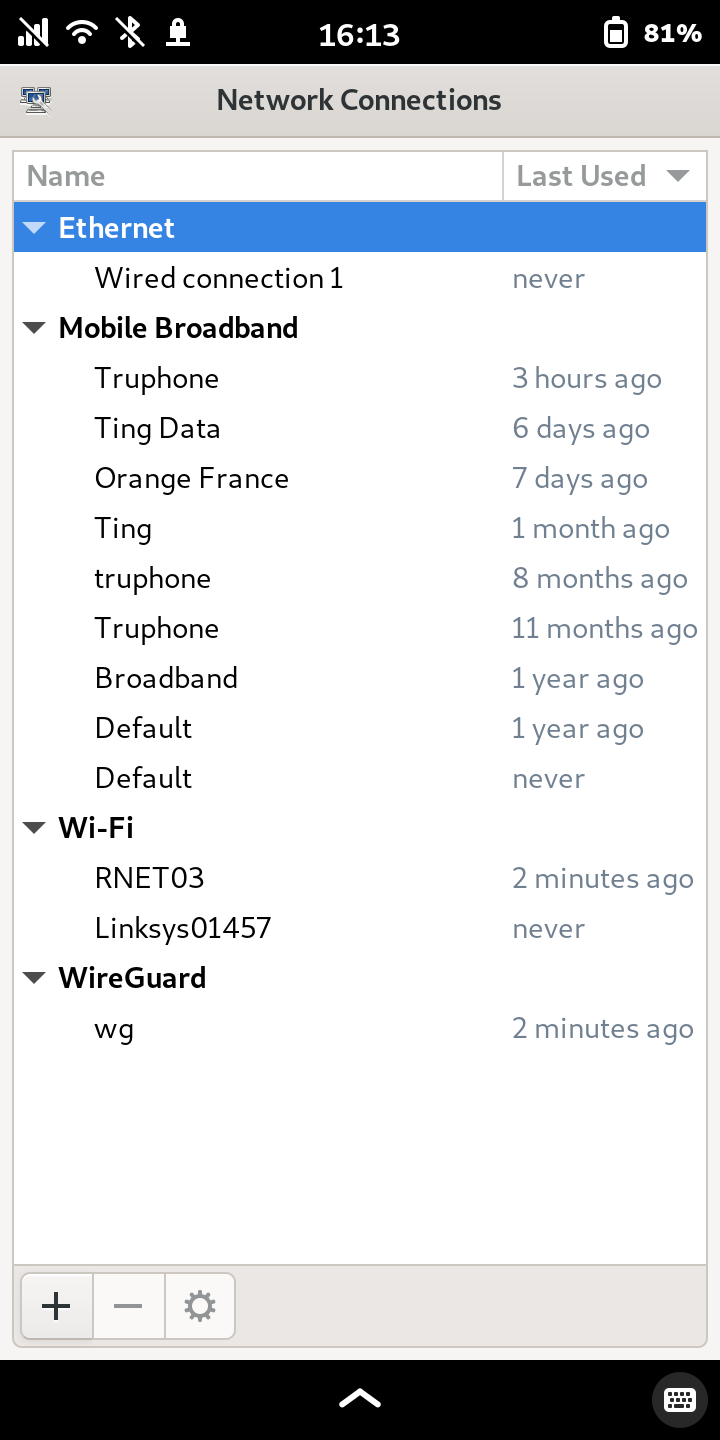
Now it appears in your saved network connections, and the wg toggle will be available permanently in the notifications area, unless you delete the saved wg connection:

It should connect automatically at power-on, as well.

7 Likes

Thanks, works flawlessly! Do you know how to not let it connect automatically at boot? In network connections the auto-connect is not toggled on but nevertheless it connects automatically.

nmcli con mod <connection-name> connection.autoconnect no

If you followed the example given for importing the wireguard .conf file, <connection-name> will be the name of the conf file you used less the .conf extension, where the example given used a conf file with the name wg.conf therefore the <connection-name> would be wg and the command to disable autoconnection would be…

nmcli con mod wg connection.autoconnect no
3 Likes