after successfully updating EC on a few librem 14 machines i felt confident updating the firmware, so i attempted to update pureboot on one of them. the update process started out going smoothly, afaict, but after the machine restarted after the update, the screen was blank and would not display anything. i followed the instructions from this post
where it says to fetch the rom (version 28.2) from here
i executed the update from within pureboot.
now that the firmware has bricked the machine, i figured the way to fix this is to flash a fresh copy of pureboot onto the bios chip externally, per this post
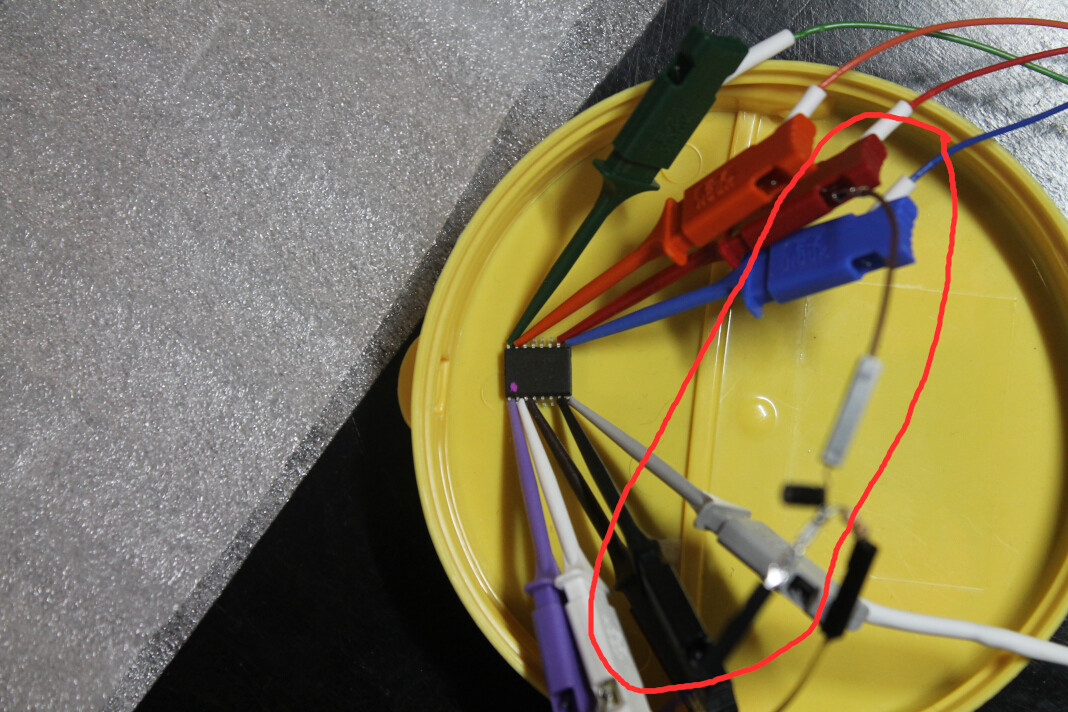
i am very familiar with reading and writing bioses with a ch341a and soic-8 clip, having done this for the past 6 years with many thinkpads and motherboards. while i don’t have one of the depicted 8 pin "chip clip"s, i have always just connected 6 pins to the soic-8 and it always worked fine. the pin mappings are as follows:
with this configuration, i cannot even detect the bios chip, which i found surprising. i will order one of these chip clips depicted in the post, but i wanted to see if this is a known or expected issue given my ch341a config i describe above.
since these firmwares (ec, coreboot+seabios and pureboot) are integral in establishing the security of the purism hardware, there should be signed hashes available for these images, so users can verify the sigs before installing the software.
@radiant I’m not sure why the update would not boot. Did you wait at least 60 seconds for memory training to finish? Have you tried changing memory (temporarily go down to just one DIMM or swap with others)?
Regarding external flashing, hooking up the 6 pins like you mentioned can work. The chip clip is usually more convenient and more reliable.
Shorter wires will help (~30 cm at most, 10 cm is great). It can also help to put a capacitor near the chip end of whatever wiring you use, so the IC has a steady voltage supply. Many devices are fine without it, but I have also run into some that practically require it, also may vary based on the programmer used, etc.
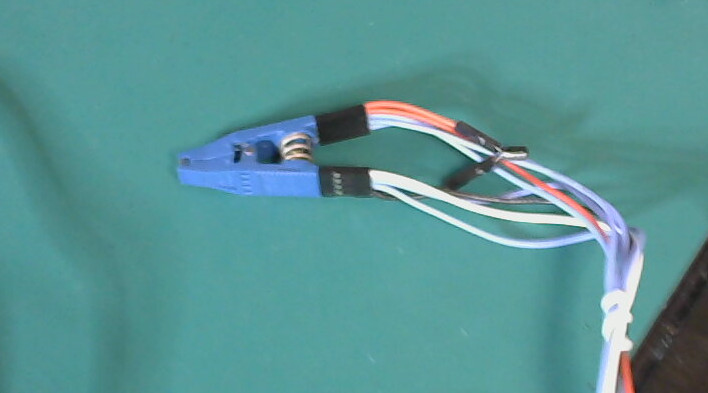
Any ~5V few-uF cap should do it. If you’re using hooks like this, you can stick a cap on the second set of pins from the Vcc and GND hooks. Again keep wiring as short as possible.
I flash externally a lot so I have a fancy Pomona clip with a cap built into the wiring. If you have the inexpensive generic clip, you could probably slide the heatshrink up a bit to hook on a cap to those two pins.
i waited for several minutes and the machine would not display anything post-update. when i updated, i used the “do not wipe settings” option.
i have not tried removing memory modules, so i will try that later today.
i’ve always used 30 cm female-to-female leads without any issue, but i have not added a capacitor previously. i will test with 10 cm leads and look into rigging up a capacitor to my pomona clip.
i got a chip clip, per the post on external flashing, and i can now detect the chips using a ch341a.
i also attempted to boot the machine after confirming i can detect the bios chip, and it booted fine. i have no idea what happened with the upgrade, but the combination of disconnecting the battery and connecting - but not using - an external flashing rig seemed to fix it.