TUTORIAL: Add a Custom Background in Phosh

Thanks, amarok.I will play around with it.

BTW, for my background, I started with an image that I first cropped to the screen dimensions.

Mine is too (it fits the portrait screen). But it blows up beyond that in landscape mode. I can’t recall it doing that when I had my backgrounds set in Gnome Tweaks (in which I had, and still have them set to ‘scaled’).
I do not know whether ‘scaled’ can be used in gtk.css as well (alas, no documentation).

Thanks for documenting this and keeping it up to date!

Note that with the transparency patches you will have your desktop background by default: https://social.librem.one/@agx/109902619533367879 - it’s then just the one you select via Settings then.

1 Like

Don’t forget to mention your cool Phosh blog post that shows how to change the GUI interactively…

It shows a great way to explore the CSS!

2 Likes

I also played a little bit around with backgrounds and will make a follow up tutorial. Why? Because I made a seamless picture for a full-screen-background image.


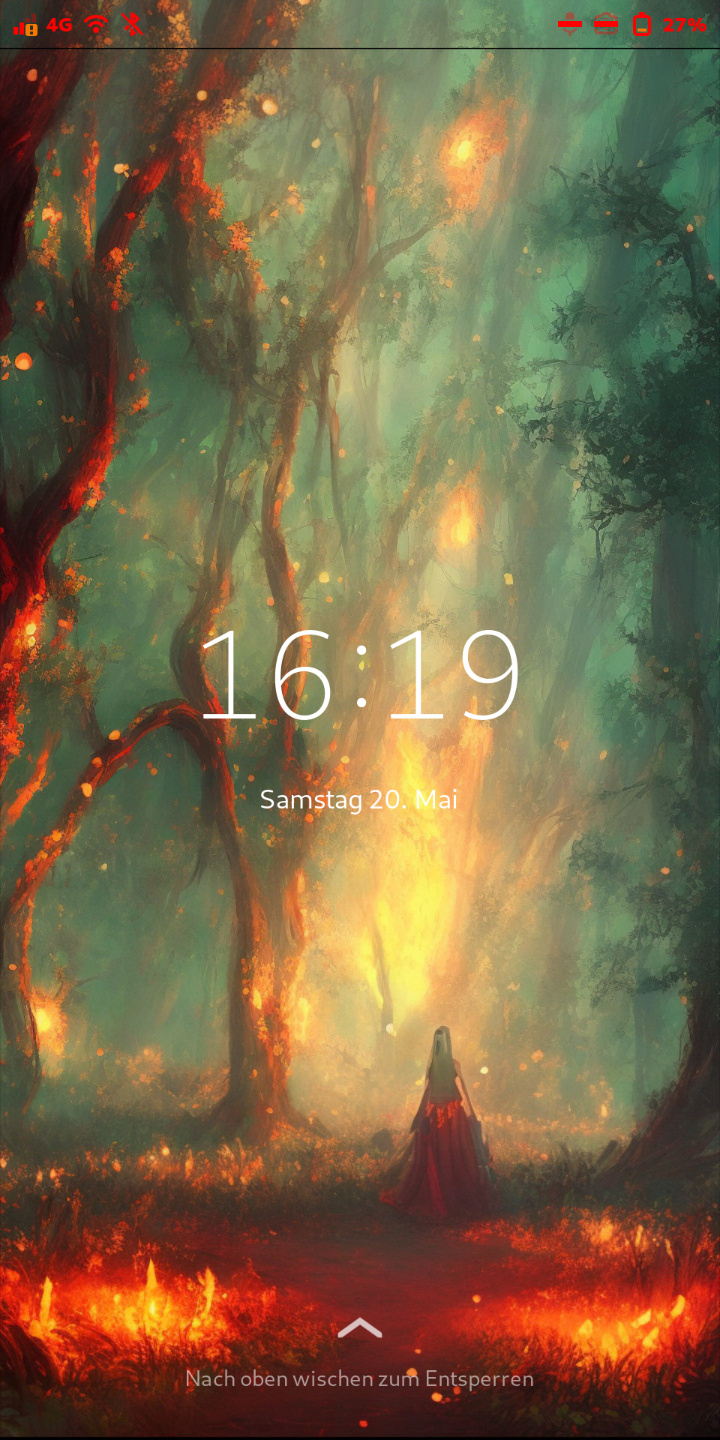
The lock-screen image was not perfectly designed (top and bottom), so it’s an issue of my picture, not of the technique, that there is a black stripe. I could look like the top of the desktop screen.

More pics from different views (click me)

It just has one downside. On Landscape it doesn’t match anymore, because images get scaled to double length each direction. Not sure, but I don’t think there is a way to fix this yet.

However, who want to get that advanced background, here is the guide:

First of all you have to find a picture that is big enough (and that will be not easy to find). It has to be 720 x 2832 pixel minimum. You also can try to find something half as big in both dimensions: 360 x 1418 pixel. But it will be a bit less sharp and you have to half all the numbers I will tell. As long as the dimensions are correctly also every other size would be okay, but it will make things even more hard to get it work.
I used stable diffusion to let my graphics card generate that image from my screenshots.

Okay, now we have to edit that gtk.css file from amaroks first post.

/*
 * Set a background for the lockscreen.
 */
phosh-lockscreen, .phosh-lockshield {
  background-image: linear-gradient(rgba(0, 0, 0, 0.7), rgba(0, 0, 0, 0.7)),
                    url('file:///home/purism/Pictures/MyLockScreenBackground.jpg');
  background-size: cover;
  background-position: center;
}
/*
 * Set a background for the app grid.
 */
phosh-app-grid {
  background-image: linear-gradient(rgba(0, 0, 0, 0.7), rgba(0, 0, 0, 0.7)),
                    url('file:///home/purism/Pictures/MyBackground.jpg');
  background-size: cover;
  background-position: center;
}
/*
 * Set a background for the top panel.
 */
phosh-top-panel {
  background-image: linear-gradient(rgba(0, 0, 0, 0.7), rgba(0, 0, 0, 0.7)),
                    url('file:///home/purism/Pictures/MyTopPanelBackground.jpg');
  background-size: cover;
  background-position: center;
}
/*
 * Set a background for the app-grid slider.
 */
phosh-home {
  background-image: linear-gradient(rgba(0, 0, 0, 0.7), rgba(0, 0, 0, 0.7)),
                    url('file:///home/purism/Pictures/MyHomeBackground.jpg');
  background-size: cover;
  background-position: center;
}

As before, you are able to change directory and rgba-values. I myself created a folder “Backgrounds” in ~/Pictures and can setup new images just with replacing them.

That was the easy part. The next part needs precision, time and gimp (or something similar). We have to cut that one big picture into 4 pieces of the exact length and position. Each part has to be 720 x 1440 pixel (doesn’t matter how much will be displayed later) or any scale of 1:2 relation. But like I said before, it’s easier to have same numbers as I say.

Not cut parts in following positions:
Top panel image (also top of the image): pixel 1 - 1440
lockscreen image: 1392 - 2832
App-grid slider image: 1416 - 2856
App-grid image: 1446 - 2886

Wait: Did I say the image should be 2832 pixel high and I tell you to cut 2 images even longer than this? No worries, you can fill the bottom with what ever you want, it will be out of the screen and not be displayed. But it is important to get that length for the correct position and scale.

Now just name and copy all images to the directory as you wrote in your script. Finish your setup with one command sudo systemctl restart phosh (like amarok told before) or just restart your L5.

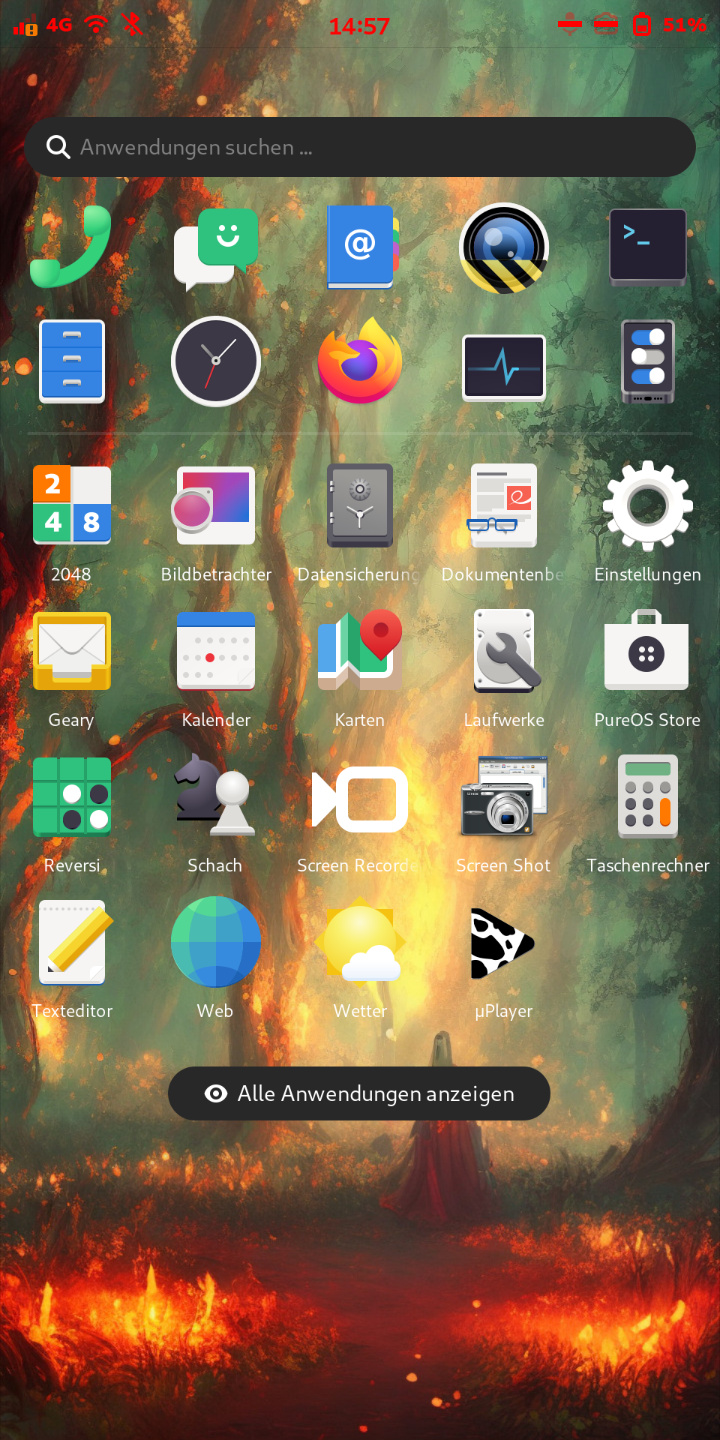
I guess you also can combine it with the real background (you can change in gnome settings), but I haven’t tried yet. But for those who just want the simple backgrounds like in the first tutorial, I also edited 2 other images to fit better to phoshs design (including better view in landscape mode):

Click me to view pictures


Turned pic 90° and cut it in a nice way that it makes still sense. Also faded into back on the top, but I did it in gimp, not in gtk.css file, because i needed more control and not just a linear gradient. .


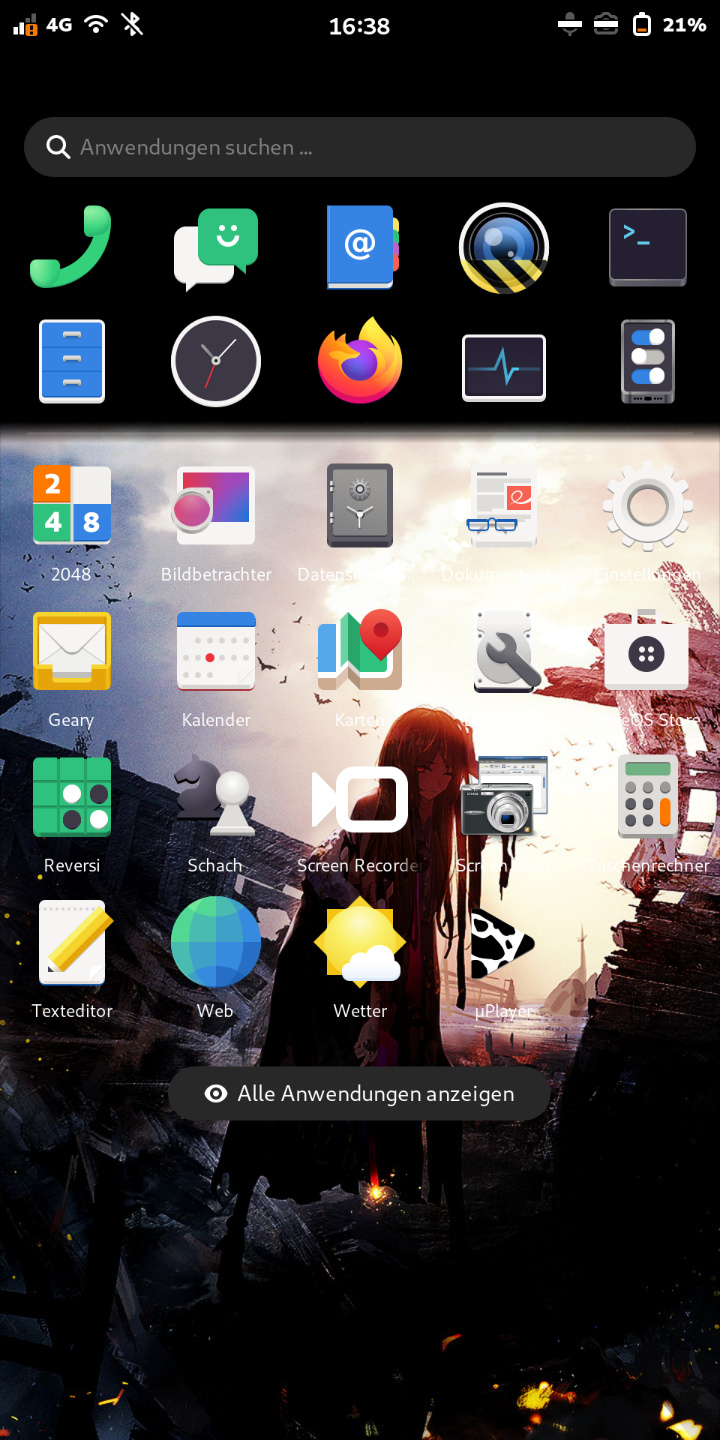
Cut, changed color-curve-values, copied top of image, mirrored it and used stamp tool to look more natural to expend image. At least I added a black-transparency gradient to the top that it fades out to my “favorite apps” section.


If I would like to have a sharp picture on landscape, I would have to scale it up to 2880 x 1440 pixel (could do it with stable diffusion on my graphics card), but it would also be double as big on normal screen.

1 Like

Just note that you are very-limited to put any wallpaper on background on mobile otherwise will look very-bad overall, i really recommend do not change the wallpaper in background on phosh to keep the good limited look. I just say… and i really nervous for the future phosh & “opensourced-@guido.gunther” ui desing. :grimacing: @dos

@Ick Could you post pictures in all the sizes you used so we can try it out before doing all the work? (Lazy me) :wink:

Man, that is incredible. I need to try that. Thanks!

As you wish. But I created new pictures for that purpose to give you higher quality (and without mistakes). I also made a little mistake about the lockscreen picture (has to be 4 pixel above, I will edit my tutorial). Here the images (CC-BY-SA 4.0):

"Beautiful freedom"

Full resolution picture, that you can try to cut by yourself:

Top panel image:

Lockscreen image:

App-grid slider image:

App-grid background image:

Have fun using it. :slightly_smiling_face:

@carlosgonz:
Not sure if you want to say that L5 looks bad with (my) custom backgrounds or if you just think about guido.gunthers transparency backgrounds, that will be released sooner or later. Even if I would create a totally bad result I used it to get more familiar with Linux since I used a Linux PC many years ago (and was less into system as I’m getting right now).

1 Like

Thanks.
I had been trying to find the phosh-top-panel values for the top panel so I could put a background on so thanks👍

The top panel is just the top of the image (first 1440 pixel - or did you use another scale?). More difficult is to find the positions for the other 3 backgrounds. Is it just few pixels higher or lower, you will see it. You also can see a movement from lock-screen to app-screen if there is just a pixel difference in the height. It took me some time to find the right spot (made screenshots and measured plus adjust with gimp).

@ick How did you take this black line out.

I guess you didn’t see the scrollbar in my tutorial above - there are additional lines to write into gtk.css.

Edit:
Oh wait, I wrote phosh–home, but it should be phosh-home. If that was the problem for you, than it was my fault.

1 Like

Now you just have to do the keyboard (as described in this) and the drawer.:wink:

1 Like

I will do this fun-looking project to shake the rust off my Linux skill set after 2 decades of tech-burnout recovery! Just being part of getting Linux on mobile and carrying it around in my pocket is exciting to me! :grinning:

2 Likes

Are you speaking about adding keyboard to seamless background collection? That will be a bit more complicated since it will depend on screen scale i guess. I will give a look into it. Since I already modify my squeekbord (for functionality purpose), I already know how to do it. But there are some issues I cannot solve - for example hit the app search bar will move your background to the top while your keyboard is below. On the other hand, if you open your keyboard in any app the “MyHomeBackground.jpg” will be below.

And what is “the drawer”?

1 Like

That would be best

Where the open apps sit above the grid

Just a quick hint: I will update the tutorial soon. When I was creating it, I just copied amarok’s text to gtk.css and edited it not that much. More work was done on images itself. But I was reading documents a lot and found a nice way to let the UI know how to display images. That results in not oversized images like before. Why does the HomeBackground need to be over one megapixel, if it could also just be an image with 0,15 megapixel (maximum pixel depends on max screen scaling that is default 200%, because area becomes bigger).

But I’m not done with everything yet, will optimize a bit more.

That was also my main focus.

Okay, I was not sure. First I have to find that element in code. However, here we have the exact same issue like with keyboard. Below that section is the app grid, above it is the home slider. Maybe we also can use a blurry image. That breaks the seamless design a bit, but could also match very well in it. Another option would be creating a loop image, but that is something for even more experienced people in image editing. Also possible would be some like a fading effect (to background color for example) to break that hard edge.

I have to think about it.

1 Like

@ASwyD2:

Pictures

Squeekboard:

Squeekboard in front of top panel (opened board via search bar and drag down the panel):

And the OverviewBackground (yep, in code it’s called “overview”):

But it’s all not optimized yet, so HowTo comes later. If you’re asking how I was able to fit the image perfectly inside the overview: I used my basic knowledge of gimp to manipulate the picture. Some artists could do it much better, but it should be enough for us. :smile:

1 Like