Like a few other users around here, I’m interested in limiting the maximum charge voltage and current to extend the longevity of the battery, so I dug in and read the datasheets and did some hacking and want to document what I’ve found for others. I have been doing this for several months now and it works well for me.
First, important warnings: messing about with the internals like this can be very dangerous if you don’t know exactly what you are doing, and could result in your battery catching fire and exploding if done wrong. For example, you can theoretically set your charge voltage to over 4.6V, which would almost certainly cause the lithium battery to “vent with flames”. Do not mess with this stuff without fully understanding what you are doing first.
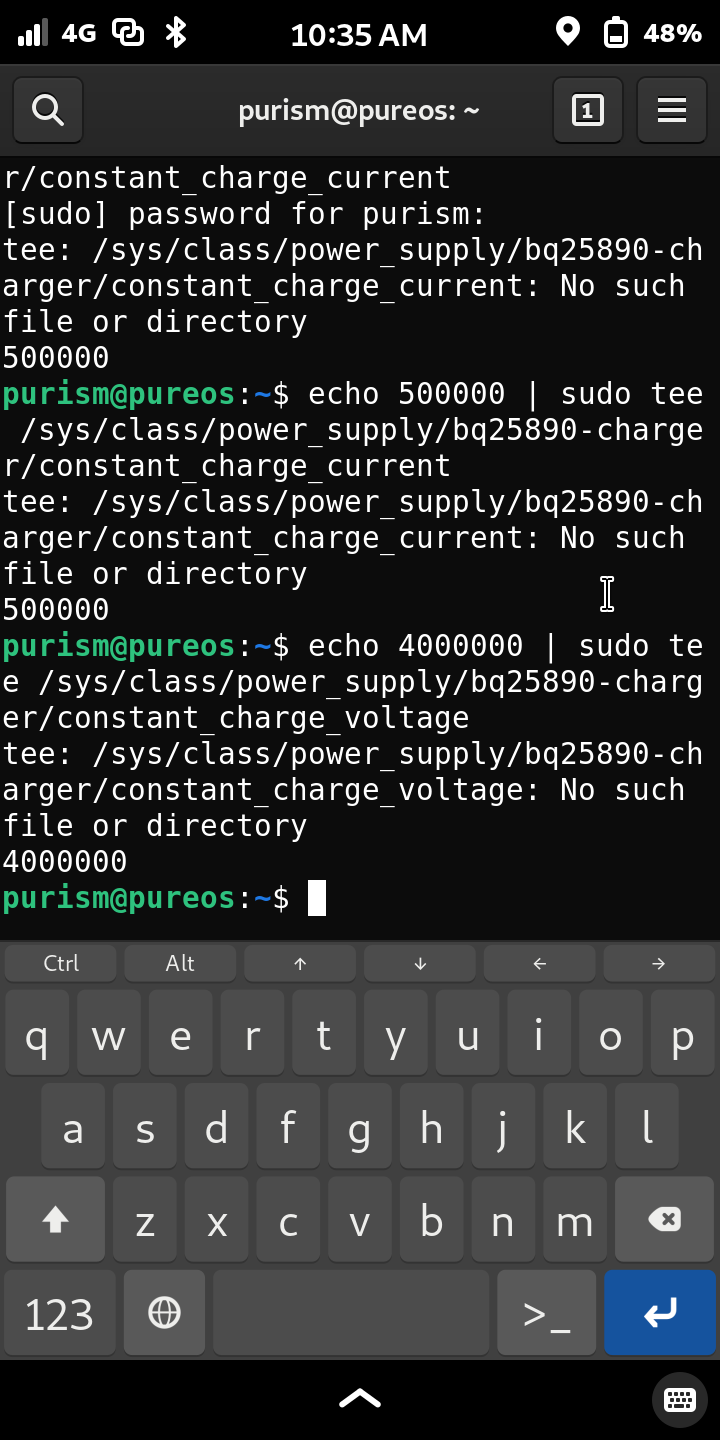
The BQ25890 (datasheet: https://www.ti.com/lit/ds/symlink/bq25890.pdf ) chip in the phone is programmable via i2c, and is present on bus 3 at address 0x6a. The register that contains the stop charge threshold voltage is 0x06, with the upper 6 bits setting the voltage and the lower 2 setting start charge threshold when voltage drops by a certain amount while still plugged in, and the minimum voltage for fast charge threshold.
I decided that the 4.112 threshold was a good value for me, and calculated the value to put in the register as 0b1000110 (hex 0x46). The last two bits set fast charge threshold to 3V and start threshold to 100mV, both default. So, if we remove these two bits, we are left with 0b010001. The datasheet states that the lowest bit corresponds to 16mV and the highest 512mV, each step doubling. So, adding these two set bits up (16mV + 256mV) we get 272, then add the base offset (again, specified in the datasheet) of 3840mV, we get 4112mV or 4.112V. So, to put it all together and write this to the chip, I use:
i2cset -f -y 3 0x6a 0x06 0x46
I did also write a perl script to do this calculation and set the values a while back, but I never really ended up using or fully finishing it… maybe I could post that if anybody is interested.
Also, note that this value is temporary and gets reset on boot, so you have to set it after every boot. This can be made permanent by modifying the dtb file, which I plan to write about in another post along with how you can undervolt various components for lower temperatures and longer battery life, but is even more in-depth and fraught with gotchas like random crashing and potentially destroying your CPU or other hardware. For now, I just set it with a script so that if for whatever reason I want to fully charge the battery, I just reboot/power off and everything goes back to defaults.
It also seems to affect the battery capacity calibration, as after I had used this for a while, it eventually started reporting being 100% charged at 4.112V, so if you do this and want to go back, you may also wish to reset your battery calibration by shutting down and removing the battery for a bit, then doing a full charge/discharge cycle.
If you wanted to limit the charge by percentage instead of cell voltage, it may also be possible to toggle BATFET_DIS (bit 5, register 0x9) to immediately enable/disable charging, but I have not tested this.
Setting charge current:
I also wanted to control the speed at which the battery charges, and worked out how to control this as well. This setting actually controls the current that can be drawn on USB, so it can also be used as a workaround for chargers that don’t communicate their max current properly and cause slow charging at 500mA when they are actually capable of more. Also note, that since you can set currents higher than the charger supports, it is theoretically possible to damage your charger by drawing too much current, overloading and/or overheating it. I don’t know that I’ve ever seen one that would be damaged by overloading as they typically drop their voltage and/or shut off before any damage occurs, but again, beware that you are doing things that allow you to ignore the safety limits.
On the same chip as above, this time in register 0, the lower 6 bits control the input current limit, with the lowest bit being 50mA, and the highest being 1600mA, doubling with each step. I decided that for me, since I don’t have any chargers that aren’t capable of at least 1A, and that isn’t too slow to be useful to me, I would use 1A as my limit. I read the default value then calculated 0b00010010 (hex 0x12) as the value for 1A, with the highest 2 bits ignored, and the lower 6 being ((100mA+800mA)+base 100mA offset) = 1A. This one also has a convenient sysfs file that you can read to confirm what the current current limit is set to (even if you do not set your own value):
cat /sys/class/power_supply/bq25890-charger/input_current_limit
This value is in microAmps so a value of 1000000 corresponds to 1A, 900000 to 0.9A, and so on.
So, to write this value to the chip and confirm that it was set, I use the following one-liner:
i2cset -f -y 3 0x6a 0x00 0x12; cat /sys/class/power_supply/bq25890-charger/input_current_limit
Note that this limit also includes power being drawn by the phone, so if you were to set a very low limit, like 250mA then it would not charge at all, and would very slowly discharge as it draws somewhere around 350mA at idle. Another useful one-liner for monitoring battery level, current, voltage, temperature:
cd /sys/class/power_supply/max170xx_battery; watch -n5 grep . capacity current_now voltage_now temp
Note that this value is temporary and is reset on each plug/unplug of the USB cable, so you should set your charge current after it is already plugged in and charging, and it will be reset to the default each time it is plugged in. I wrote a udev rule to automatically set the current limit upon plugging it in, but due to reflashing the phone for troubleshooting another issue, the script is not convenient to access at the moment (I’ll have to pull it from encrypted backup). I’ll try to remember to edit that into this post later.
Edit: udev rule:
cat /etc/udev/rules.d/61-pluggedin.rules
SUBSYSTEM==“power_supply”,ENV{POWER_SUPPLY_ONLINE}==“1”,RUN+=“/root/pluggedin.sh”
SUBSYSTEM==“power_supply”,ENV{POWER_SUPPLY_ONLINE}==“0”,RUN+=“/root/unplugged.sh”
I also had it set up to set thresholds and run memory and CPU at higher clocks when plugged in for performance, and limited max CPU speed on unplug for better battery.
Other notes: I felt pretty confident about being safe about overloading certain things and decided to test it on my laptop. I intentionally set the current limit to the max of 3.25A while plugged into my laptop with a max output of about 1A, and it went up to about 1.2A, caused the USB voltage to sag to around 4.4V then after a minute or two, it tripped the overload on the laptop causing it to shut off the port. After it reset, everything worked fine again.
Happy hacking!