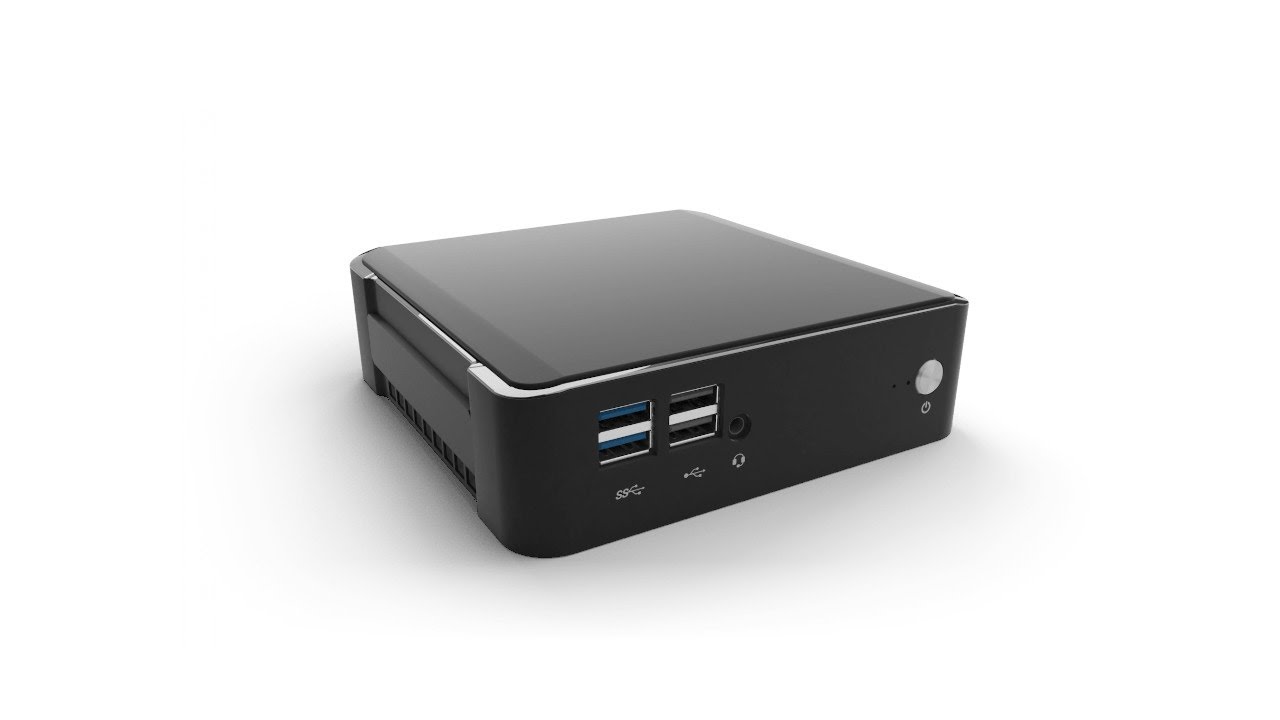
I’m having so much fun messing around with this little computer. Today I recorded a teardown video.
There you go, @reC, if you want to know where the battery for the RTC chip is … too easy  - and if you can’t get it back together again, you can ask @morgan or watch the video in reverse.
Super Video. Very informative to get a look inside the Librem Mini and with a pleasant voice. Thanks for sharing this here 
And he even took heed of my comment about the QR code. 
and when the day comes when there’s no intel-ME active code inside the SOC, it will be a PC … but close enough (we belive) still ![]()
maybe edit your post to include it as a text hyperlink as well …
here it is > https://www.youtube.com/watch?v=493WEM25Kqo
Excellent overview of the hardware.
I really wish we had a guide to explain how to flash the BIOS chips for the Librem 13/14/15/Mini.
the copper base-plate that makes contact with the intel-SOC (CPU+iGPU) of the cooler-assembly seems like it’s what makes heat dissipate evenly over a large area inside the tiny case (a lil’ bigger than a standard NUC case). i’m glad Purism decided to use copper for the plate but it would have been even better if copper FINS were used as well together with a PWM(4-PIN) based cooler-connector solution.
a magnetic-levitation-fan would have been great for endurance and noise-pressure. Apple is really good at this but it’s too bad it has a closed-source ecosystem. see what they’ve been able to achieve with the new Apple-Mini-M. unreal.
returning to our sheep. the storage-disks are somewhat affected by this semi-passive-heat-dissipation mechanism. as such the drives from the ‘upper’ floor are absorbing heat emanated from the ‘first’ floor that is the ONLY one with active-cooling capability.
my SATA-3 m2 (80mm) internal drive is almost always reported as 46-47 degree Celsius (even when idle). i’m curious if the situation with an NVME drive will be the same in the v2.
i’m glad Purism decided to use copper for the plate but it would have been even better
As far as I know the hardware wasn’t designed by Purism (unlike their laptops). It’s an off the shelf MiniPC that they bought wholesale and applied their own branding and software changes.
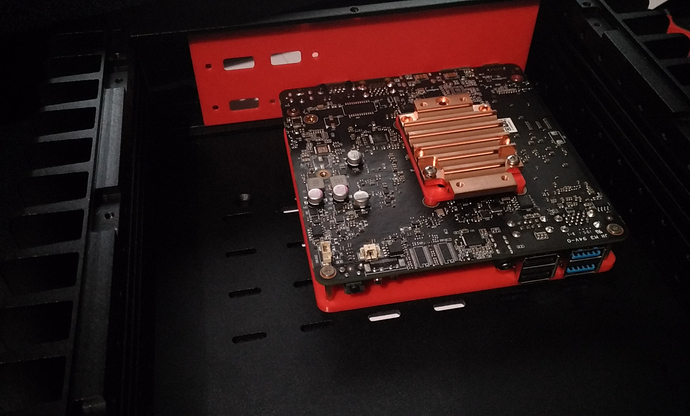
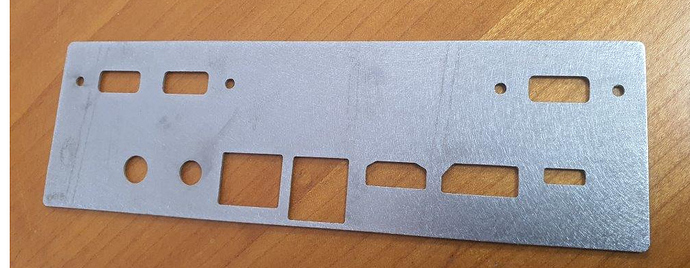
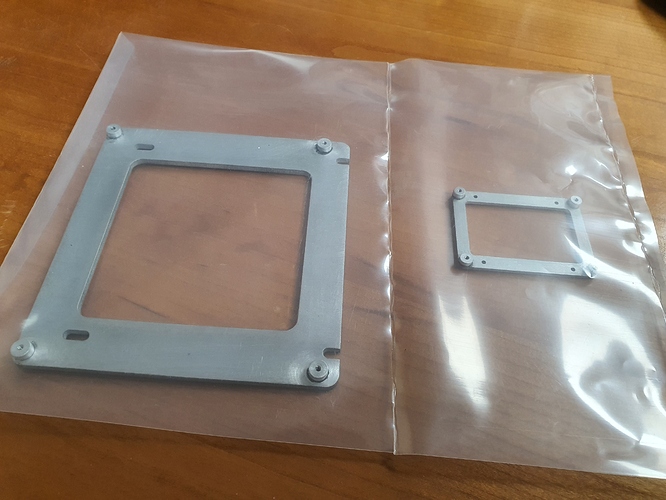
I’ve started the process of putting the Mini into a fanless chassis. Here you can see the 3D printed protoype adapters I’m using for the motherboard mount, heatsink, and IO Shield.
We document the software flashing process using our utility script here: firmware / utility · GitLab
If you want lower level flashrom commands you can look at the script for a guide.
are you trying to liquid cool that baby-monster ?
I would guess “no”. You don’t normally go fanless in order to put in liquid cooling.
maybe he wants to overclock that petite-monster  i’d be curious how one would tweak the BIOS settings on the LMini though …
Well I’m using heatpipes so technically it could be called “liquid cooled” but I think most people would refer to it as passive cooling. The entire case is a giant heatsink and there are no additional moving parts required for cooling so it’s completely silent.
you could also have fully-passive-liquid-cooling (i.e no fans running, except for the pump) … but you’d be somewhat limited in overclocking potential 
I’m not trying to overclock so no problem there  I’m just waiting now to get the parts manufactured in aluminium (especially the heatsink adapter as the plastic version would melt) then I’ll make a video assembling the whole thing.
However, if you were going for a little liquid cooling setup, I’d be really interested in seeing that. Either fanless or with a high quality ultra quiet fan that’s set to turn on only above certain temperatures.

by the way that red looks sexy 


