I have three 3d-printers in my middle school tech lab. So I could give it a try. But drawing a cover in something like Blender would be a lot of work. And I do not have a 3d-scanner at hand.
Besides, I doubt it will work. The nozzles on our Bambu Labs printers are either .4 or .2 mm (can’t check, because I’m still on vacation). Either way, that could be too crude to produce the thin edges and clamps that are part of the cover. And I am not at all sure the PLA our printers use is strong enough and sufficiently wear resistant to do the job.
If someone out there happens to have a drawing of the cover at hand, I would not mind giving it a go though…
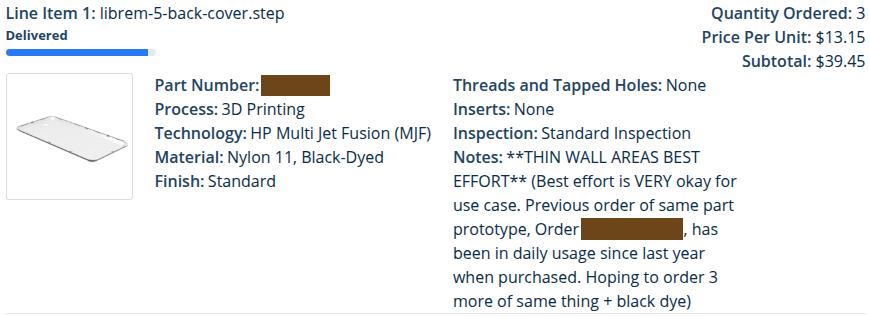
Guys am I using Librem 5 as my only phone and have been since 2023, have surpassed 2 years. I do this with constant battery swapping all the time every day. I obliterated my Purism backplates, and I 3D printed more, and the 3D printed ones are a masterpiece and have solved all of my issues. To get the 3D print, I asked ChatGPT how to get them and it sent me to a company I had never heard of called Xometry. The guy from Xometry told me that their 3D printer did not have good enough tolerance to make a good backplate using the Purism STEP file that the Xometry guy said was made for a poured mold.
I told him to do it anyway. The first backplate they made for me almost fit, and I taped it the rest of the way on and used it that way for months. It was pretty OK and I liked it. Then, for fun (and for some friends) I ordered 3 more similar backplates. One of the 3 came out absolutely perfectly and fits perfectly without tape, and I’ve been using it ever since. I believe they said the material they suggested using was Nylon 11, but I’m not super familiar with 3D printing, I just went to a web portal at Xometry and submitted the open source STEP file from Purism.
After obtaining these 3D printed ones I have never used the Purism poured mold backplates and never gone back. The 3D prints are that much better, I think they will not tear apart based on my experience popping it off and on every day.
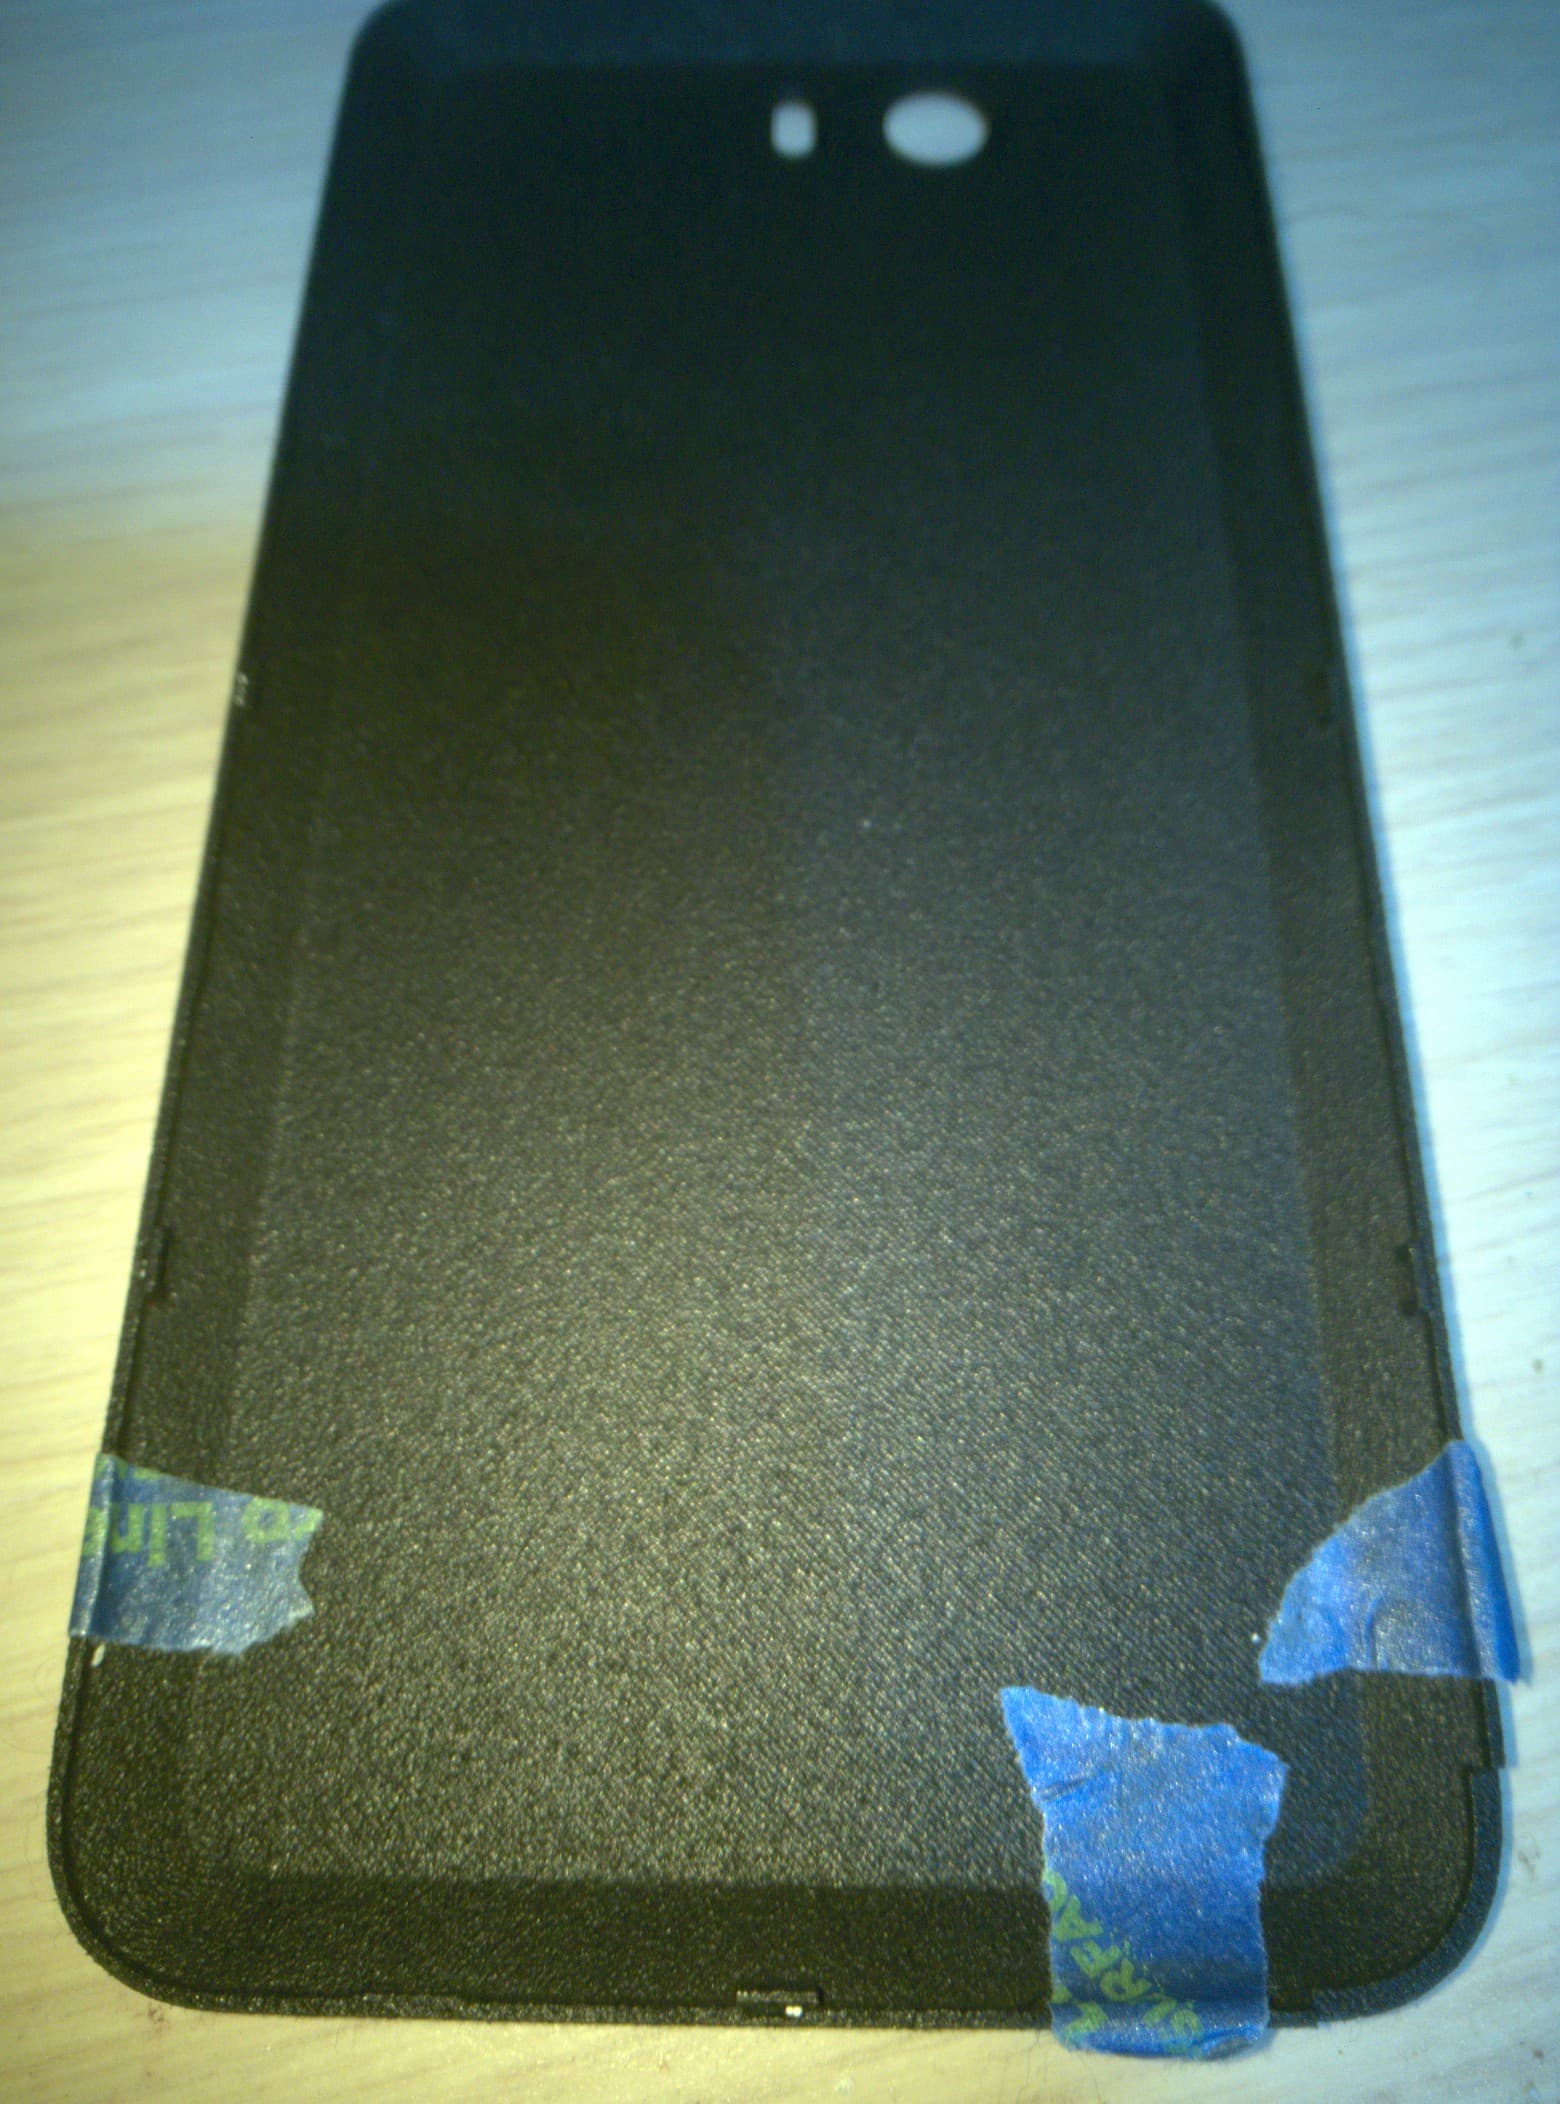
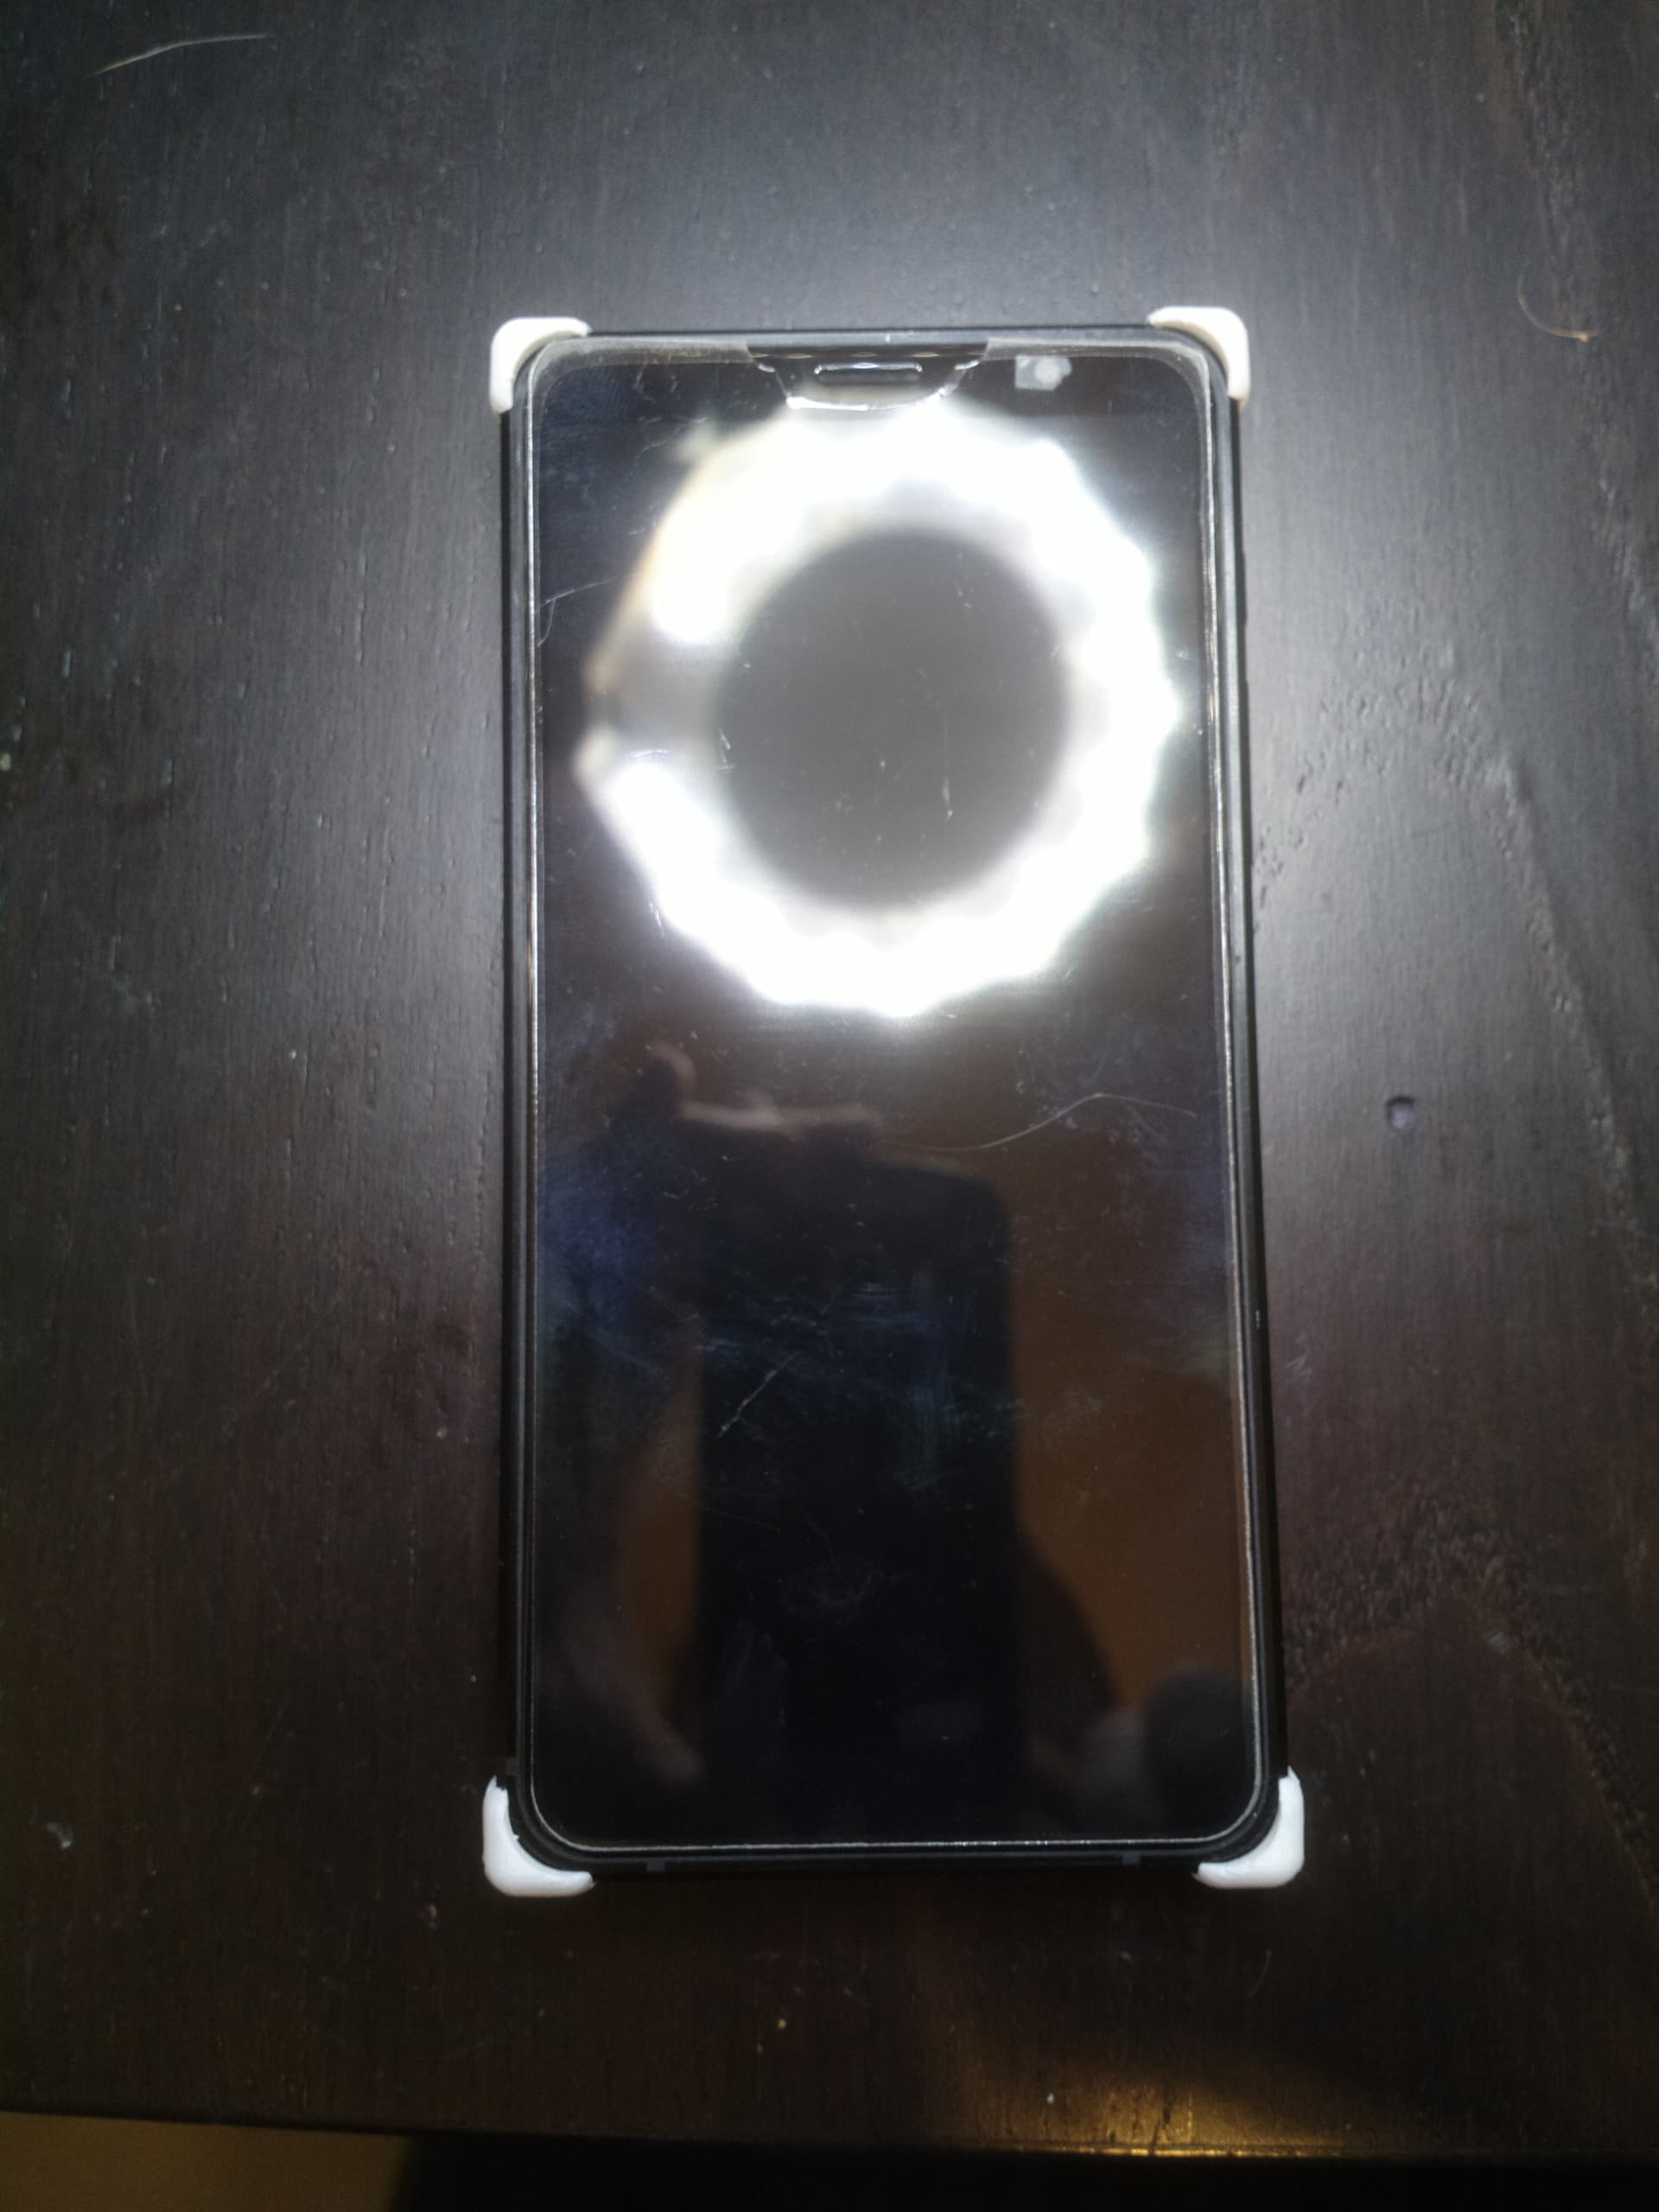
Edit: If I drop my phone, and it bounces from a lot of force, often the 3D printed backplate will fly off from the force. It’s possible that the Purism poured mold backplate has a slightly tighter fit. Maybe that one wouldn’t fly off. But for me this is OK. I like to think maybe it transfers the energy of the fall into the backplate and deals less damage to the device itself… or something. (My picture attached in this thread is a photo of the 3D printed backplate on a device that has broken somewhat from falling repeatedly. I doubt that the screen breaking has anything to do with the custom backplate, but admittedly my previous idea that the backplate is saving the phone when I drop it might be dubious.)
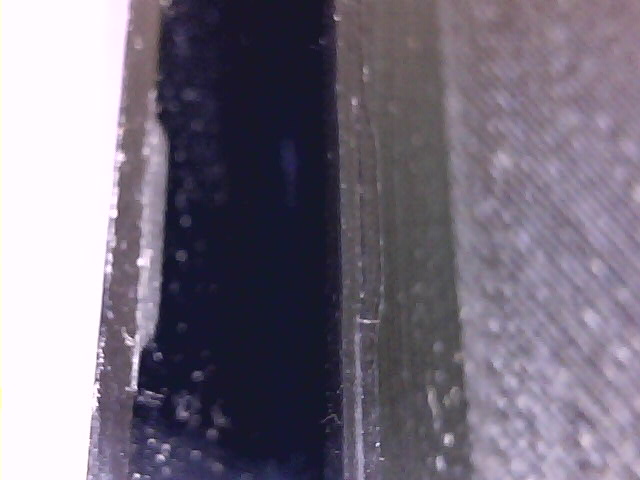
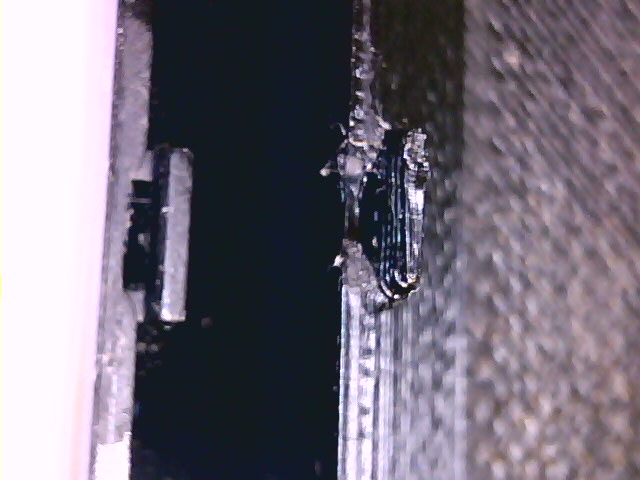
Edit2: When I say “I taped it” this might not be what you think. Rather than using the adhesive of the tape to connect the backplate to the device, I used the adhesive to hold the tape onto the backplate, and put the tape onto the tabs to make larger tabs to create a tighter fit. That way, frequently attaching and detaching the back was possible while still having a tigther fit.
Edit3: Above is a photo taken - while holding my phone with the “perfect backplate” - of one of the other backplates that did not happen to fit perfectly, and thus has tape applied.
I hadn’t thought of it, but it might be a nice idea. Things for me are working well enough already, to the point that I’m not too worried about it for my usage. But it would be cool to see someone try it.
Interesting. I would like to give this a try when back at work next week.
I see that Bambu Studio that comes with the printers converts step files to stl’s.
3D printing sounds cool.
I however ordered a back cover from purism (just as a backup) three months ago for USD 15 (plus shipping). Easier for me - though less fun.
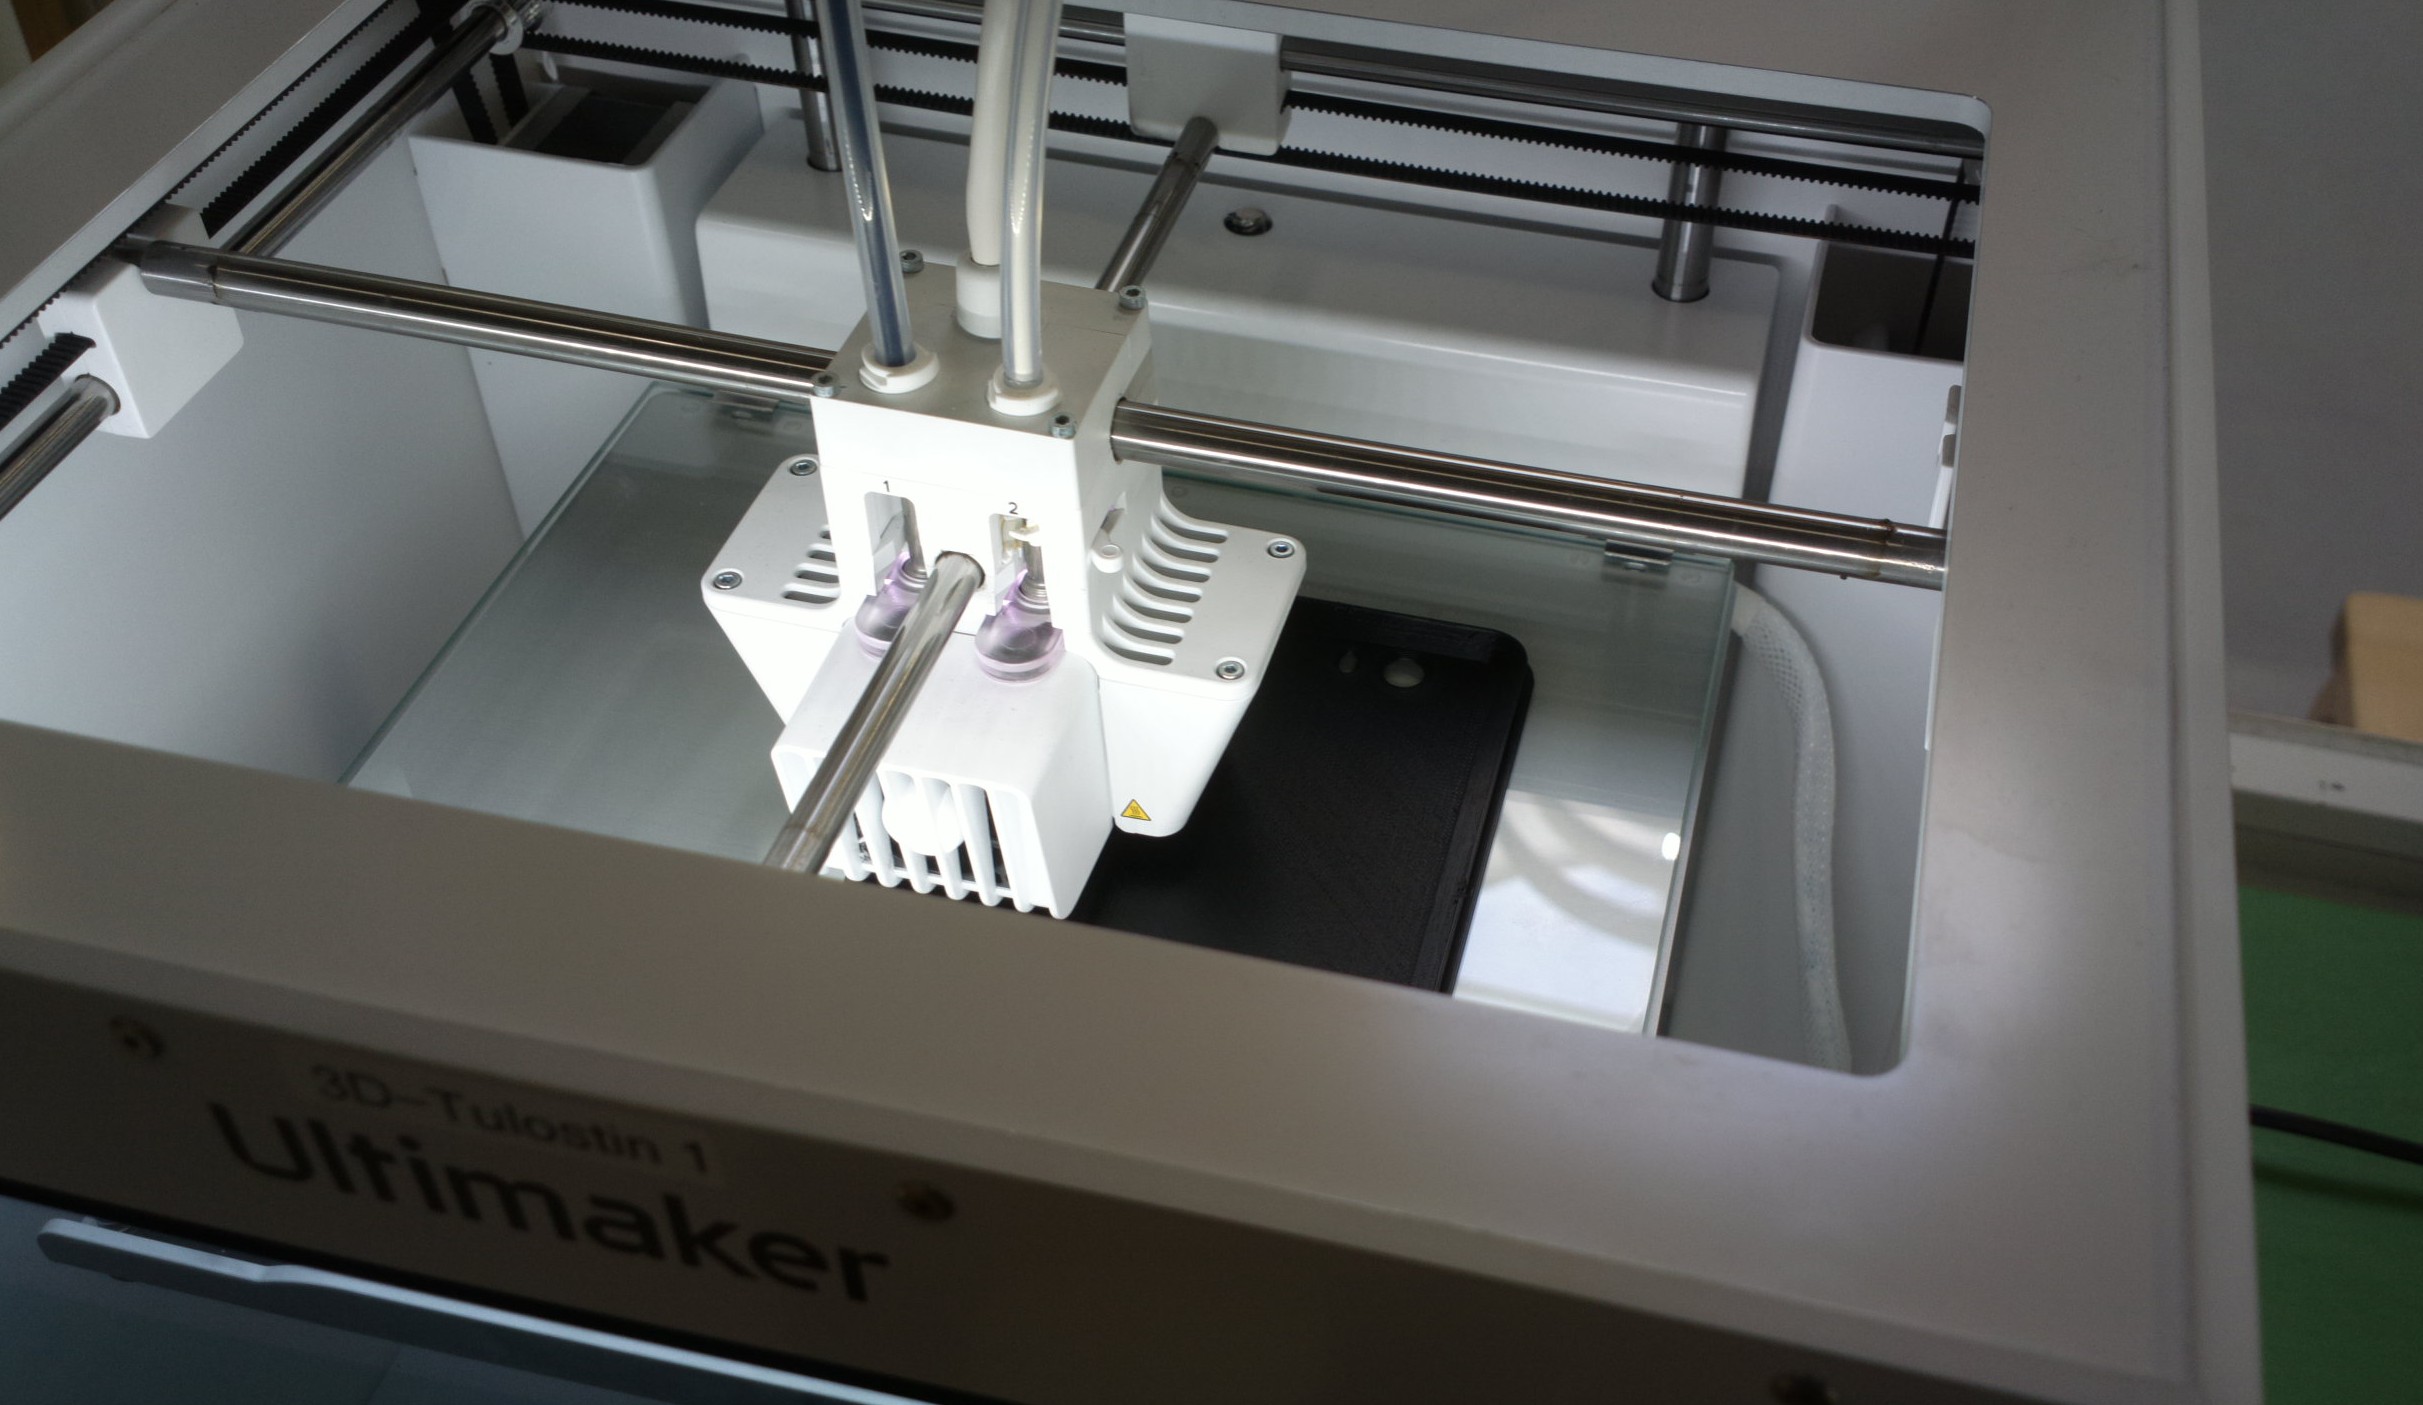
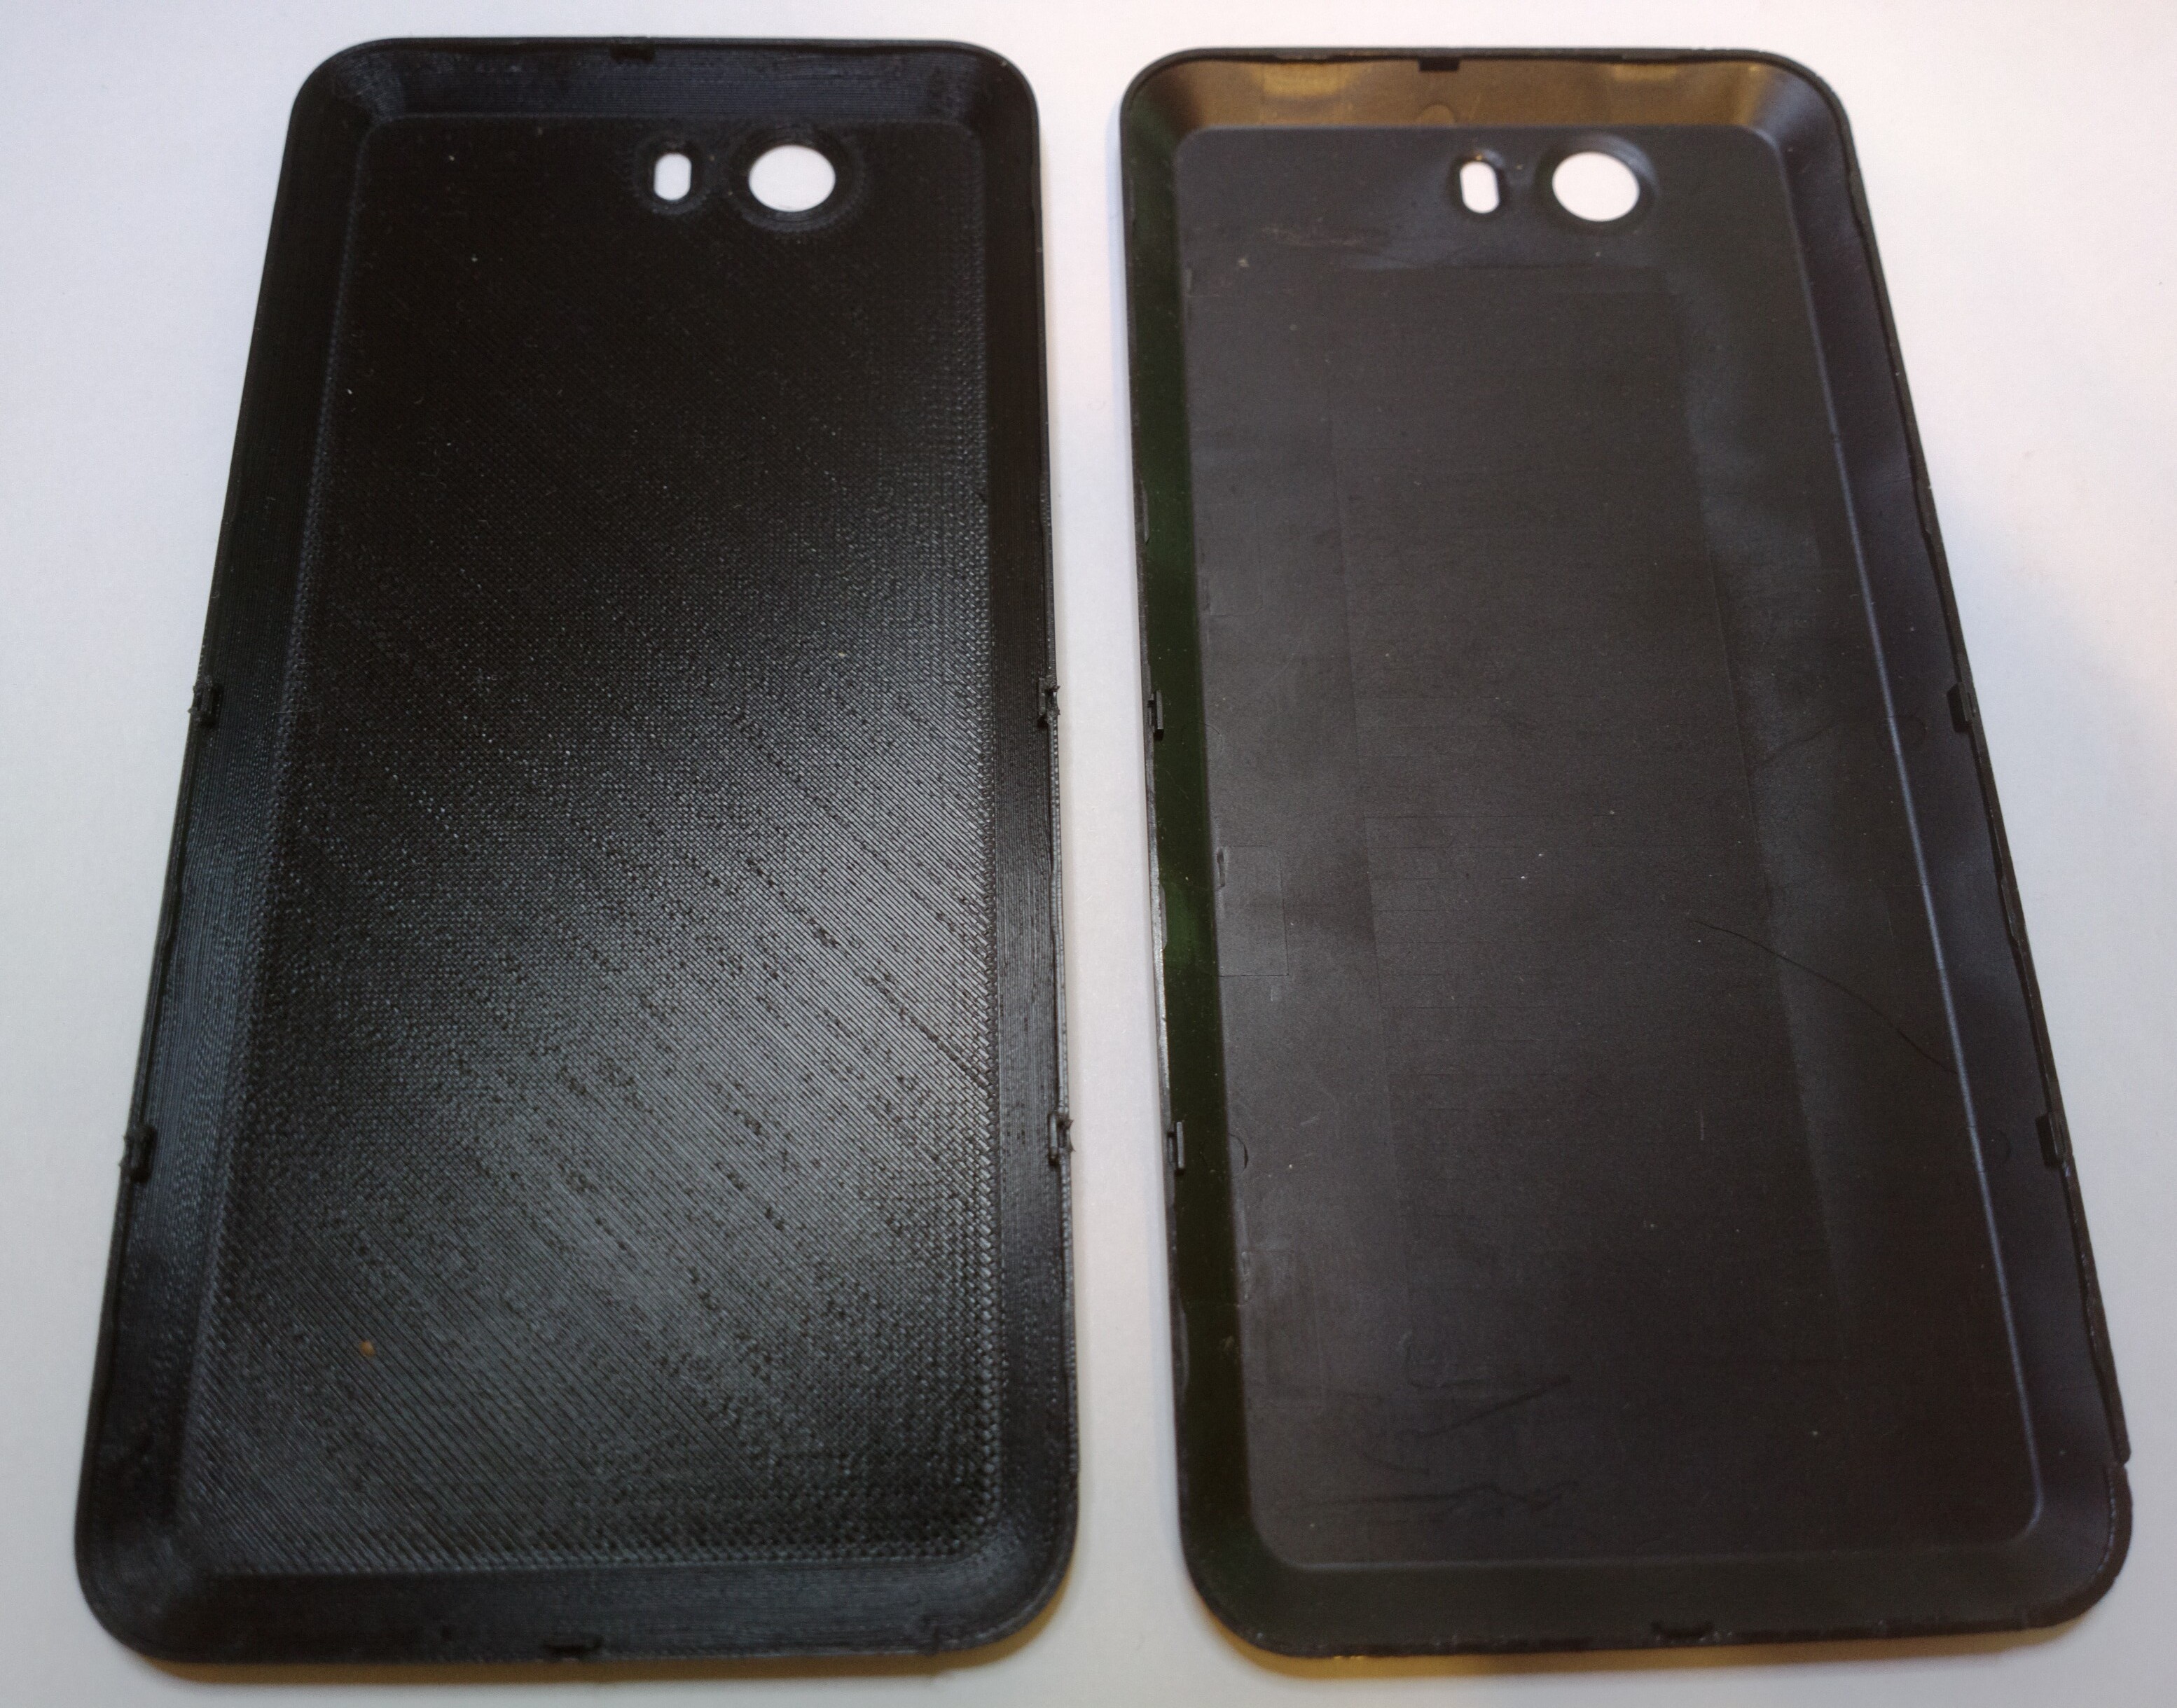
I used FreeCAD to convert/export STEP to stl and then Cuda to finalize the stl for printer (print settings). I had only a couple of hours of printing time available today, so I used only default fast settings (0.2mm accuracy) for Ultimaker printer (a decent hobbyist printer). The outcome was pretty good. fits well and even kinda locks into place, although not as crisply or strongly. I haven’t used file or knife yet to see if there is any need for any alterations or finishing touches. Other characteristics seem close to original. I’m thinking of printing next one white (or not black - I already have original backups in that color). My verdict is that even without any finishing touches these prints would work as spare parts and/or personifiable alternate back covers. i don’t think there’s any need to touch the model, maybe just print with better/finer settings.
I so badly want to attempt this, but with different color filament.
My inner self really badly wants a green Librem 5—will follow up with how this project turns out …
Time for a PSA (public service announcement): Sometimes “good ideas” are not.
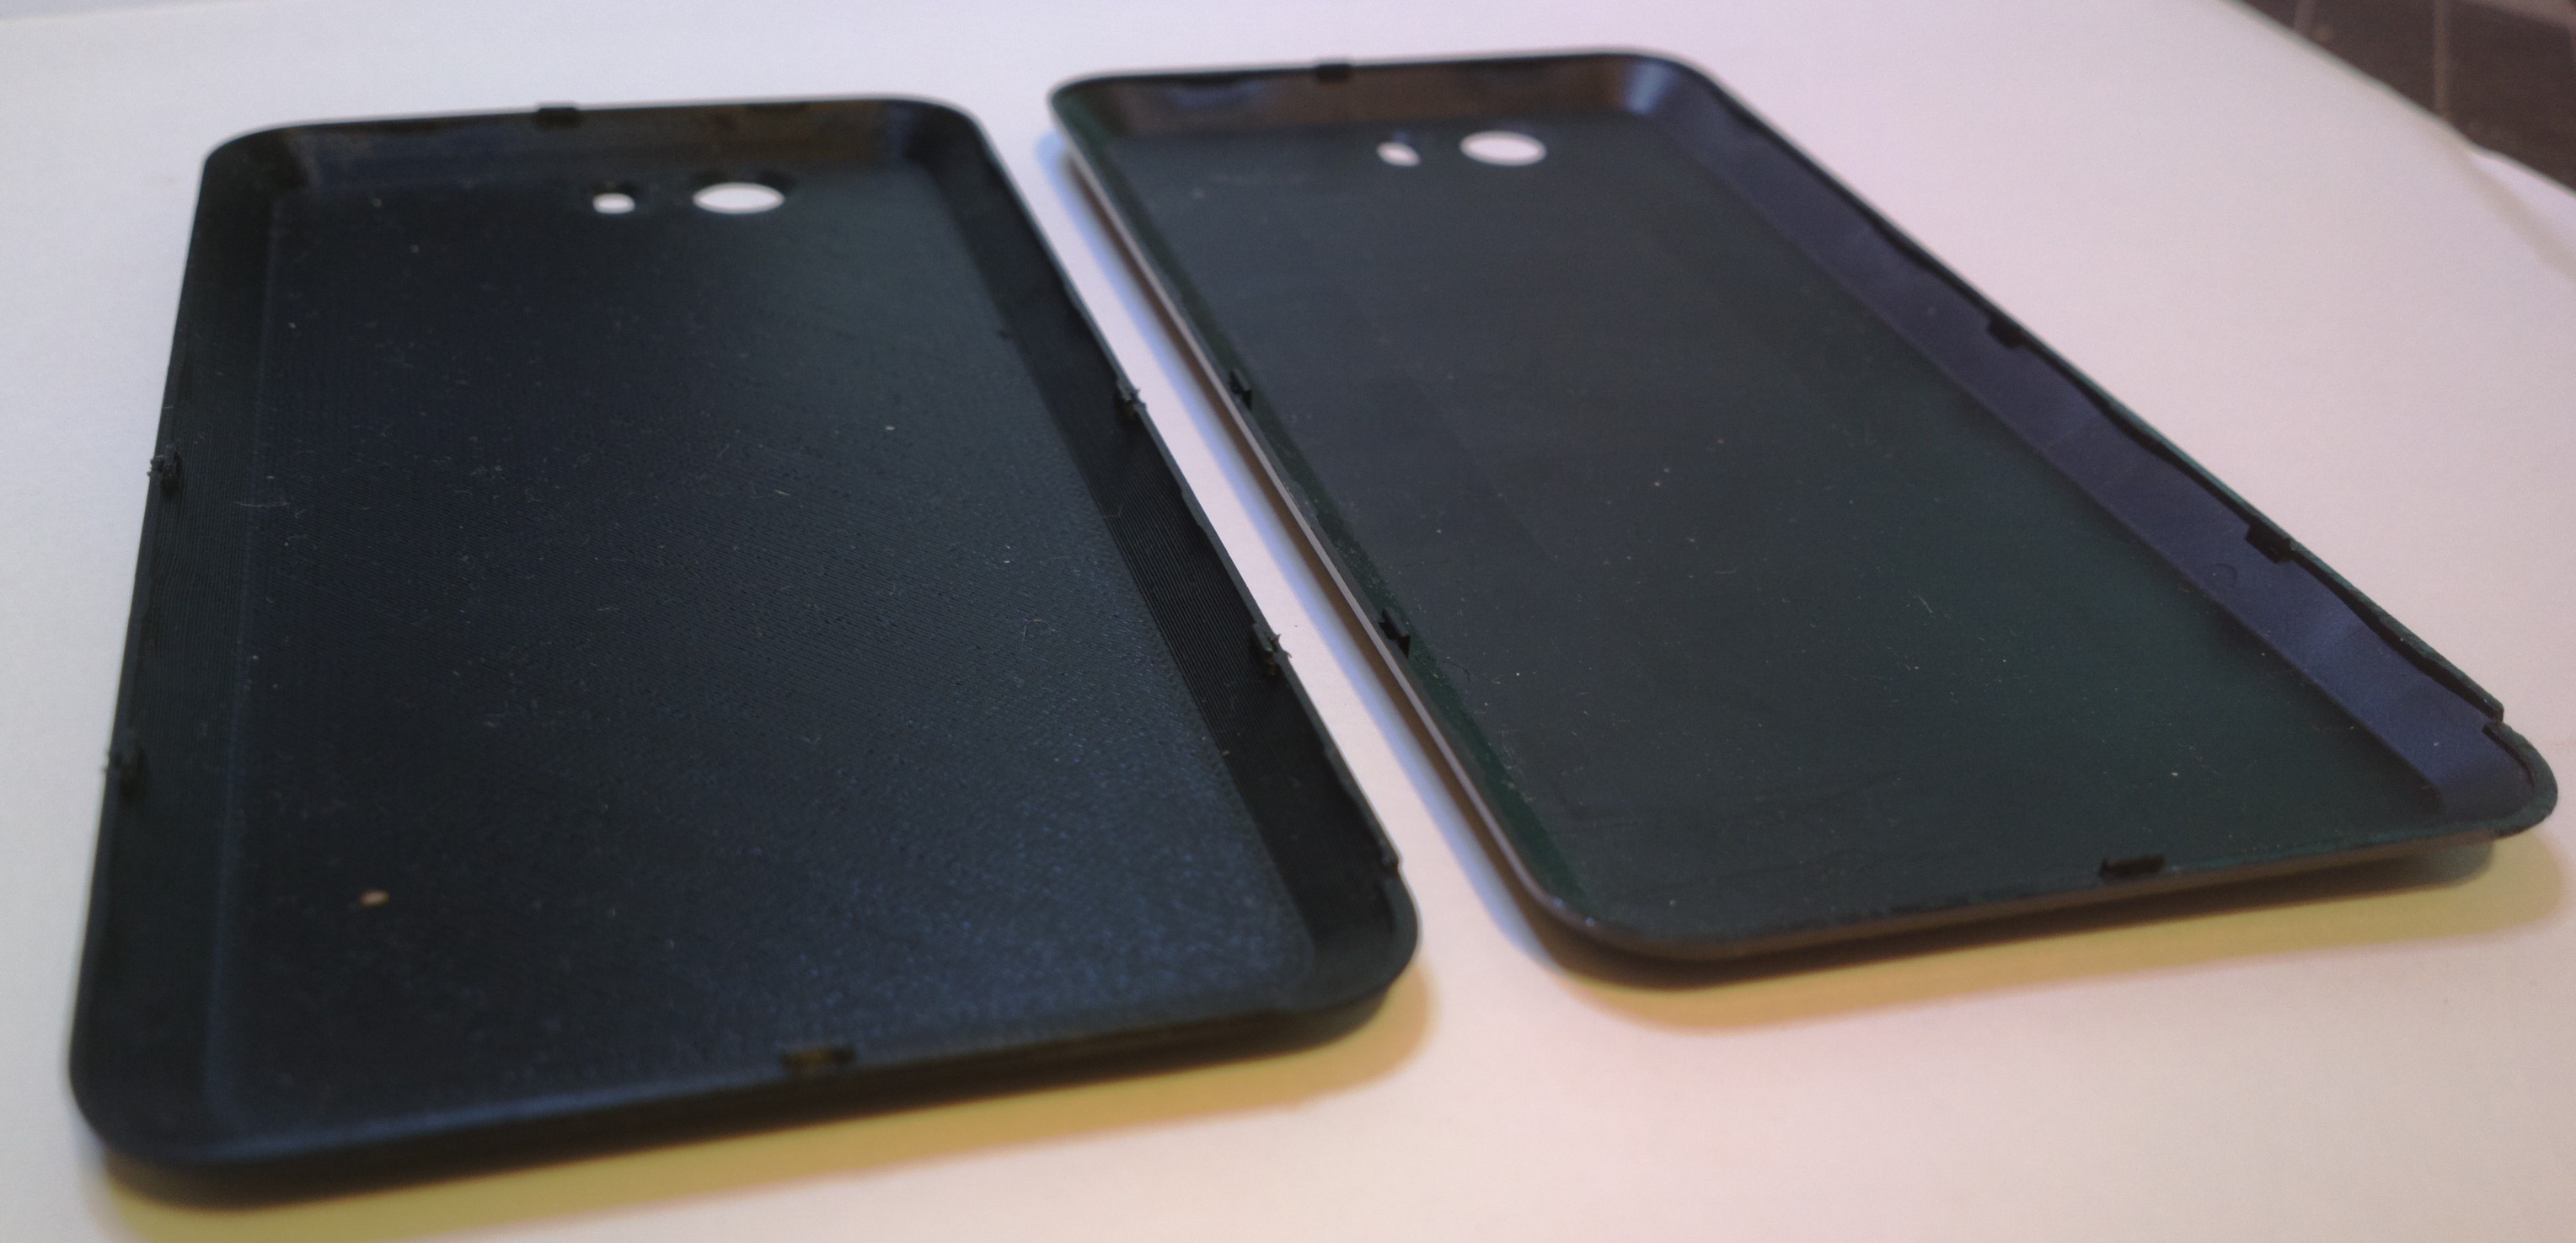
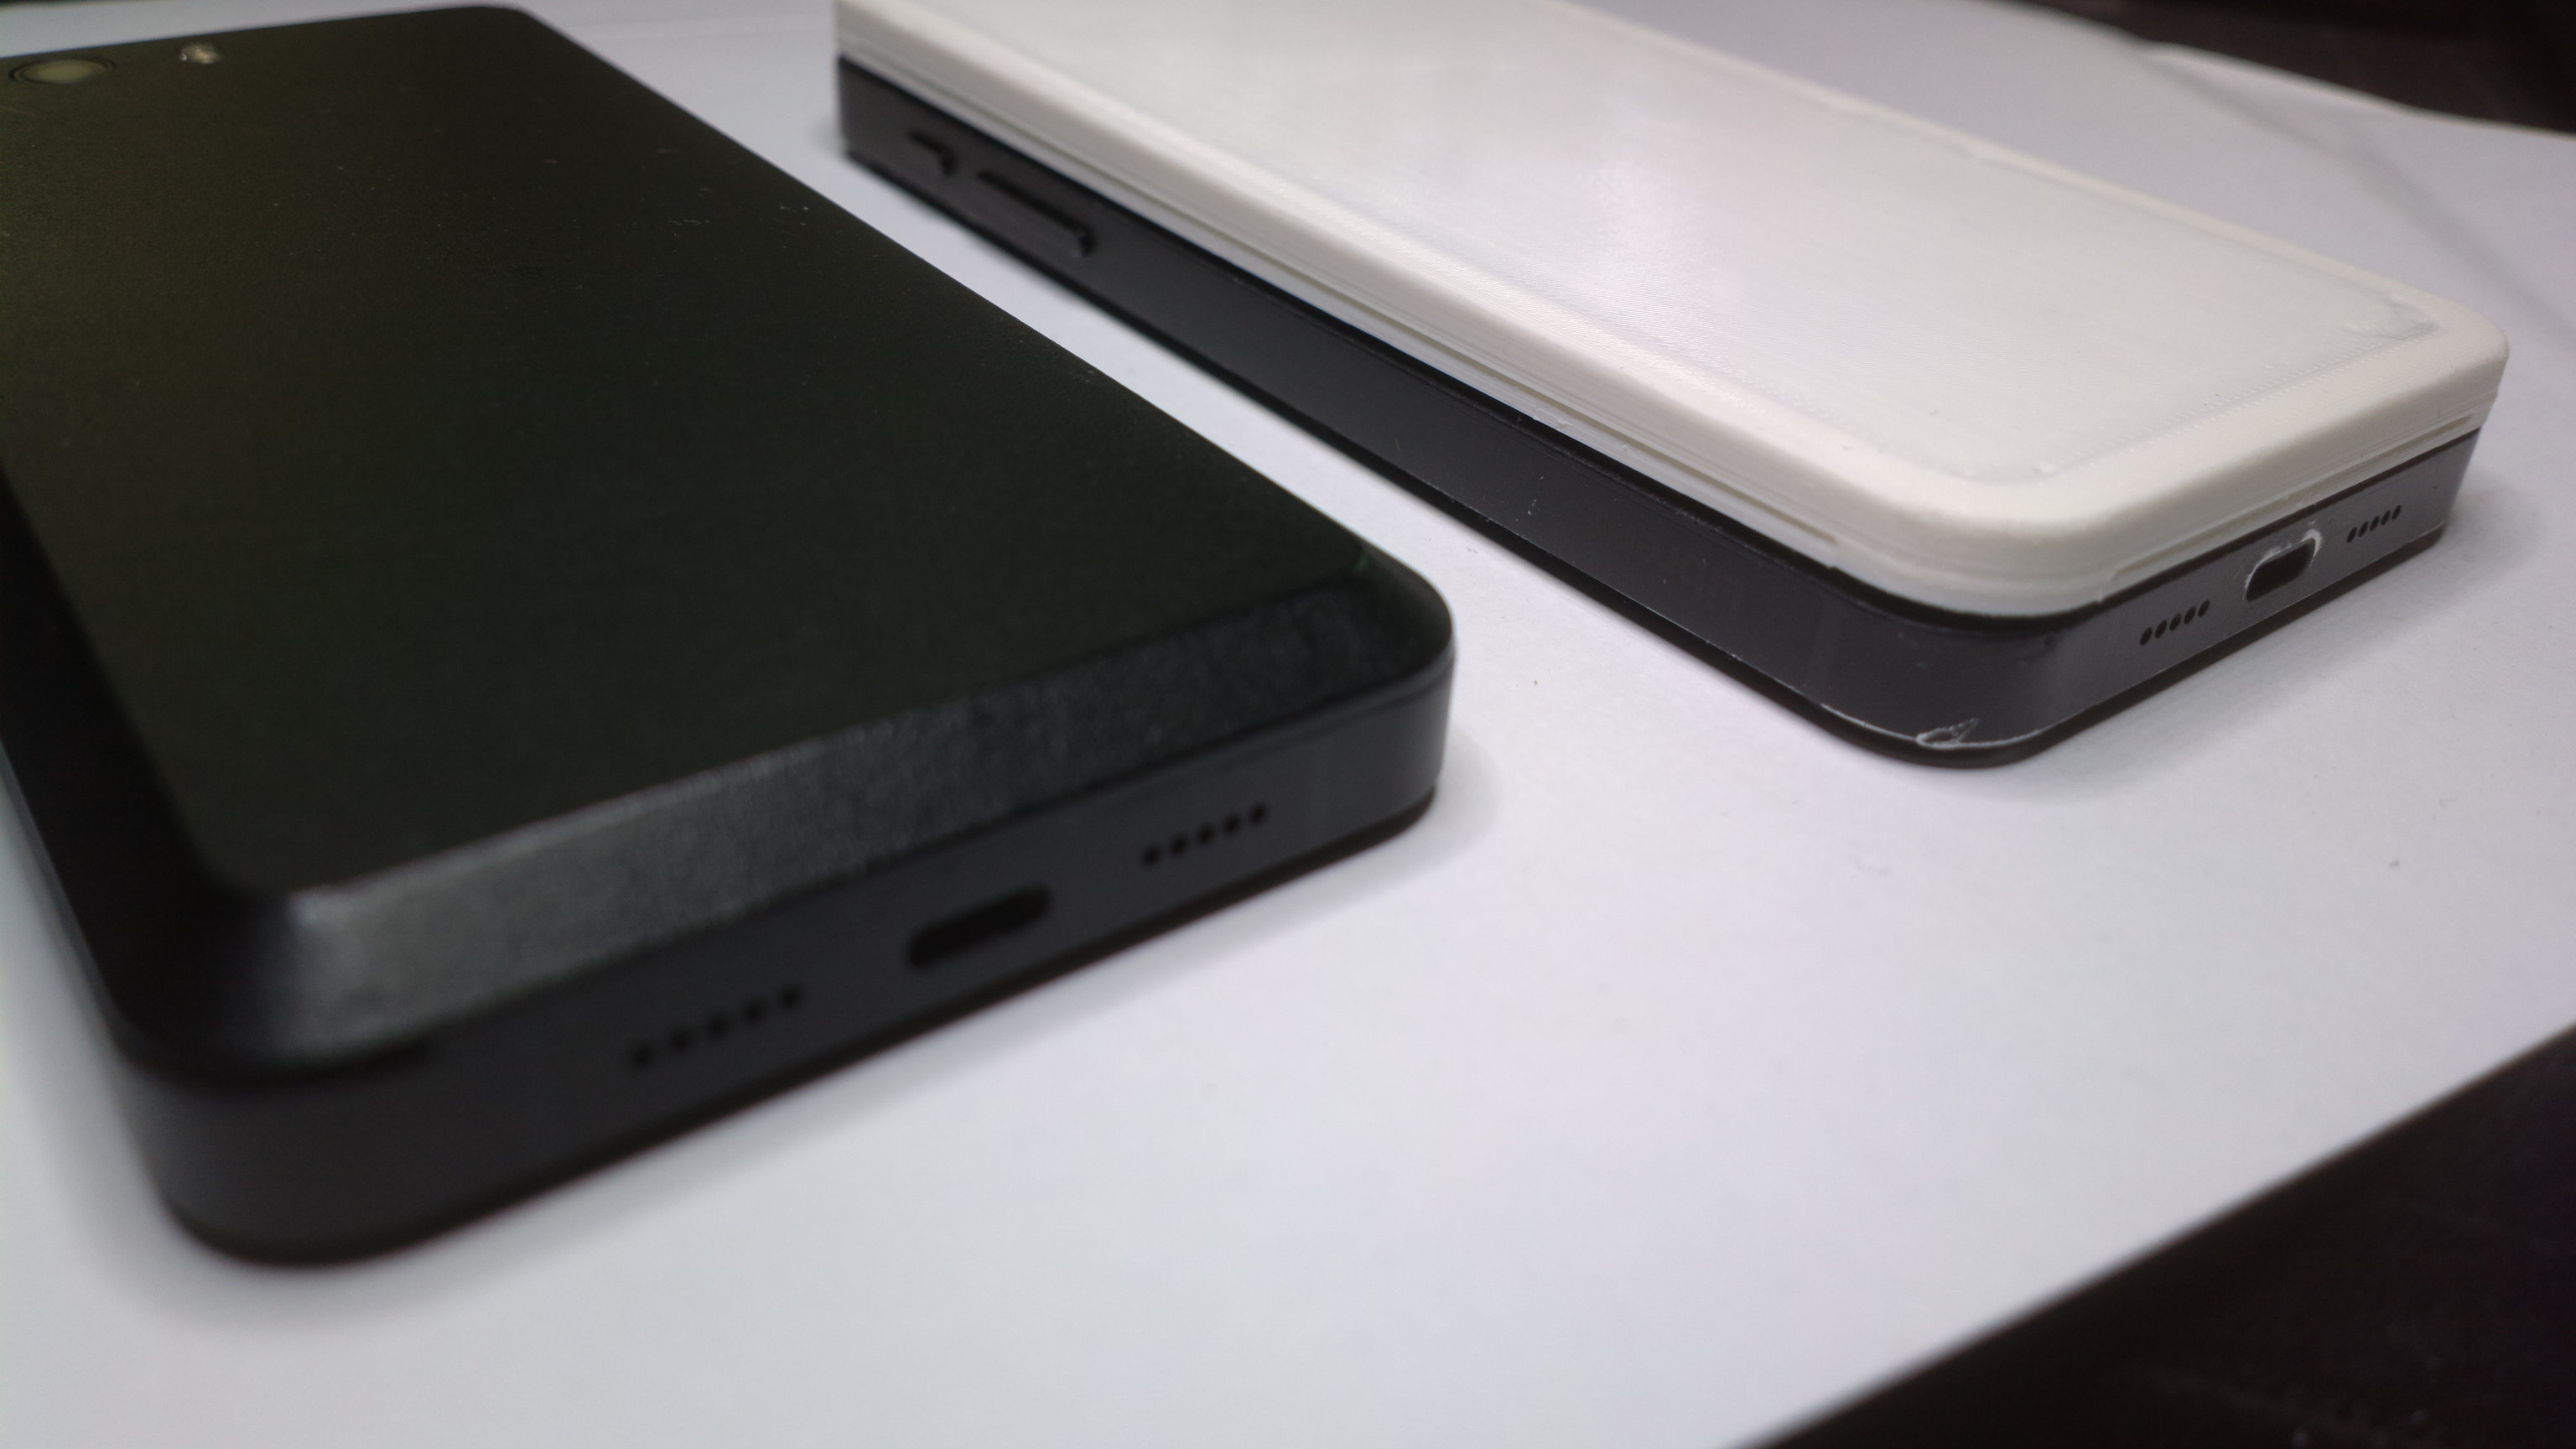
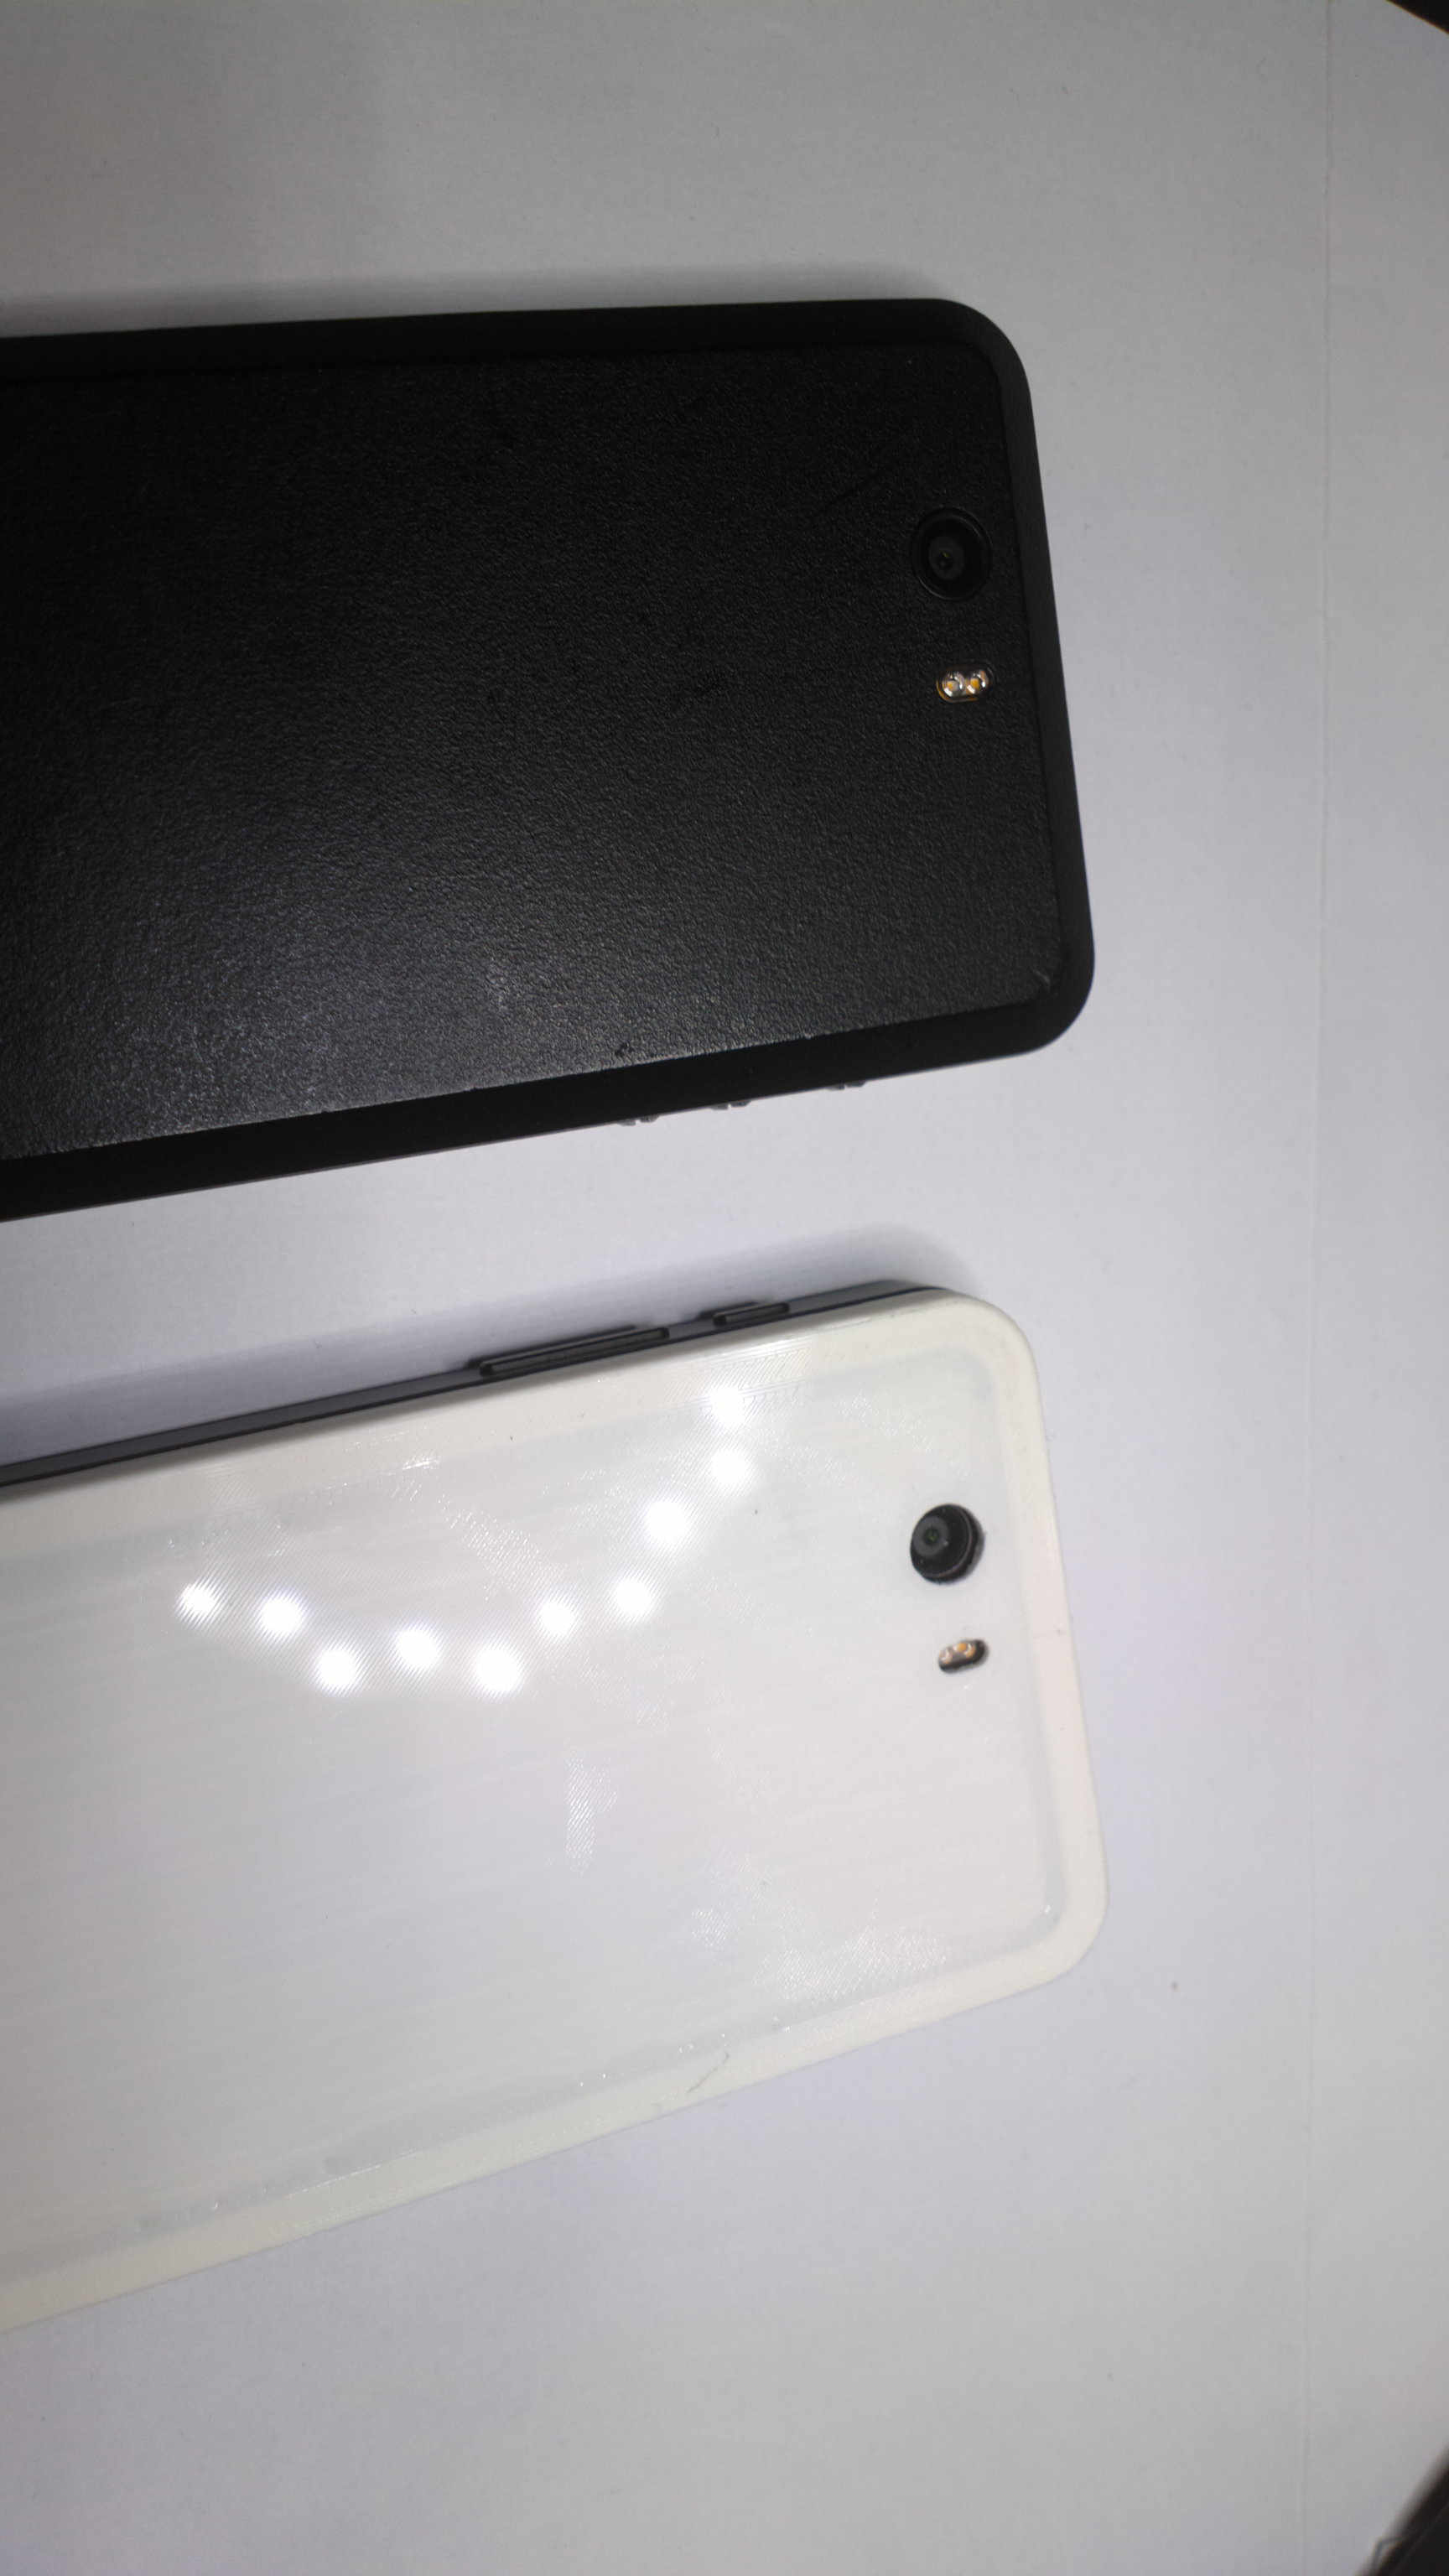
As a demonstration, here are a couple of images from a white back cover on an L5, and to add injury to this insult, I did a version that has similar edge (not slanted) than some other phones - makes L5 look thick indeed (ok, it’s not locked properly so there’s a 0.5mm gap and the model has additional 0.5mm thickness, so extra 1mm, but still - and the quick model has sub-optimal inner print structure).
This was kind of a test on how to disguise L5 to look like someone else - as effectively as a pair of Clark Kent glasses that have a mustache attached to them and as effective in avoiding attention.
The more you know… the less likely you are to repeat this mistake
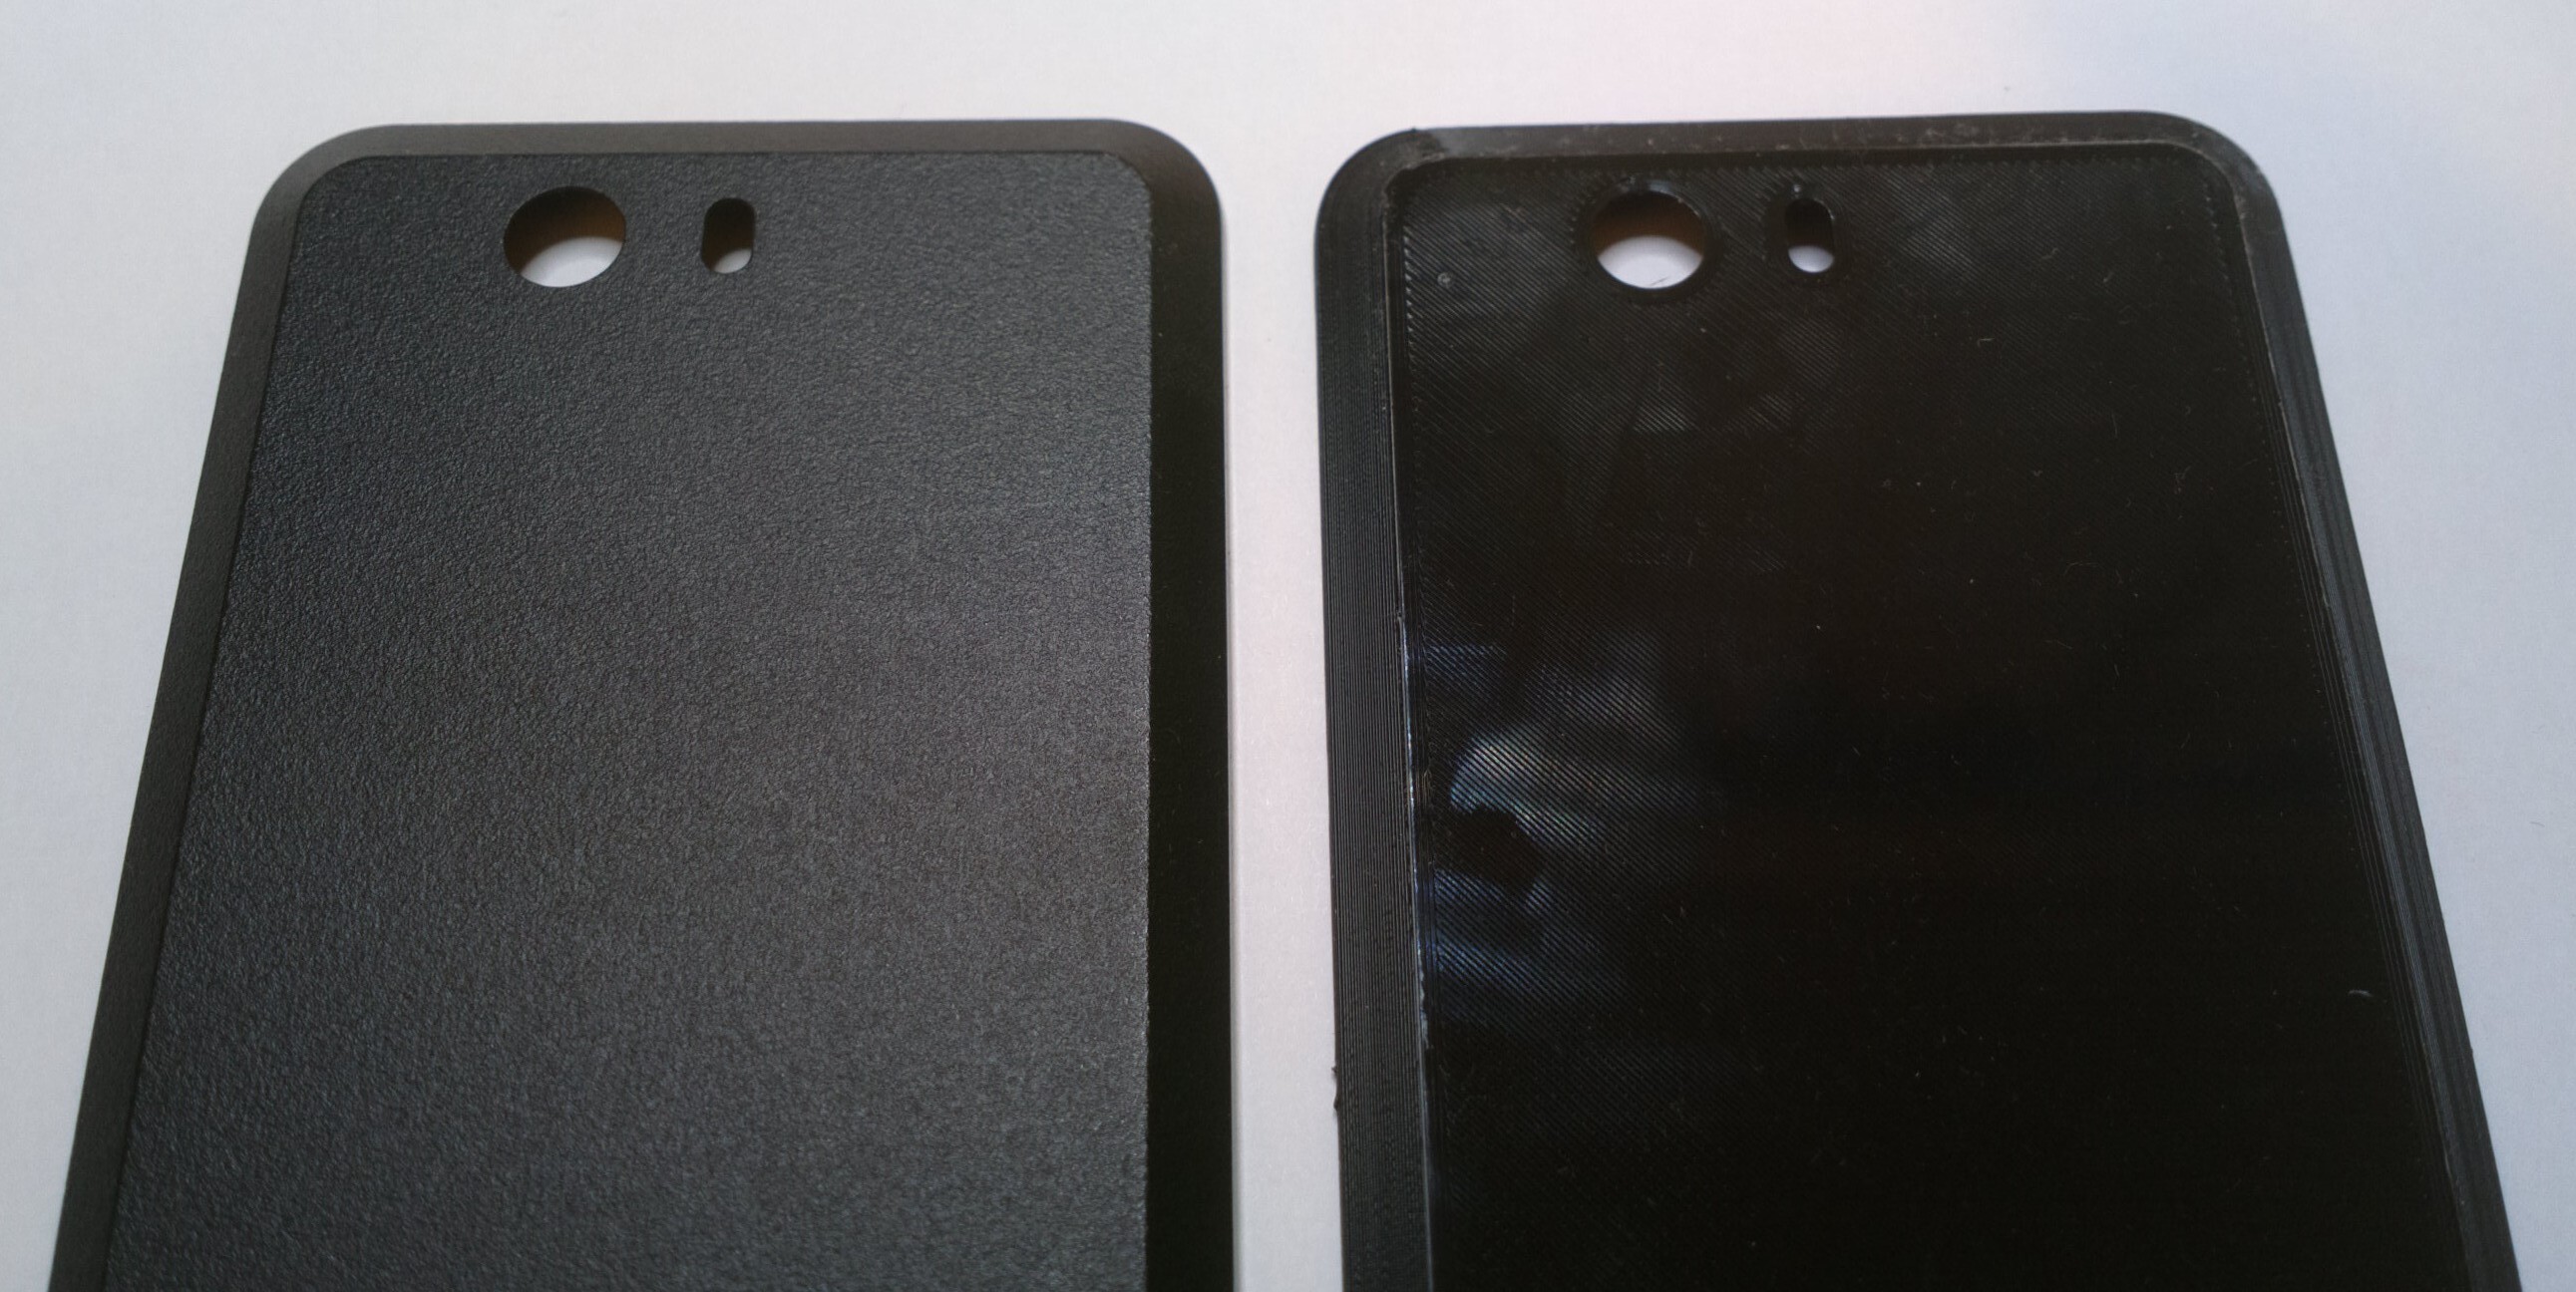
The last one has the printed ones and you may or may not notice that the white has been printed with fine (0.1) settings which markedly improved the accuracy of the print with small details [print time 4h for the original L5 back cover with that].
What software did you use to change the geometry to create the white back? I sometimes thought it would be fun to order a Librem 5 backplate with a logo edged in it or something else funny but when I opened the STEP file in Freecad, despite using some Autodesk software years ago I never seemed to find the buttons in Freecad that would meaningfully edit the geometry using free source software on my Librem 14. I’m curious if that’s just me looking in the wrong place or if there’s an easier software.
For easier software, for quick and dirty little edits, I’ve used Tinkercad.com (but did that on a separate computer browser, just in case). In it I kinda mostly use positive and negative shapes to sculpt a thing (there are only few other tools). I basically created a block (new backside) to which I used the original model to remove material (L5 side of it) and then slabbed a copy of it on the block to get the connecting side. Freecad, Blender and others are useful for more complex stuff but are too specific and too multitools for this kind of drafting.
If you work on a logo, it does have an import function to bring over vectored images (use for instance Inkscape to make one from a bitmap image), which you can then use as silhouette to create 3D shape. Text tool only has a couple of font options, so you may want to bring any logo/brand specific texts as vector images too. At one point I was tinkering with doing similarly a Tux-case but got bored but may do a case with “Librem 5” text on the back as heat went holes, or something else on the back later (maybe there should be a text explaining to anyone seeing it that it’s not iOS or Android? ).
It worked! Bambu Studio automatcally converts step to stl files. And it took me four or five tries to get it right. Now I have a new b(l)ack cover that looks pretty decent and stays put.
At first all layers forming the sides of the cover started in the same location, resulting in an ugly stack of dents and bumps on one side of the cover. So I had them start on random locations around the cover, which gave a much better result.
Removing the cover from the printer plate and then fitting it to the phone was not easy: the cover still being warm and bendy, making it hard to apply it to the phone without damaging the little clamps or warping the whole cover. Maybe it works better when you let the cover cool before removing it from the printer. But a solution that worked for me, was to push the phone onte the cover while still hot and attached to the plate: this allows you to coax the cover snuggly against the phone, and let it cool in place.
There still is some room for improvement, but so far I am happy with the result.
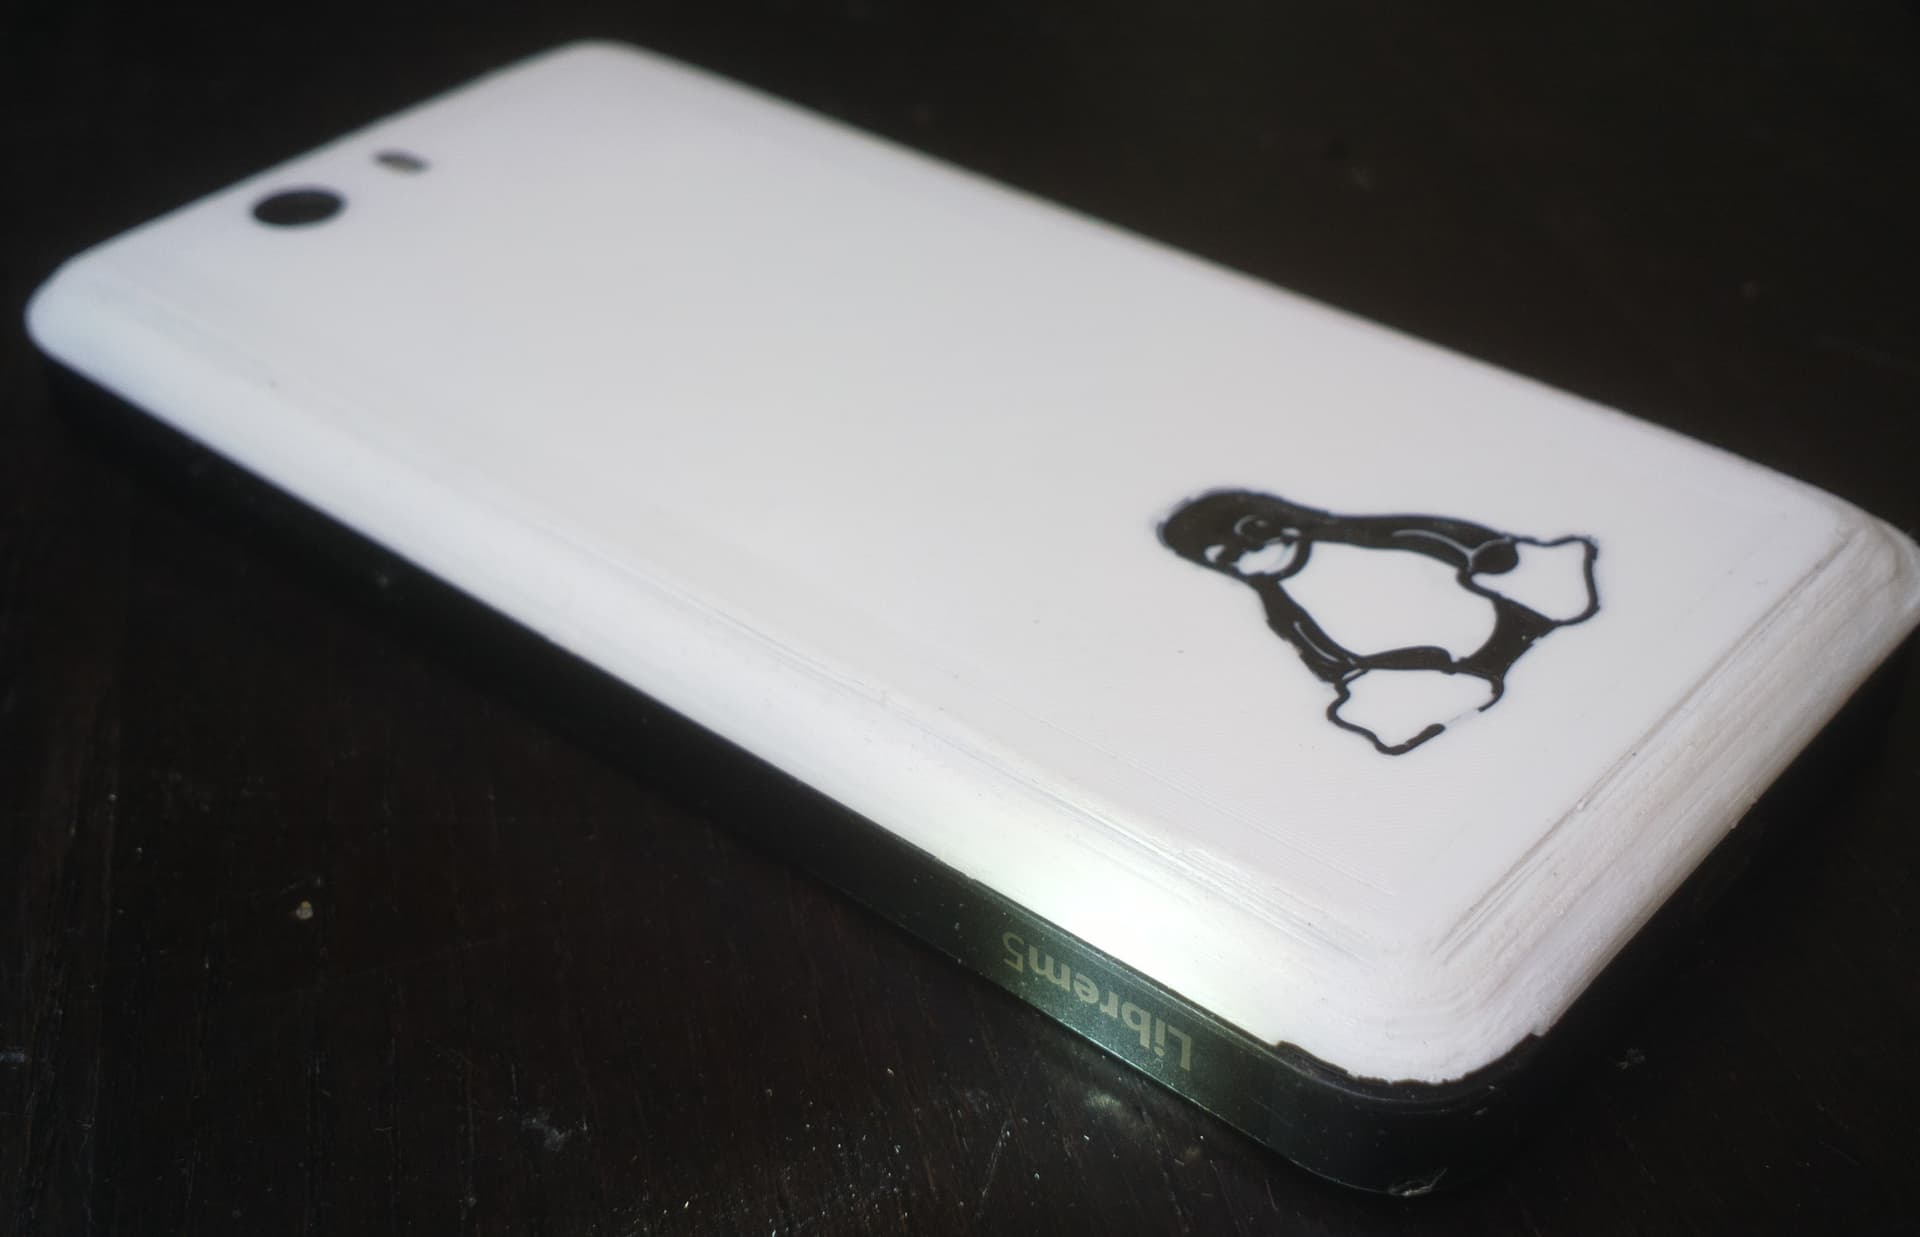
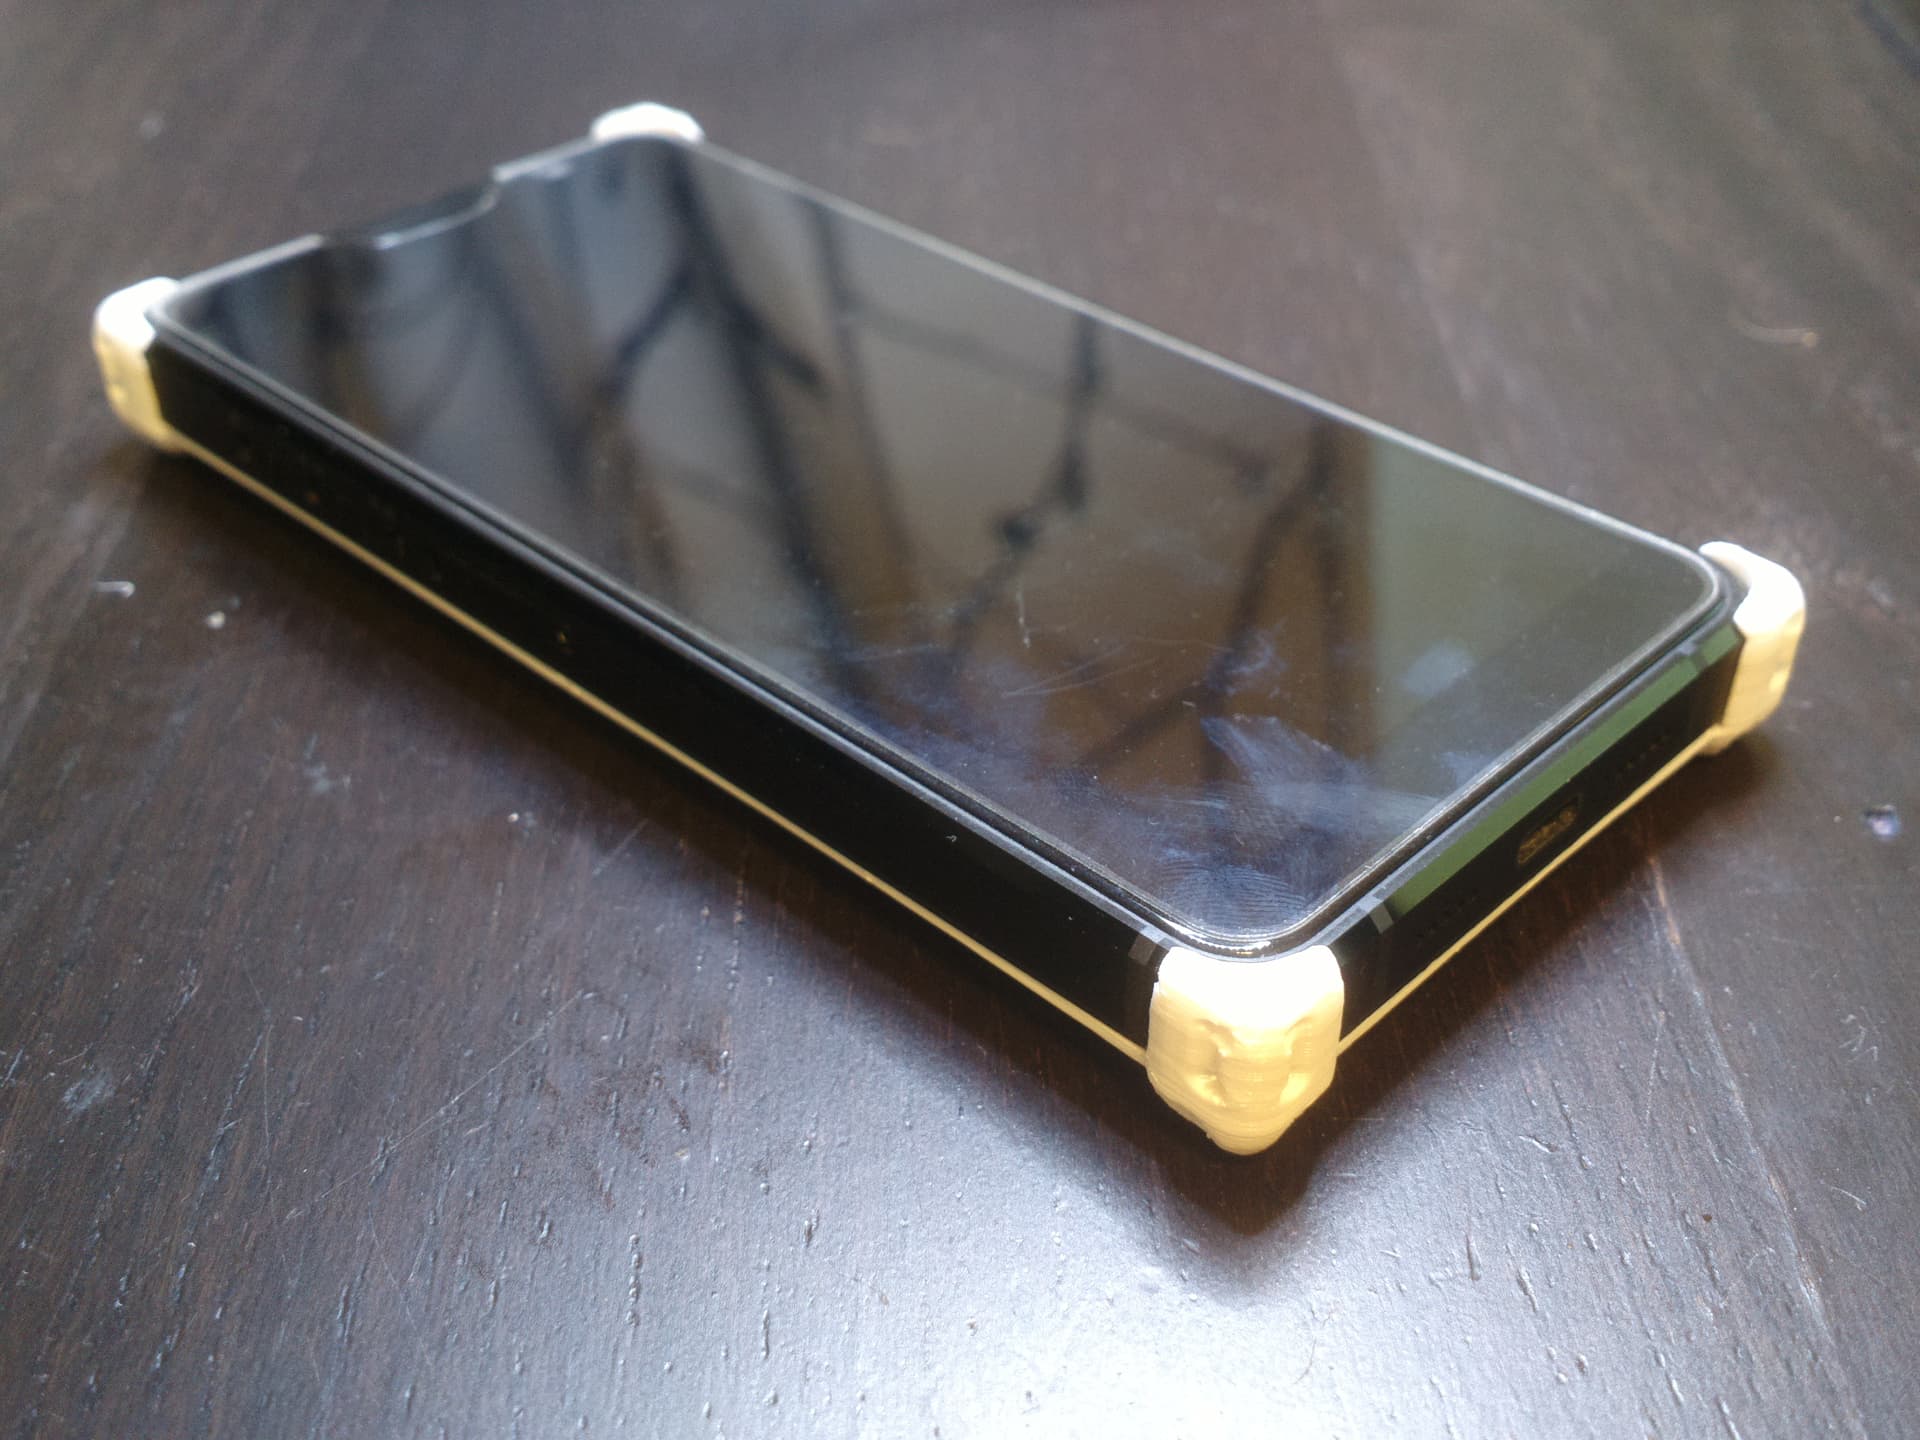
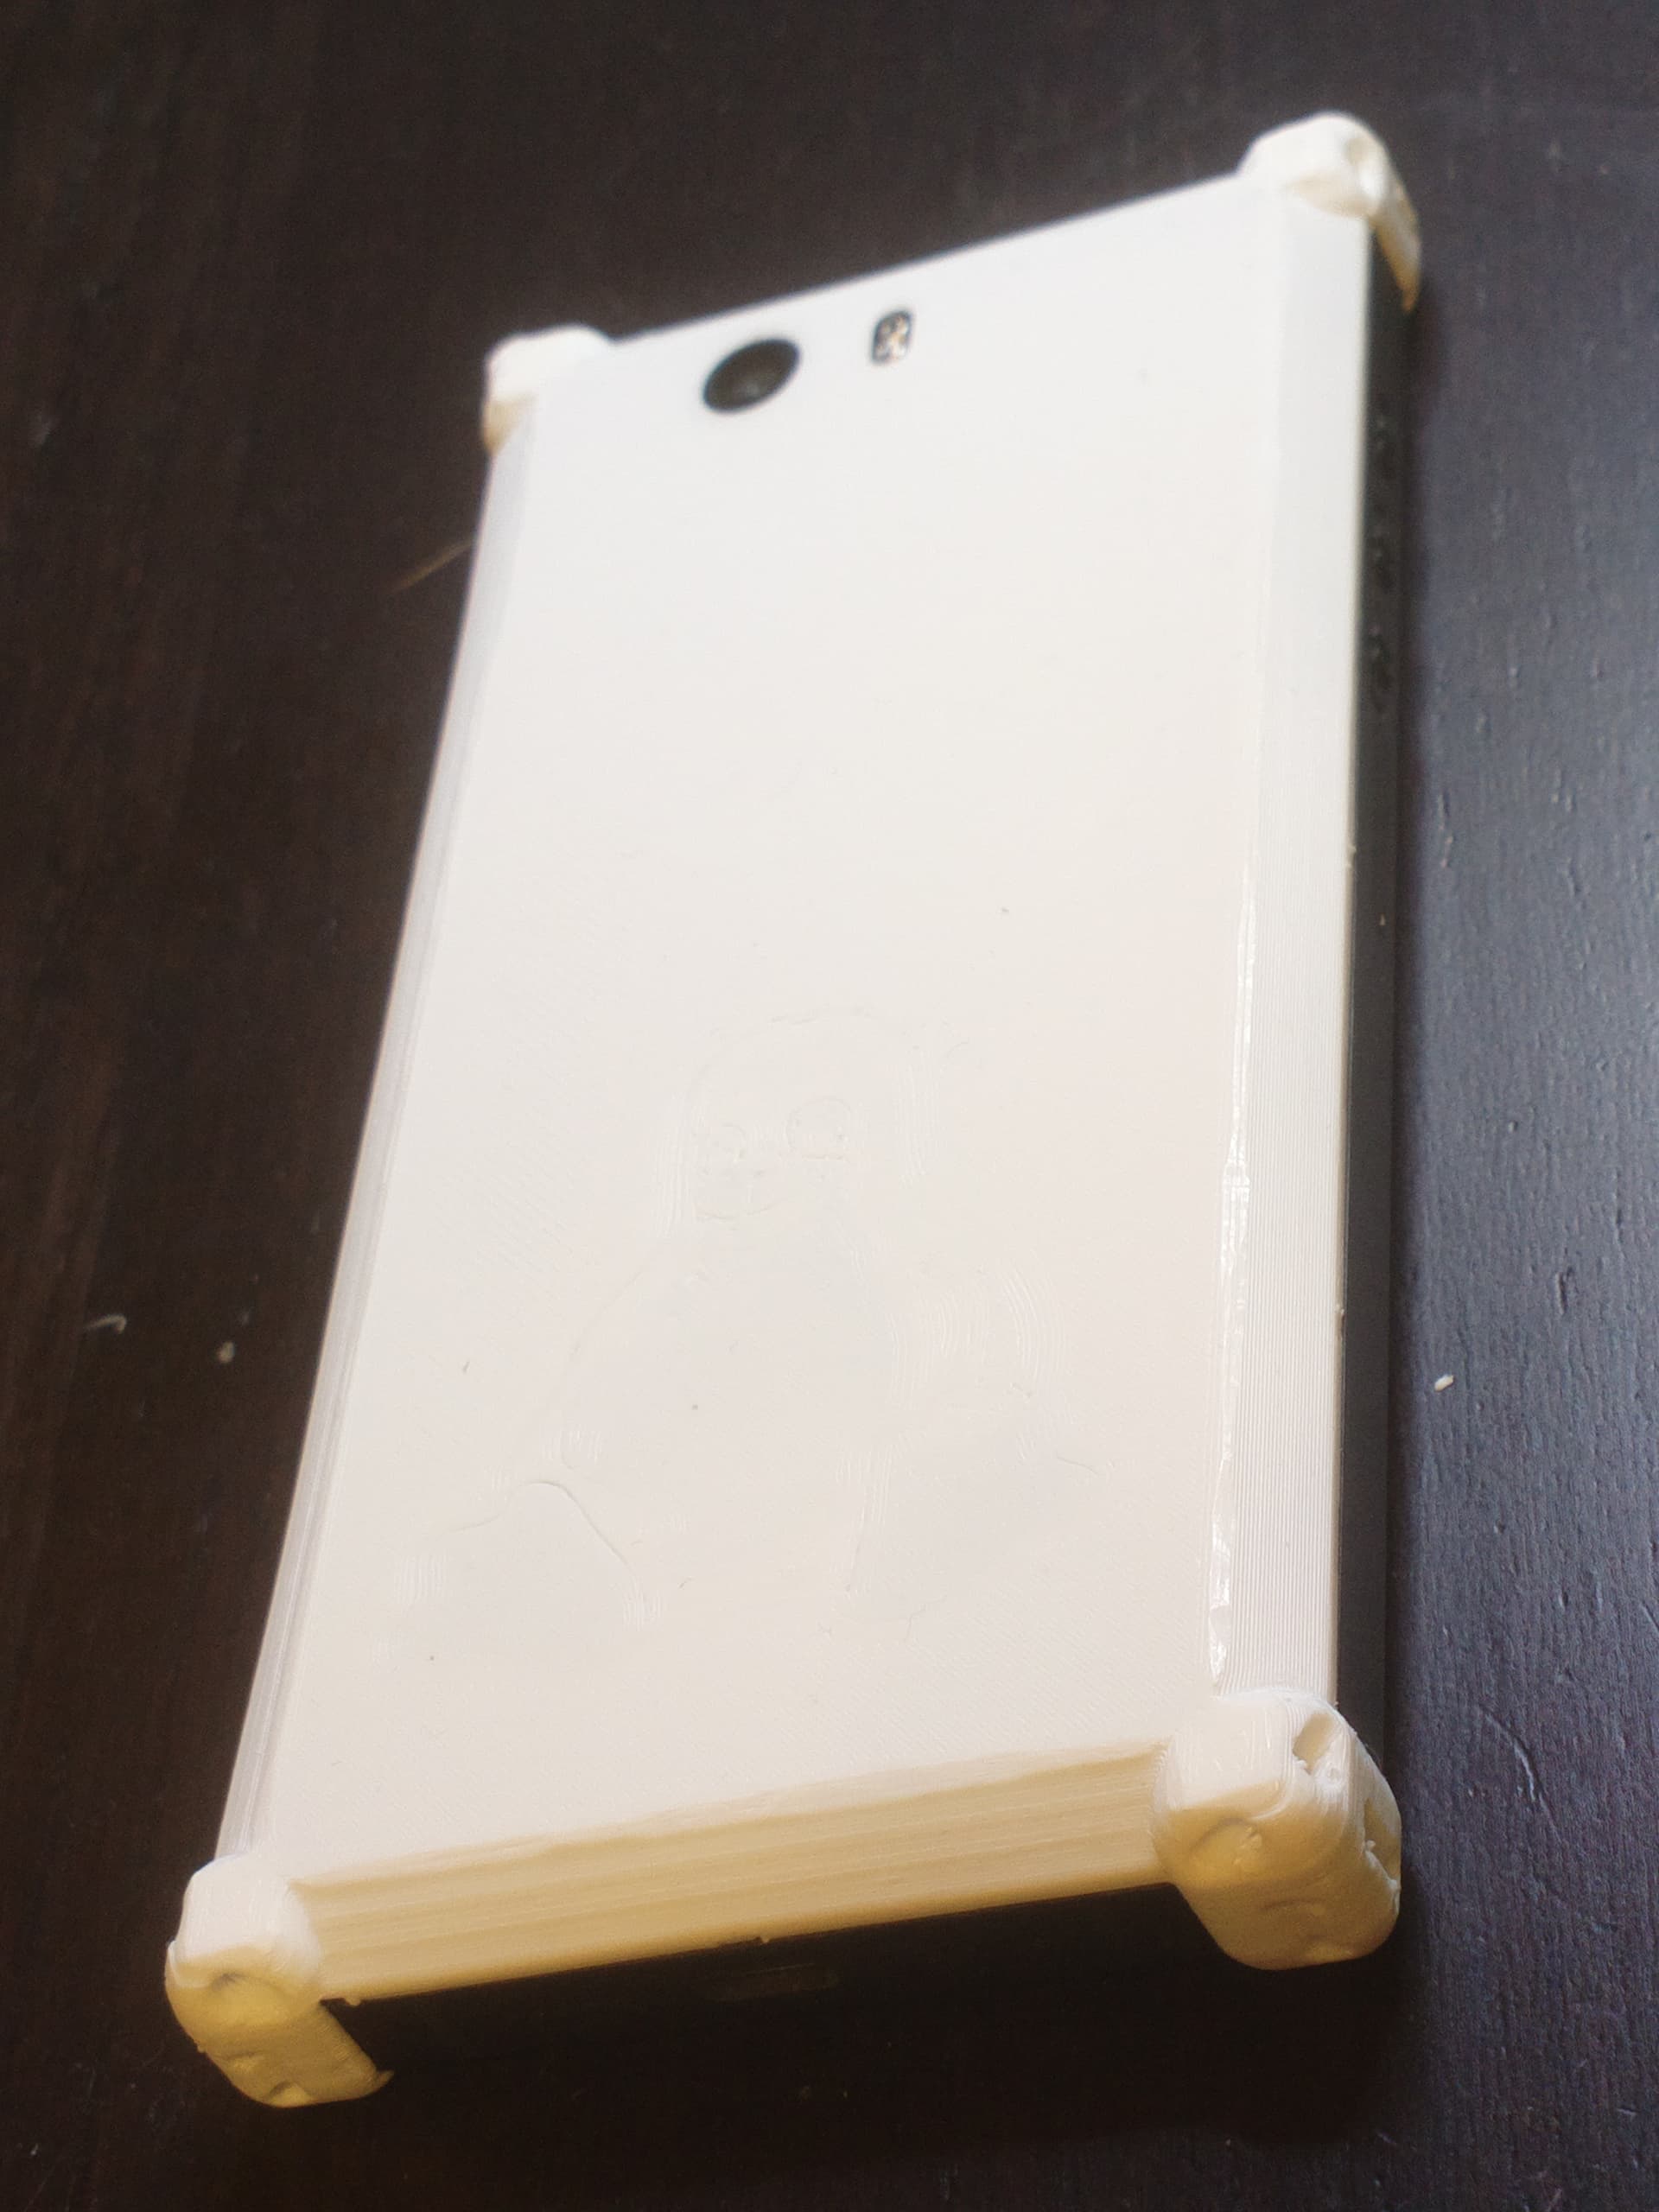
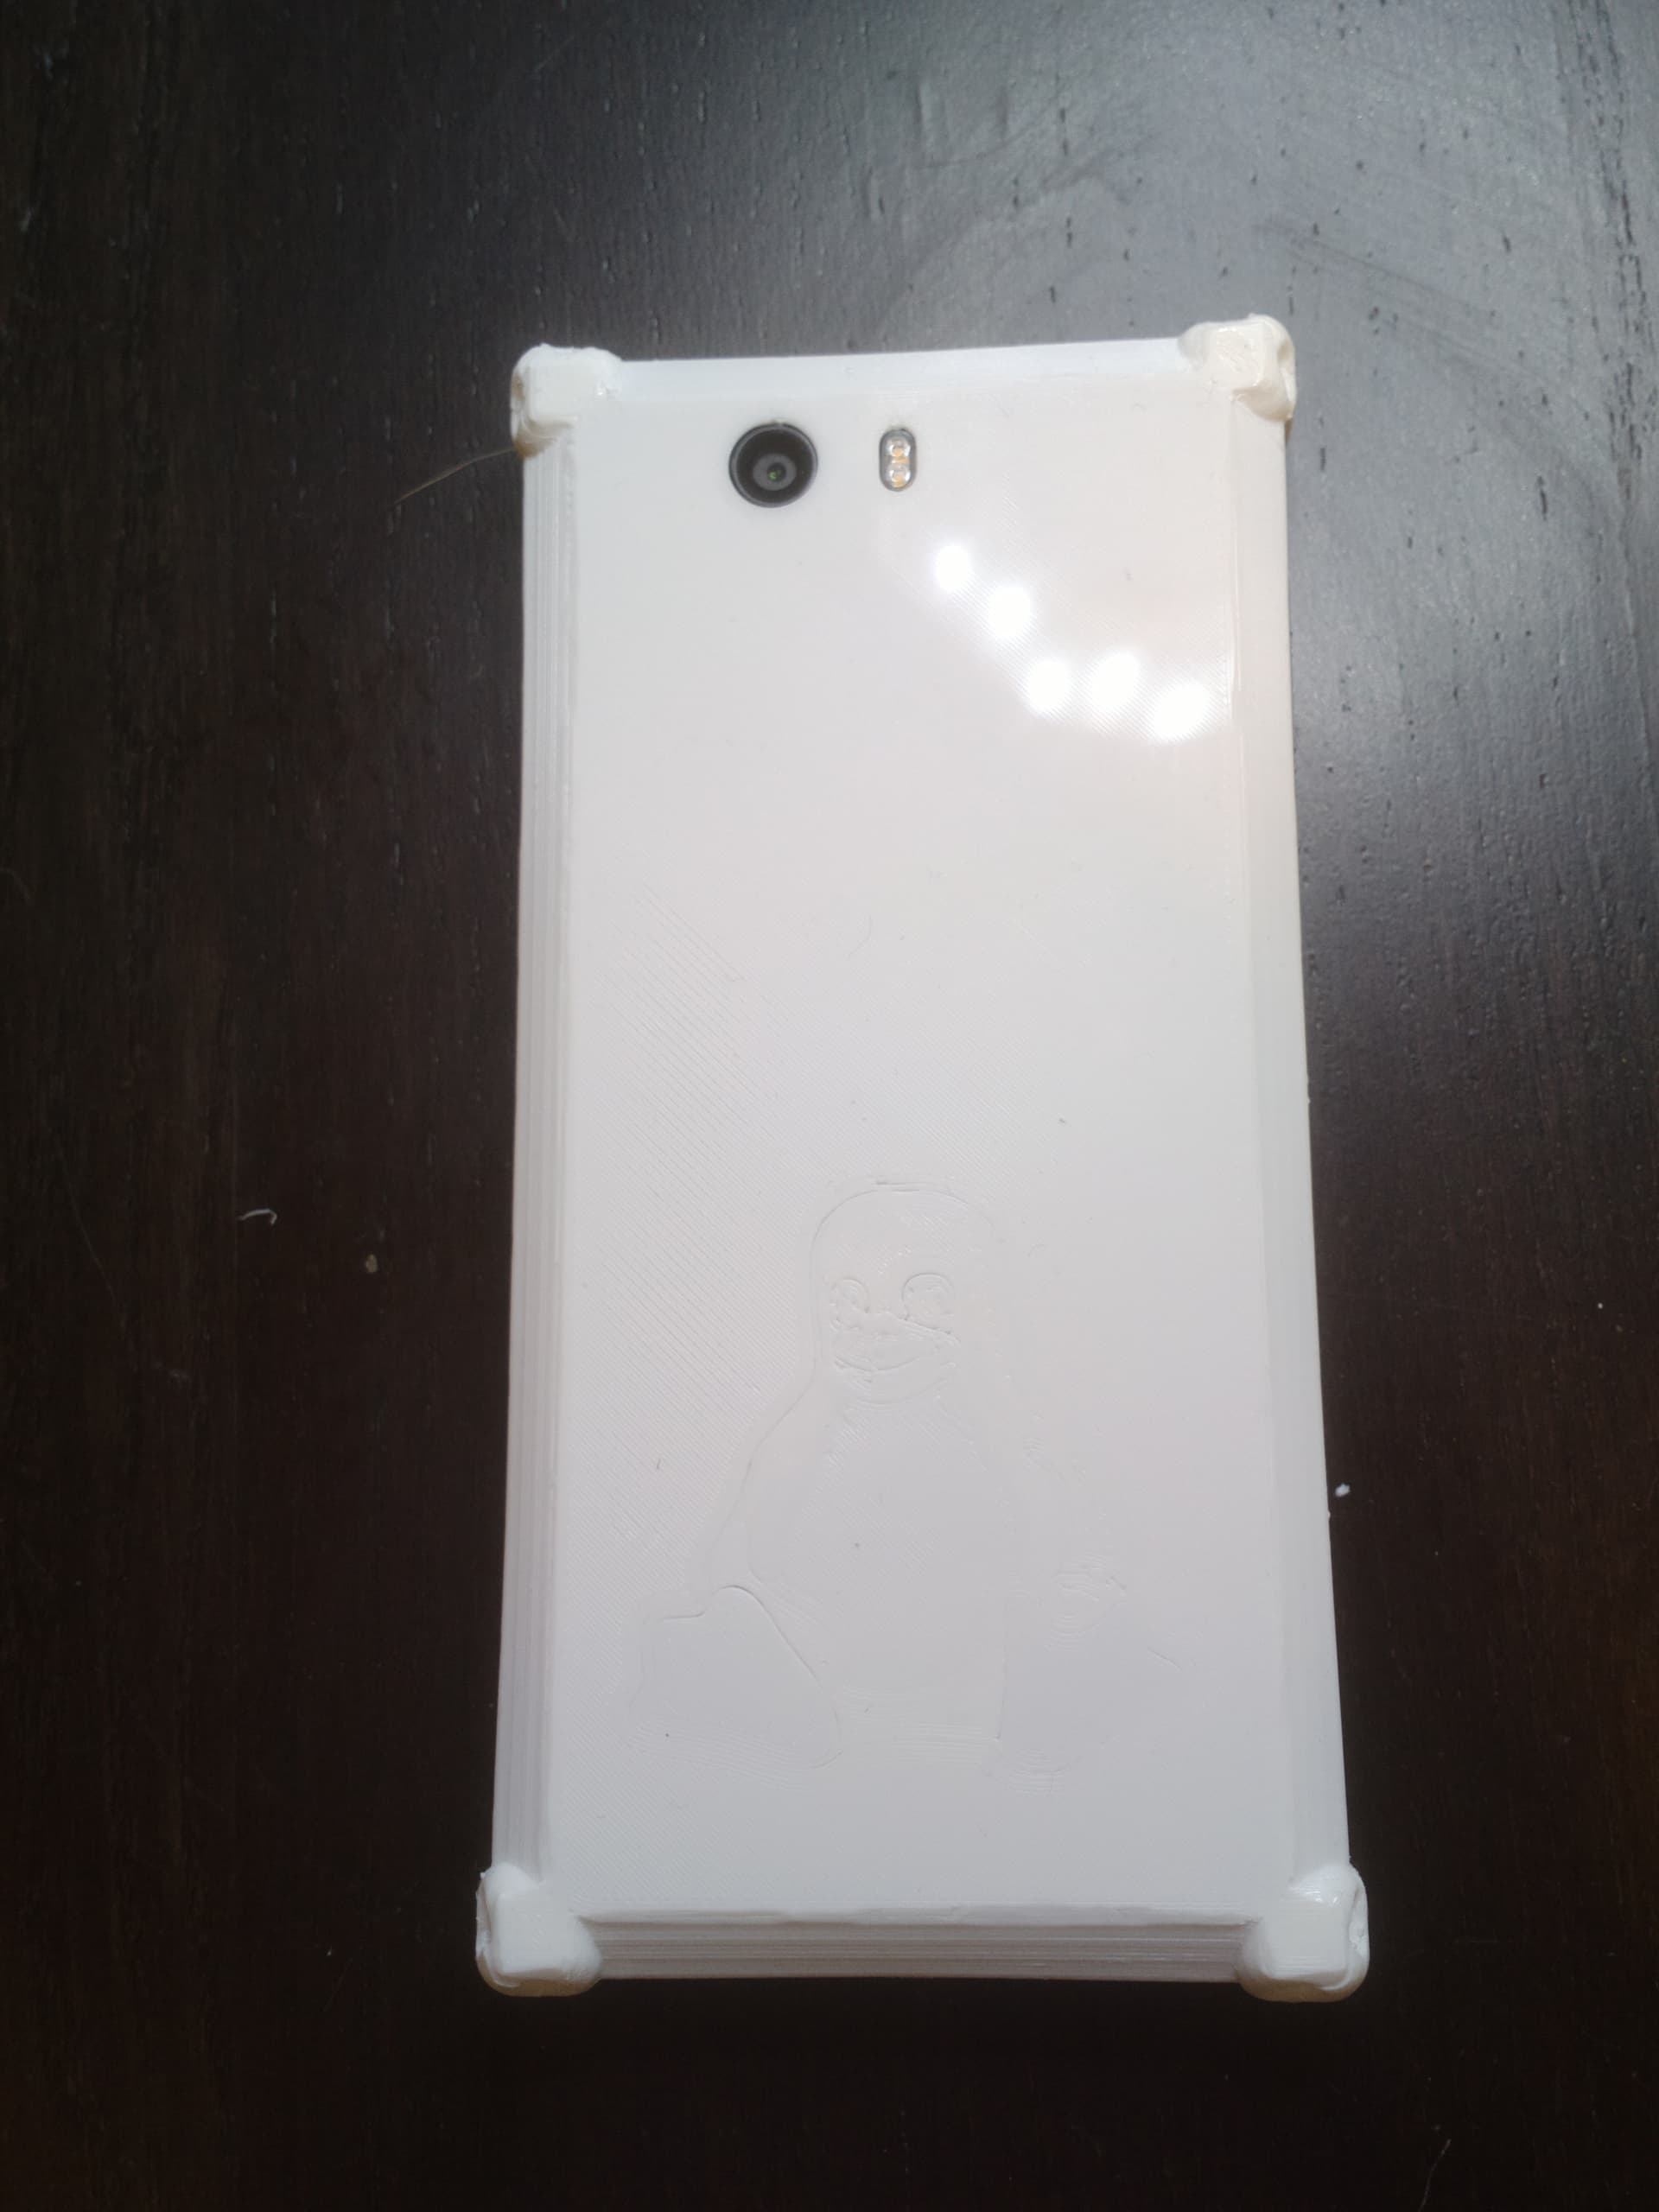
A variant of the back cover (“No.3”) based on the idea that extra external protective cover can be a bit much and what could be the minimalist way to protect the phone.
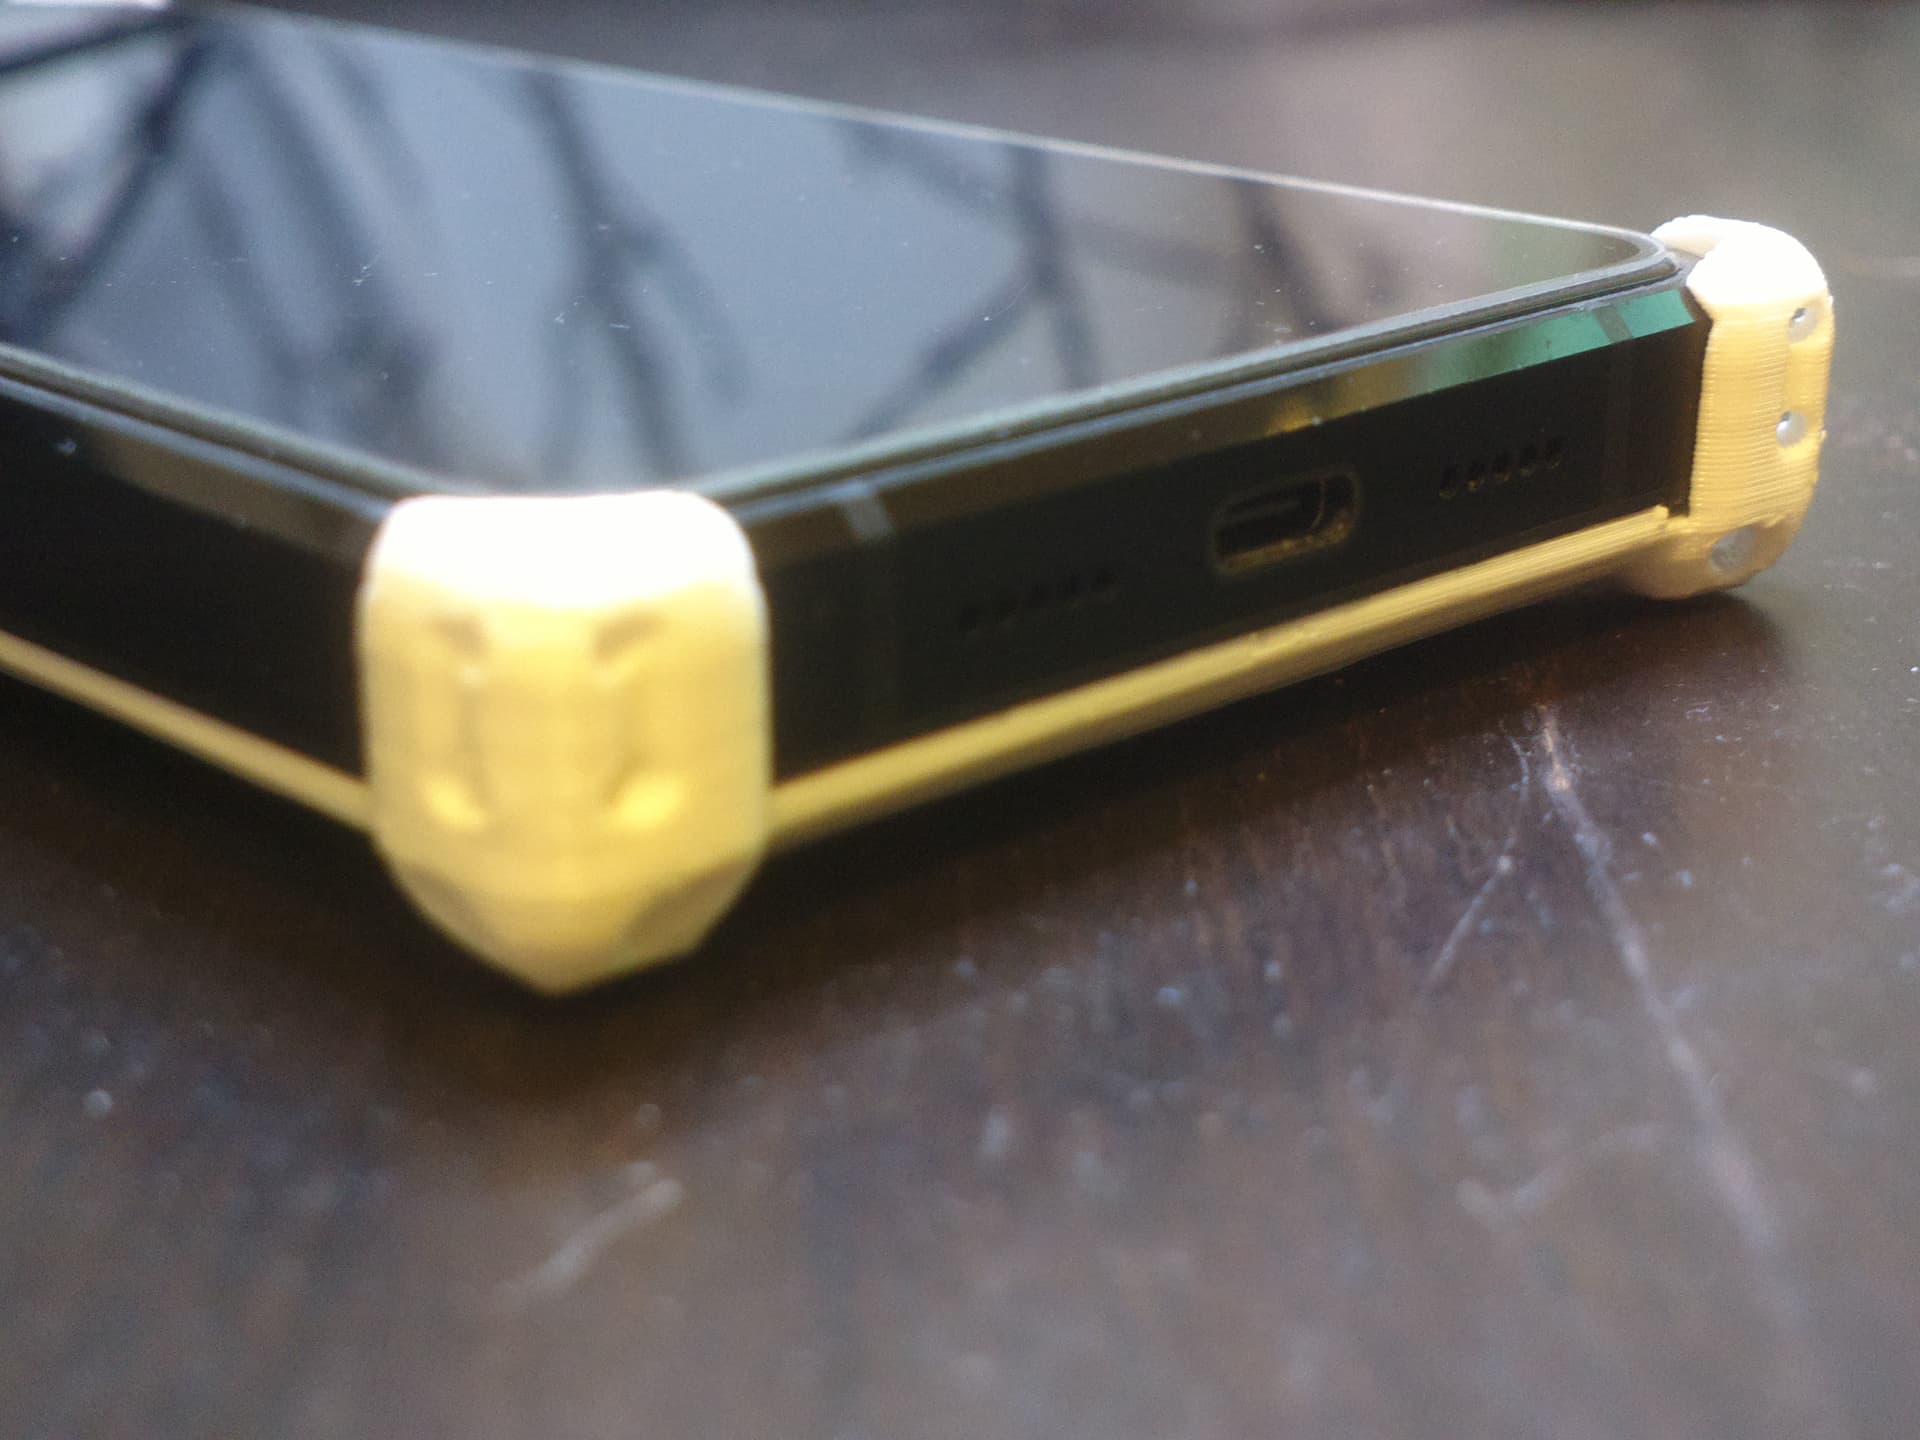
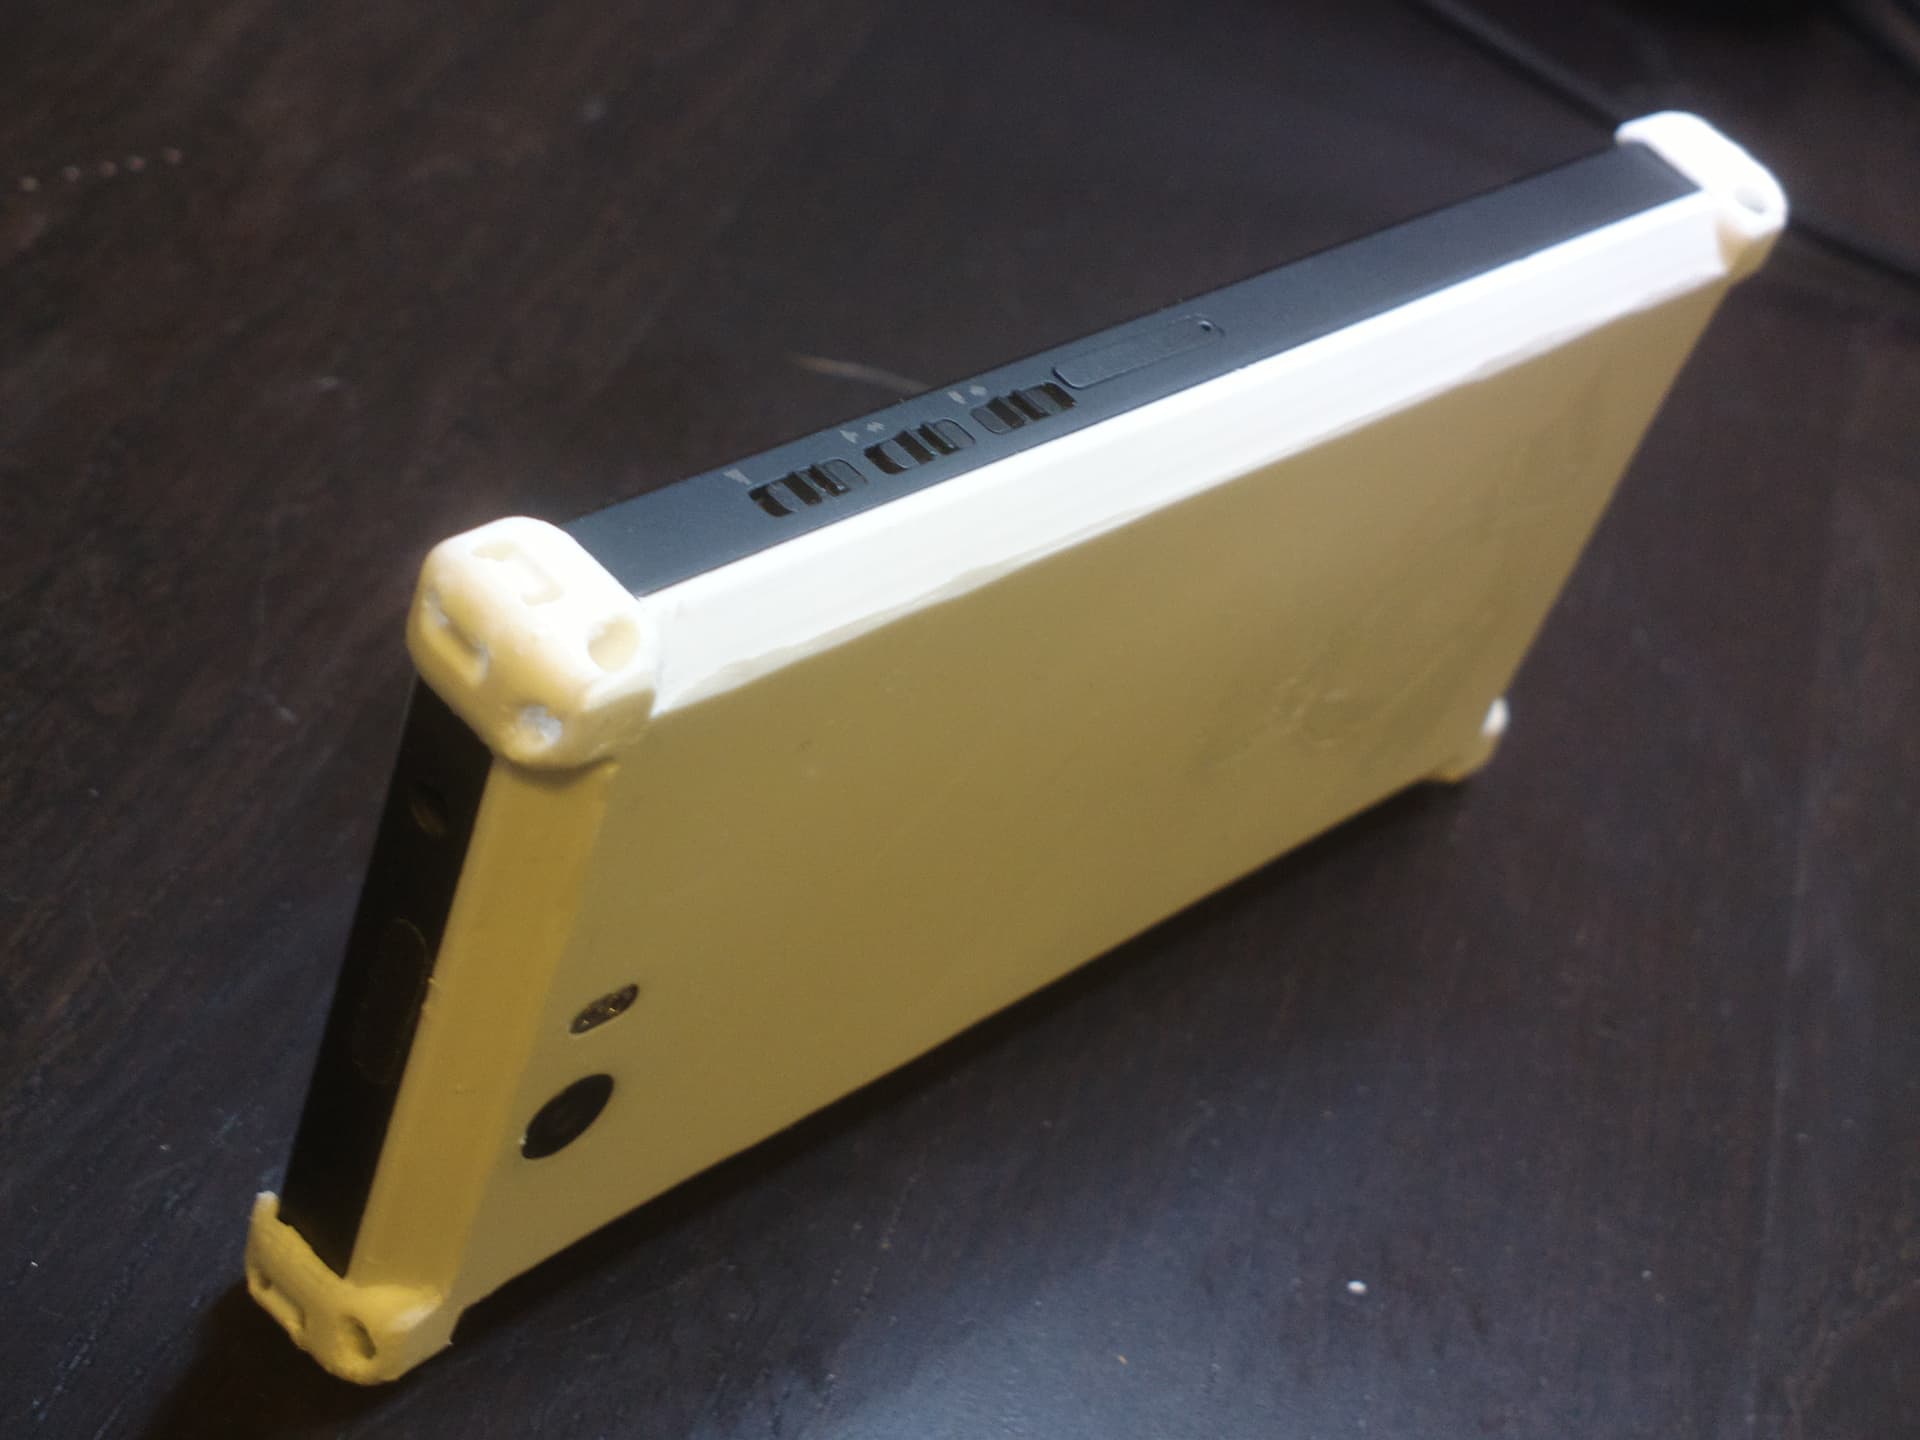
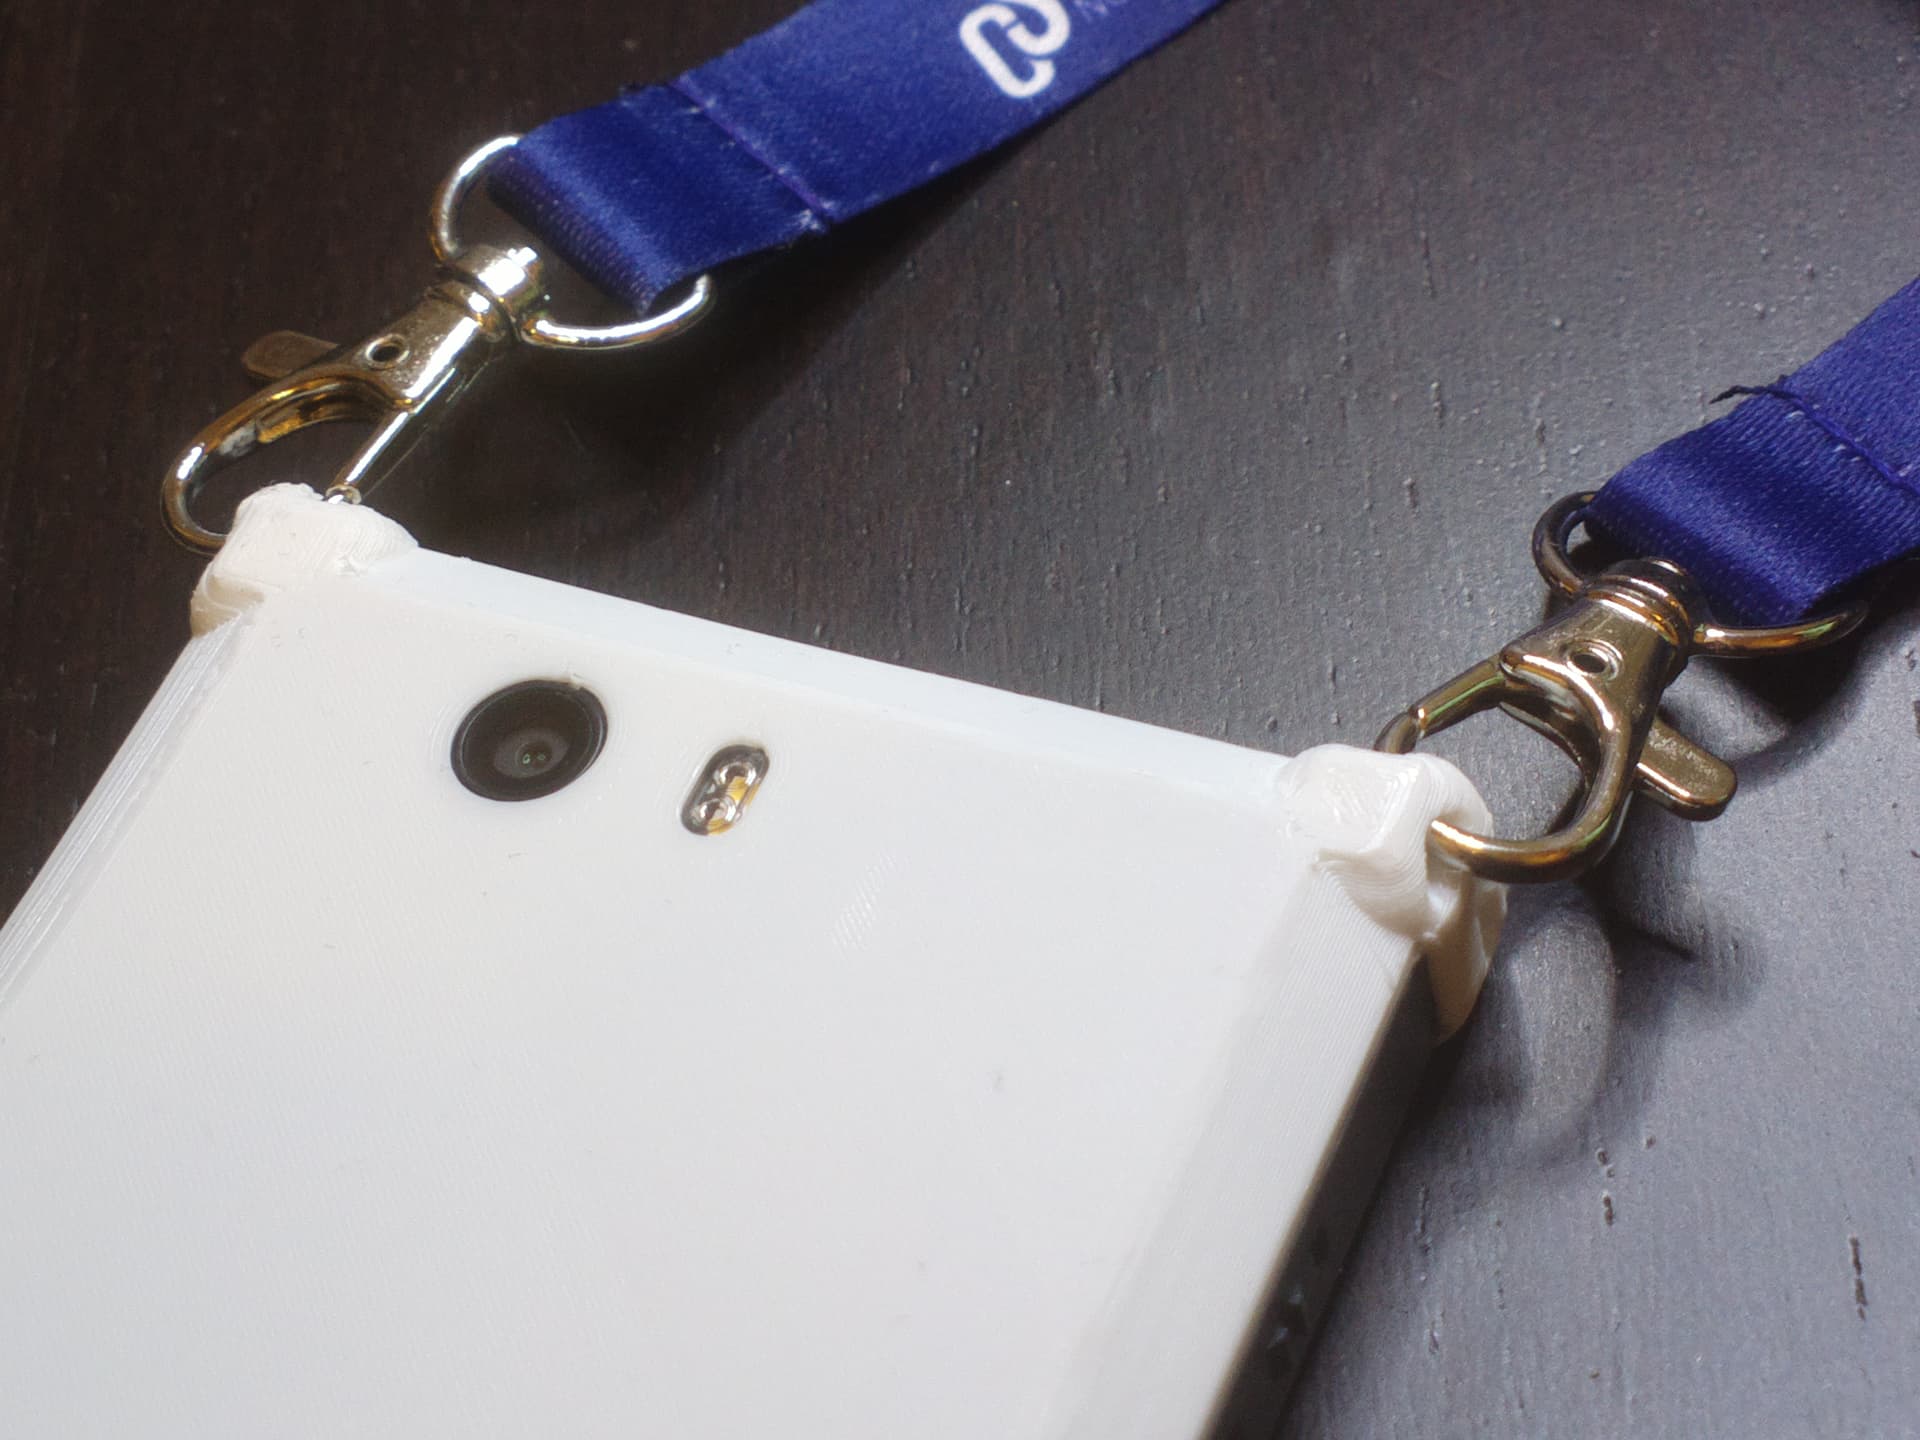
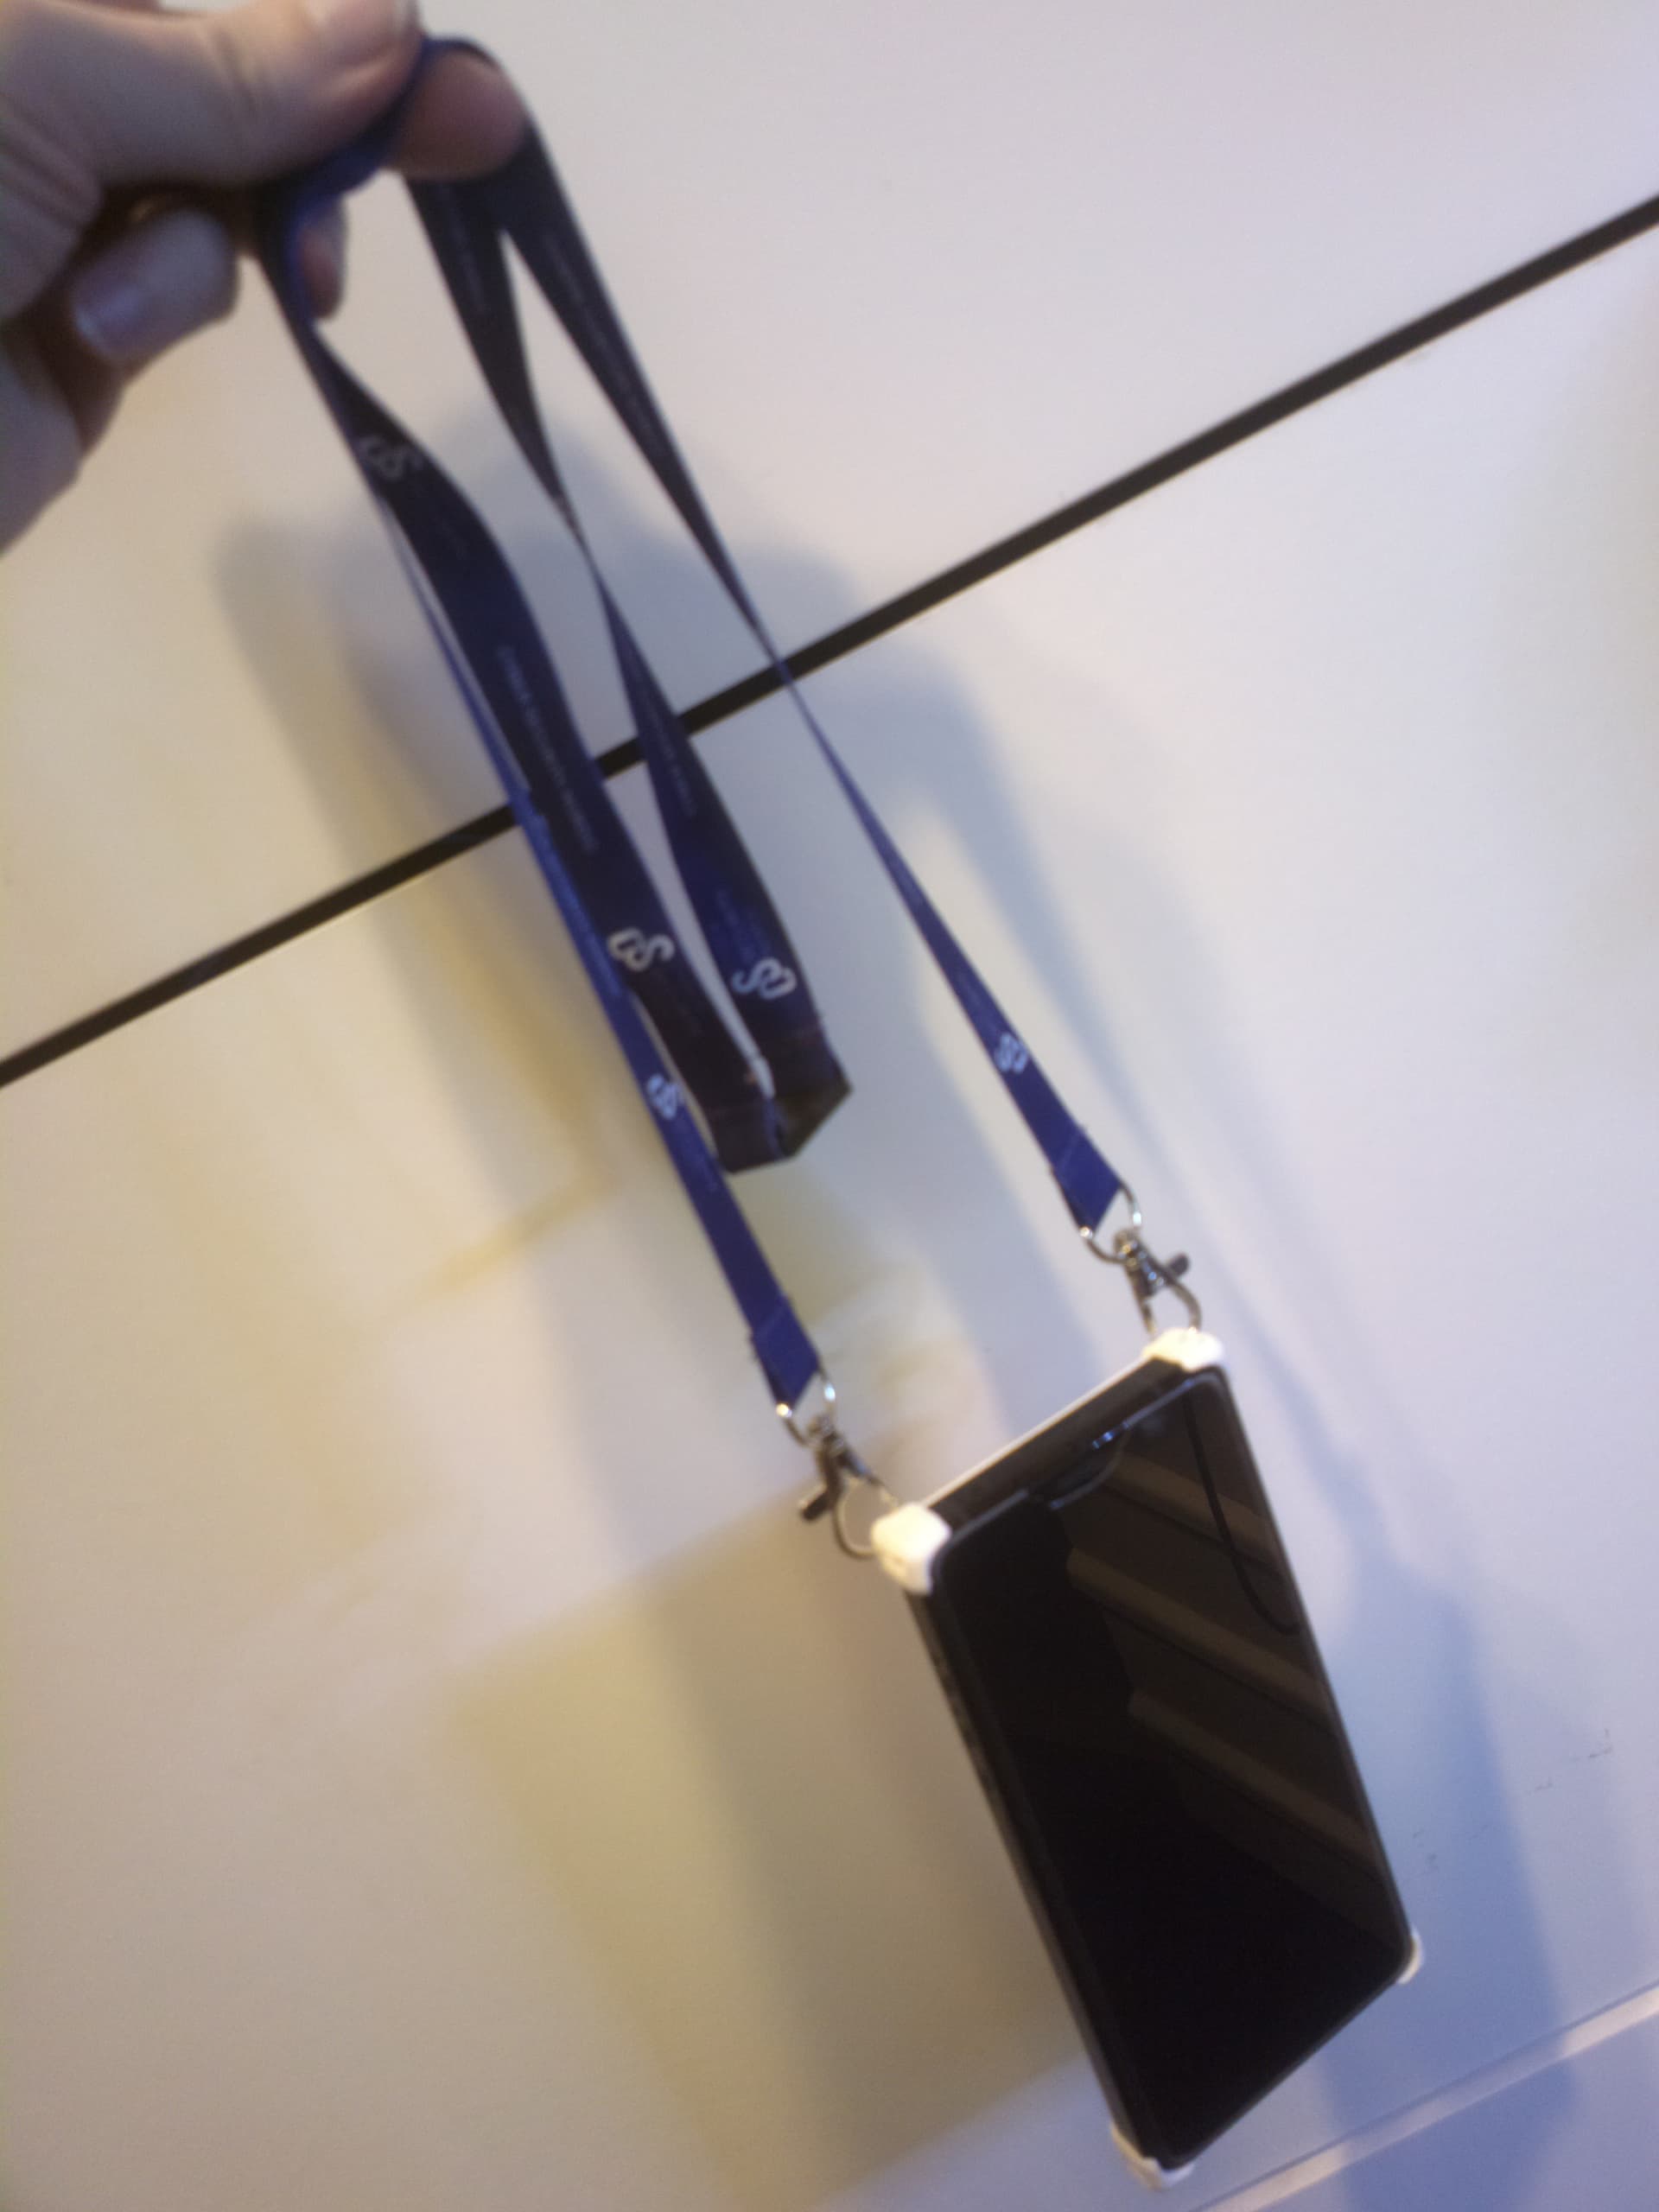
The bump corners are directly part of the back cover and wrap around the corners, connecting the back cover more securely to the phone. Because of this, I also added holes to corners for lanyards, so it’s possible to carry phone around your neck or side (some seem to prefer that with their phones). Corners add about 1-2mm to sides and top (screen will not touch desk surface if placed that way), so it doesn’t make L5 feel or seem bulkier. Added side benefit is that the corners give some nice extra grip if phone feels too slippery,
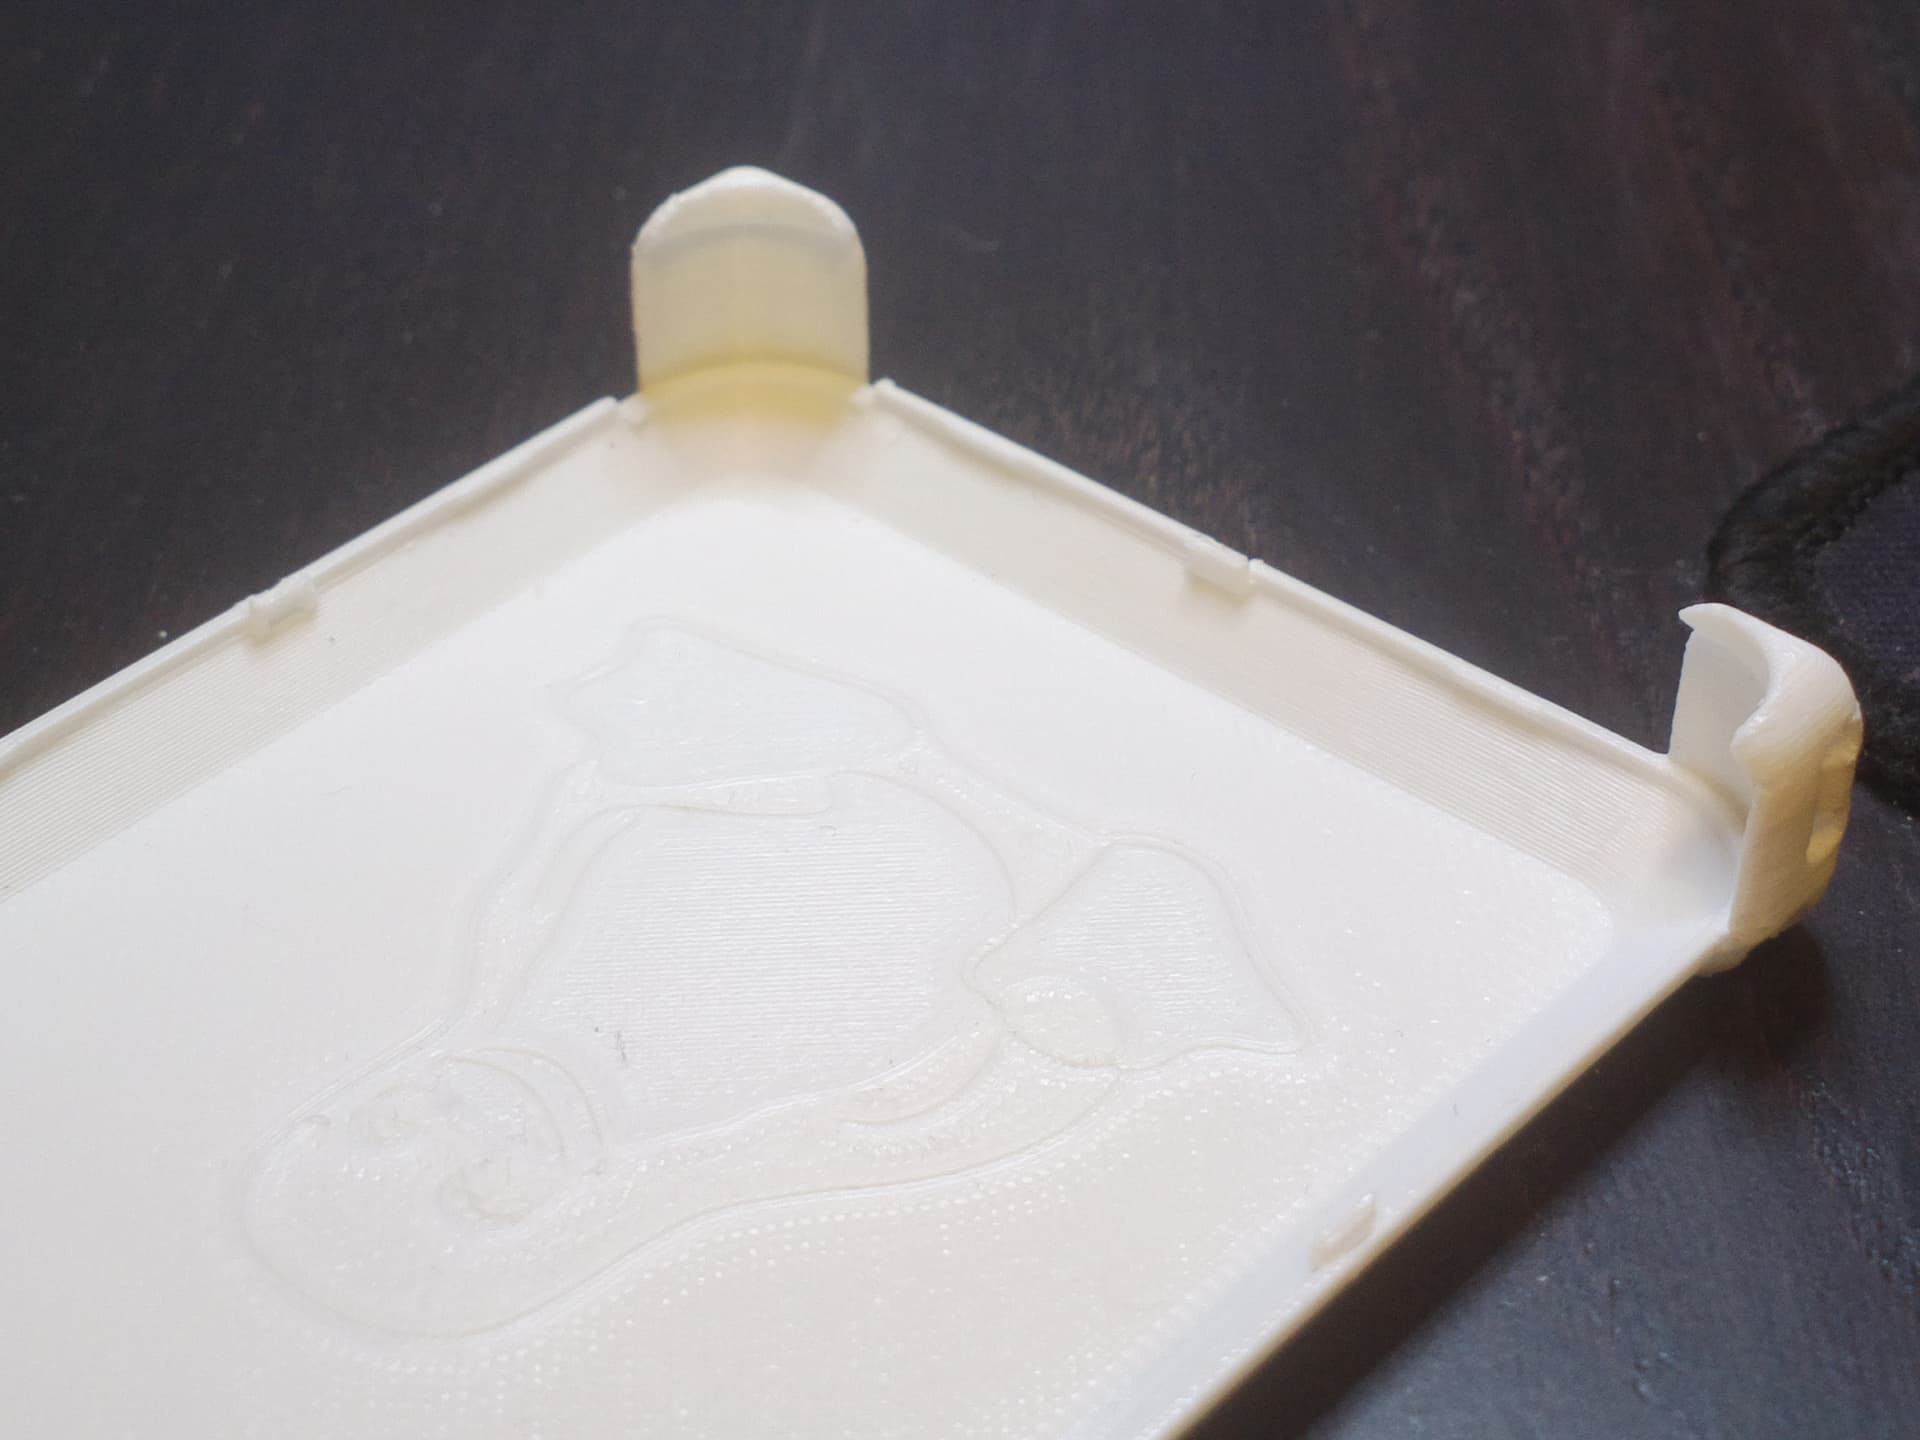
Also, the design features a pingu image, both as a hole and a separate file to fill that, so it can be done in two-tone (dual extrusion: the additional file has the white parts - if using single extrusion [still needs other file too placed on the hole] or same color on both extruders, the image is still drawn with print lines - very subtle, see images).
(I used white because had to - no black available today, so no two-tone, as both extruders used white - but it shows the details a bit better, I think. Print made with hobbyist Ultimaker 3S, hard PLA, normal settings from Cura, about 3.5h. GNU GPLv3+. Maybe a SW/StormTrooper version could be made that looked good…)
They seem to hold well enough as I’ve tested them. Can’t say if various PLAs and other materials and print quality levels have meaningful differences. There is about 2 by 4 mm area of material towards the main direction of strap pull and it’s connected around the corner, so it’s deceptively sturdy. Over time it may weaken and it may matter if the lanyard is connected with a rough metal clip that could grind the material away. Over time 3D printed materials will eventually brake anyway - hard to say when.
The corners also have secondary smaller holes that can be used to add a wire to create a loop for lanyard - for different connection type or as a backup for the clips to the larger hole - a bit of room to personalize and potential to hack. They were originally intended for testing if there would be any point in adding hotglue there to create softer bumper corners.
I guess, while printing it lay flat on the biggest flat surface so the printing layers run in parallel to the big flat bottom. With luck it will be sturdy enough - especially with high printing temps or afterwards curing with heat.
Otherwise i’d expect those corners break after quite a while when you don’t expect it.
PETG printed pretty hot and perhaps cured i’d trust. ABS, too. PLA i wouldn’t bet to much…
Just wanted to mention before phone drops unexpectedly at the wrong time somewhere…